

This section contains the following topics:
Install a Single-Server System
Update Your Windows Hosts File
Configure the First Administrator
Configure Syslog Event Sources
You can achieve a simple, functioning CA User Activity Reporting Module deployment with one soft appliance. The predefined syslog connector makes it possible for the default agent to receive generated syslog events. All you need to do is configure your syslog sources to push syslog events to CA User Activity Reporting Module and edit the syslog connector configuration to identify the syslog targets. What is received depends on the bandwidth between the server and the syslog sources and latency.
Log sensors, including WinRM and ODBC, support direct log collection from over twenty non-syslog event sources. The WinRM log sensor lets you collect events directly from servers running Windows operating systems, such as Forefront Security for Exchange server, Forefront Security for SharePoint Server, Microsoft Office Communication Server, and Hyper-V virtual server and services such as Active Directory Certificate Services. The ODBC log sensor lets you capture events generated by Oracle9i or SQL Server 2005 databases. For details, see the CA Enterprise Log Manager Product Integration Matrix.
You need EiamAdmin credentials to install CA User Activity Reporting Module. As the EiamAdmin superuser, you configure an Administrator account which you use to do the configuration. If you log on with the Administrator credentials, you can verify that the setup is functioning by viewing self-monitoring events.
The simplest deployment that lets you view queried events is a single-server system. Be sure to select a machine that meets or exceeds the minimum hardware requirements for a CA User Activity Reporting Module soft appliance.
Note: See the Release Notes for the certified hardware list, operating system support, and system software and service requirements.
To install a CA User Activity Reporting Module for a single-server system
Note: The domain must be registered with the DNS Servers in your network for the installation to complete.
This is the default application name for the CA User Activity Reporting Module application.
Installation progress information appears.
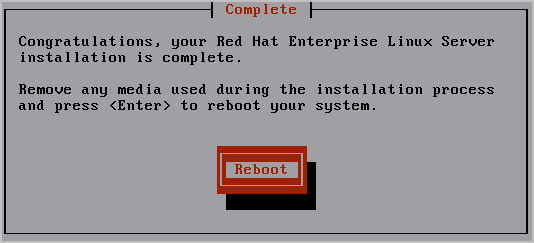
The system reboots and enters non-interactive startup. It displays messages describing installation progress. Detailed information about this installation is saved in the following file: /tmp/pre-install_ca-elm.log.
The following prompt appears:
Please insert the CA Enterprise Log Manager r12 - Application Install disk and press enter.
Your system is reviewed for whether it meets the minimum recommended specifications for optimal performance. If it does not, a prompt appears asking whether you want to stop the installation process.
The following prompt appears:
Please enter a new hostname :
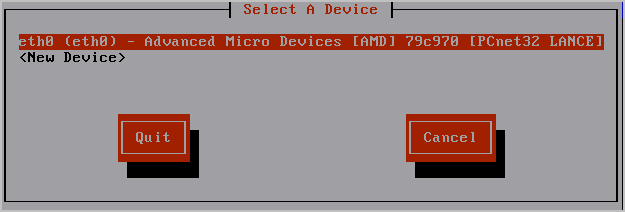
The network services are restarted with the new settings, which are displayed.
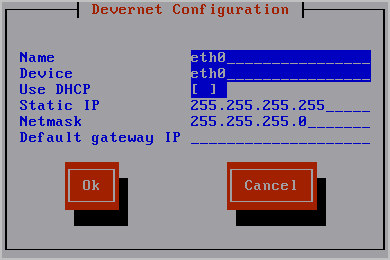
The following message appears:
Do you want to change the network configuration? (n):
The following message appears:
Please enter the domain name for this system :
The following message appears:
Please enter a comma separated list of DNS servers to use:
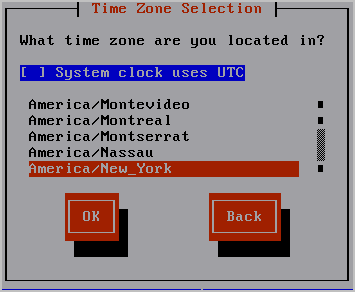
Your system date and time is displayed with the following message:
Do you want to change the system date and time? (n)
The following message appears:
Do you want to configure the system to update the time through NTP?
If you specify yes, the following message appears:
Please enter the NTP Server name or IP Address
A confirmation message similar to the following appears: "Your system has been configured to update the time at midnight using the NTP server located at <yourntpserver>."
At the end of the EULA, the following message appears:
Do you agree to the above license terms? [yes or no]
Product registration information is displayed followed by this message:
Press Enter to continue.....
Messages state that in preparation for CA User Activity Reporting Module installation, the system settings are being configured. The CA end user license agreement displays.
At the end of the license, the following message appears:
Do you agree to the above license terms? [Yes or no]:
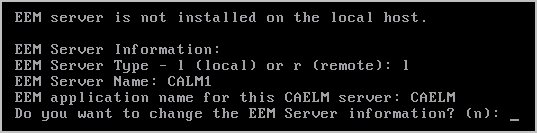
CA EEM server information appears.
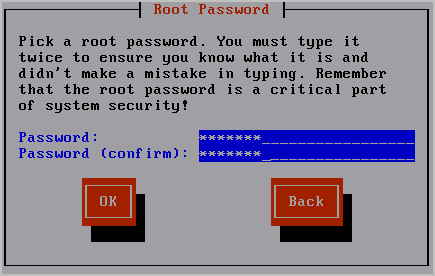
Do you use a local or remote EEM server?
Enter l (local) or r (remote) :
Enter the password for the EEM server EiamAdmin user :
Confirm the password for the EEM server EiamAdmin user :
Enter an application name for this CAELM server (CAELM):
The EEM Server information you entered so far appears with a message that asks if you want to make changes.
The installation process begins. Messages appear showing the progress as each CA User Activity Reporting Module component is successfully installed, registrations completed, certificates acquired, files imported, and components configured. The message CA ELM Installation succeeded appears. When the installation completes, the system displays the console logon address.
Do you want to run CAELM Server in FIPS mode?
Enter Yes or No
If you enter y, the CA User Activity Reporting Module server will start up in FIPS mode. If you enter n, it will start up in non-FIPS mode.
A <hostname> login prompt appears. You can ignore this.
Note: If, for any reason, you want to display the operating system prompt from this login prompt, you can do so by entering caelmadmin and the default password, which is the password you assigned to the EiamAdmin user account. You use the caelmadmin account to log in to the appliance on the console or through SSH.
During CA User Activity Reporting Module installation, you can identify one or more DNS servers or select Use DHCP. If you selected DHCP, you must update your Windows hosts file on the computer from which you plan to access the CA User Activity Reporting Module with your browser.
To update your hosts file on the host with your browser
After installing a single-server CA User Activity Reporting Module, you prepare for configuration by browsing to the URL of the CA User Activity Reporting Module from a remote workstation, logging on, and creating an Administrator account you can use to perform the configuration.
Note: For the purpose of this Quick Start deployment, we accept the default user store, and the default password policies. Typically, these are configured before adding the first Administrator.
To configure the first Administrator
https://<hostname>:5250/spin/calm
A security warning appears stating you are about to install a certificate claiming to represent the host name of the CA User Activity Reporting Module server.
The root certificate is installed and a successful import message appears.
The trusted certificate dialog appears.
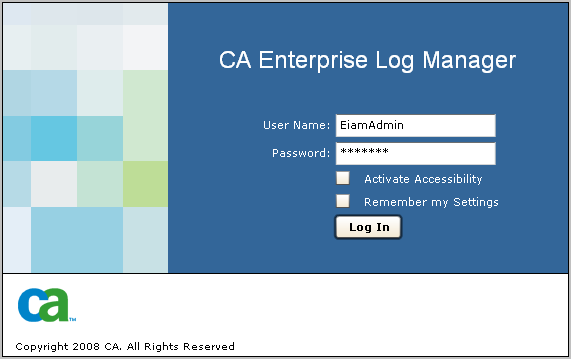
The logon page appears.
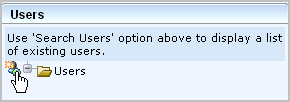
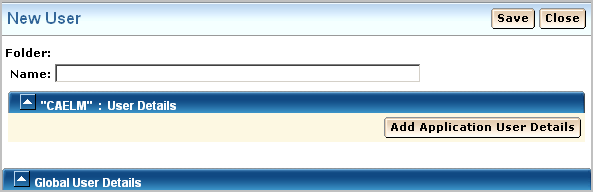
The application opens with only the Administrator tab and the User and Access Management subtab active.
![]()
The logon page appears.
CA User Activity Reporting Module opens with all functionality enabled. The Queries and Reports tab and Queries subtab is displayed.
The query results show your two login attempts, first as EiamAdmin, then with your Administrator name where the login attempts are marked with S for successful.

To enable direct collection of syslog events by the default agent that exists on each CA User Activity Reporting Module server, you begin by identifying the syslog event sources from which you want to collect events and determining the associated integration. Then you do the following two things in either order.
As soon as you complete this two-step configuration, event collection and refinement begins. Then, you can use CA User Activity Reporting Module to view or report on events you care about in a standardized format. You can also generate alerts when specific events occur.
To configure a selected syslog event source
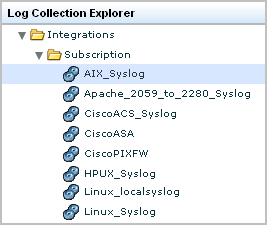
The Log Collection Explorer appears.
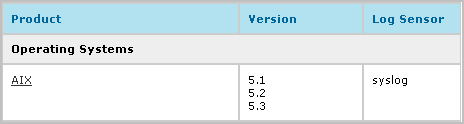
The list of predefined integrations displays. An abbreviated example follows:
The integration details appears.
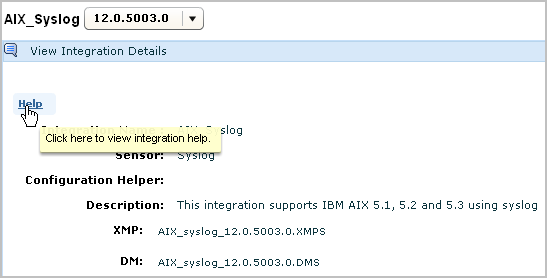
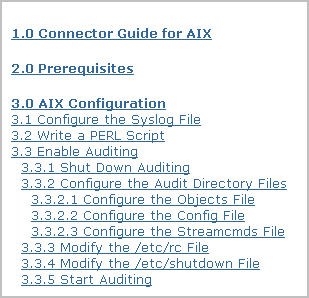
The connector guide for the selected integration appears.
Example--Alternative Source for Connector Guides: Support Online
You can open a selected connector guide from within the CA User Activity Reporting Module user interface or from CA Support Online. Following is an example that shows how to open a connector guide from this alternative source.
Each CA User Activity Reporting Module has a default agent. When a CA User Activity Reporting Module is installed, its default agent has a partially configured connector called Syslog_Connector, which is based on the listener, Syslog. This listener receives raw syslog events on the default ports as soon as you configure the event sources to send syslogs to CA User Activity Reporting Module. However, for CA User Activity Reporting Module to refine these raw events, you must edit this Syslog_Connector. Certain edits are mandatory; others are optional.
To edit the syslog connector for a default agent
The Log Collection subtab is displayed.
The connector named Syslog_Connector is displayed.
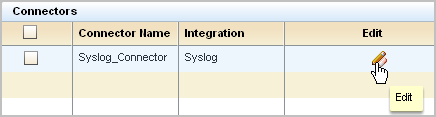
The Edit Connector wizard appears with the Connector Details step selected.
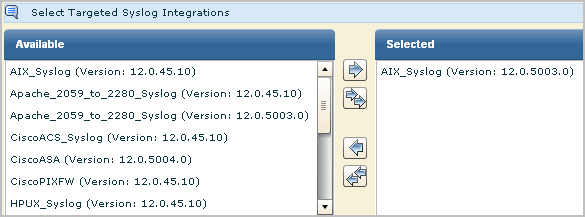
All available integrations are selected by default.
For example, if you have configured the AIX operating system on a host in your network, you would move the syslog target, AIX_Syslog, from the available list to the selected list.
Note: It is a good practice to configure trusted hosts. Typically, you configure all the hosts on which you have configured event sources to send syslogs to CA User Activity Reporting Module. Specifying trusted hosts ensures the default agent does not accept events from rogue systems that an attacker has configured to send events to the syslog listener.
You can typically accept the default UPD and TCP ports for the default agent.
Note: You can gain performance improvements by defining a syslog connector for different event types and specifying different ports for each. Be sure to select unused ports when making new port assignments.

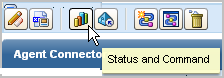
View Status of Agents is selected. The host name of the server you installed appears in the Agent column, since the default agent is on this server. The status is shown as running.

The percentage CPU, memory usage, average events per second (EPS), and filtered event count appear.
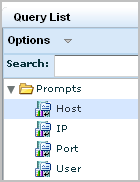
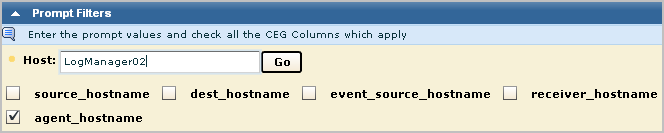
One of the quickest ways to view query results on events collected by a syslog listener is to use the Prompt for Host.
To view syslog events
The Queries subtab displays.
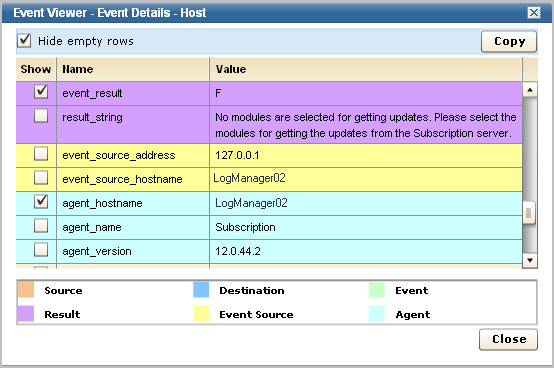
The Event Viewer appears.
|
Copyright © 2014 CA Technologies.
All rights reserved.
|
|