

Icons representing the peripherals connected to your serviced systems as part of your Console Manager environment are not included on the default C3 display.
To add them
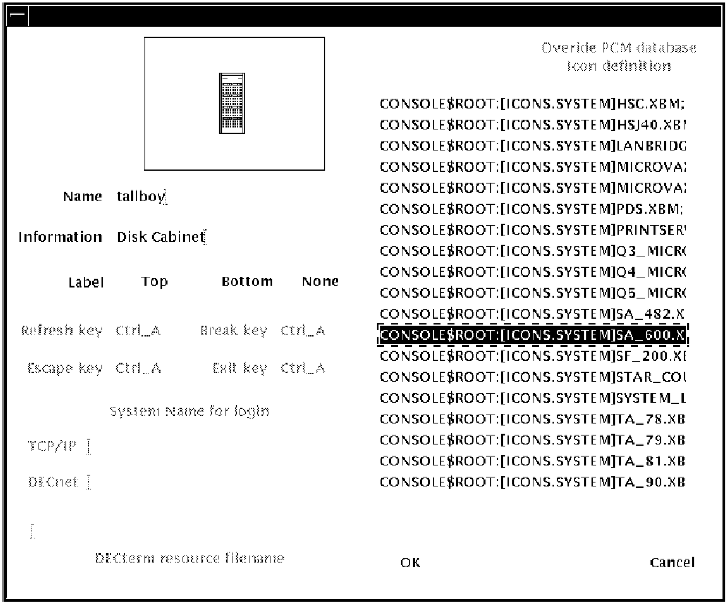
Choose a name for your icon, and click an icon from the list displayed, and the icon is displayed in the upper left corner of the dialog box. You can choose where to put labels on your display using the Label Placement field.
Note: You can cause a peripheral icon to change its color if you call the CMUserSendEvent routine using the name of the peripheral as the system name. However, these events cannot be viewed in any way, and are not logged by Console Manager.
The following figure shows the peripheral, SA600, added to the display.

|
Copyright © 2010 CA.
All rights reserved.
|
|