

If you are using vCenter version lower than v5.x or could not select ZeroEager for the SQL server cluster while deploying the OVFs, configure the SQL Server using the interface.
Note: For the steps to configure the SQL Server using the command prompt, see the section Configure SQL server from command prompt.
Configure the disks on the host VMware ESX server.
Note: Skip this section if you could deploy using Thick ZeroEager.
Important! Complete the following process before you power on the Microsoft SQL Cluster vApp for the first time.
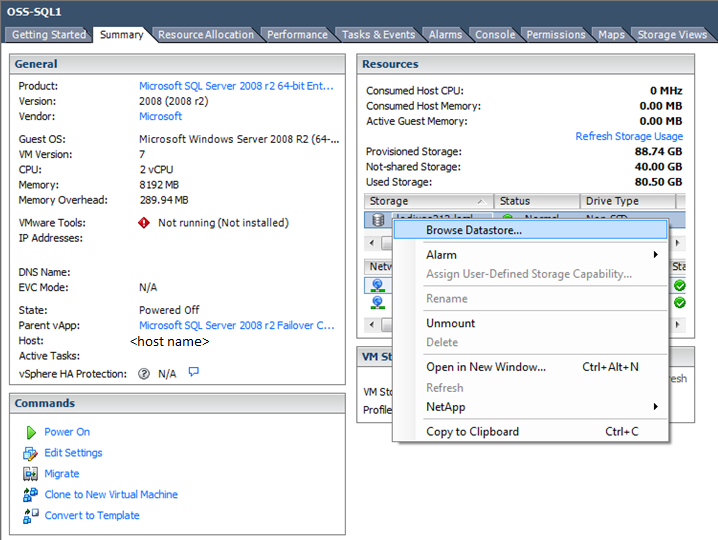
Perform the following steps to inflate hard disk 2 and hard disk 3, in the VMware vSphere Client.
Follow these steps:
The virtual machine Properties window opens.
Note: Make sure that the names are readily available for the further steps.
Example: [Intermountain6] OSS-SQL1/OSS-SQL1_1.vmdk. e
[Datastore name] Folder name/Disk file name.vmdk (ends in vmdk)
The datastore name displays.
|
Copyright © 2014 CA.
All rights reserved.
|
|