The Microsoft SQL Cluster requires shared disks between the two Virtual Machines that are the nodes of the cluster.
- Right-click the OSS-SQL1 virtual machine, and select Edit Settings.
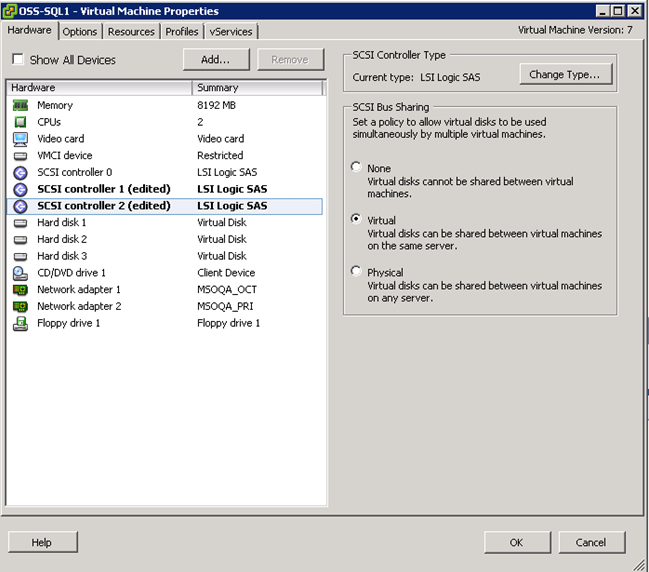
The OSS-SQL1-Virtual Machine Properties page opens.
- From the Hardware list, select SCSI controller 1.
- Set SCSI Bus Sharing to Virtual.
- Repeat steps 2 through 3 for SCSI controller 2.
- Select Hard Disk 2 and 3 from the device list and write down the Disk File name. Keep the names readily available for the steps ahead.
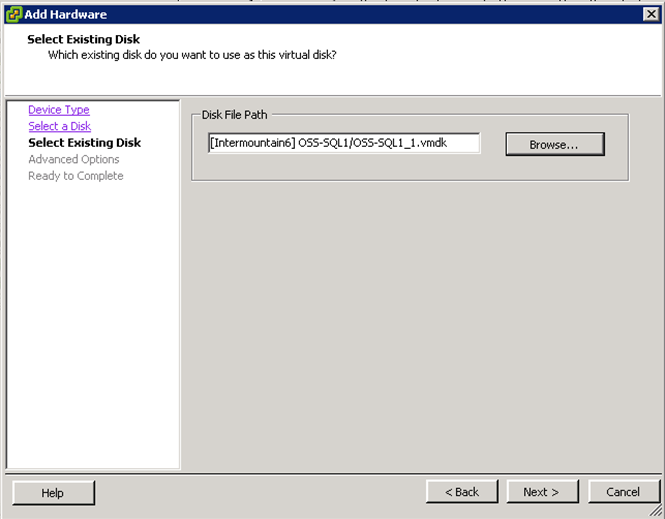
Example: [Intermountain6] OSS-SQL1/OSS-SQL1_1.vmdk

- Click OK.
- Repeat steps 1 through 4 of this procedure for the OSS-SQL2 virtual machine.
Note: If you could not select Thick EagerZero, when deploying the OVF, you must add the disks for OSS-SQL2.
Note: If you do not see Hard disk 2 and Hard disk 3, skip step 7 and 8.
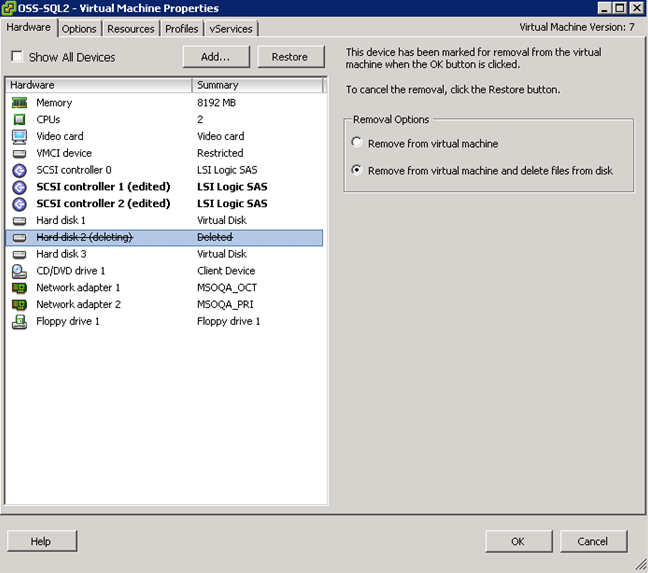
- In the OSS-SQL2 virtual machine select Hard disk 2, click Remove.
- Select Remove from virtual machine and delete files from disk, in the Removal Options.
- Repeat step 7 for Hard disk 3.
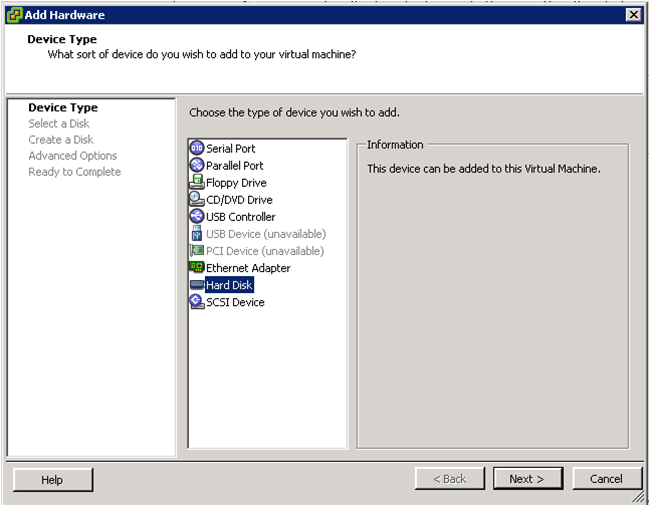
- Click Add on the top of the window. The Add Hardware wizard opens.
Adding the hard disk also adds the SCSI Controller.
- Select Hard Disk and click Next.
- Select Use an existing virtual disk and click Next.
- Click Browse to navigate to the Disk File location you noted in step 5 and then click Next.
Note: Ensure that you navigate to the location for Disk 2 first.
- Set the Virtual Device Node to SCSI (1:0) and click Next.

- Review the options and click Finish on the Ready to Complete dialog.
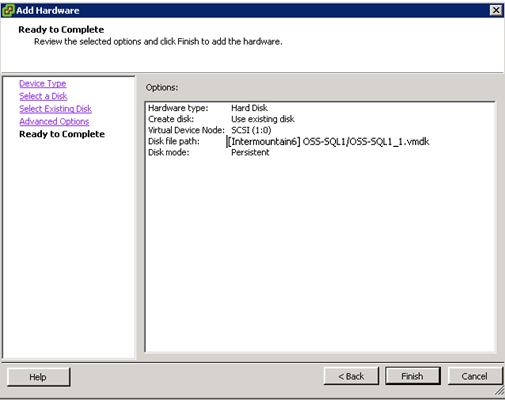
- Repeat steps 9 to14 using the Disk File location noted earlier for Disk 3 and set the Virtual Device Node to SCSI (2:0).
The New SCSI controller is added.
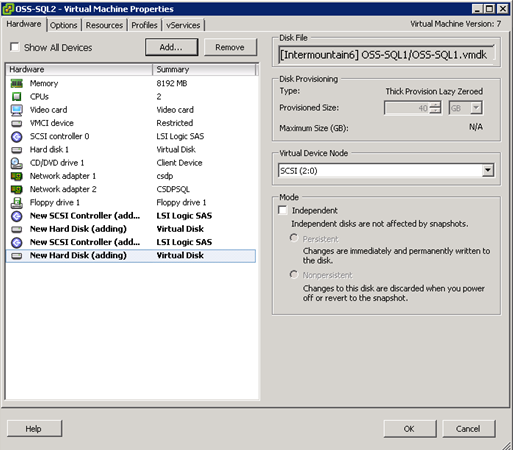
- Select the new SCSI controllers and ensure that the SCSI bus sharing is set to Virtual.
- Click OK.
The virtual disk configuration is complete.
- Right-click the Microsoft SQL Server vApp and select Power On.
Note: Ignore the warning about starting from the vApp, and click OK.

