

A Quick Tour of CA SRM › Using the Service Builder Wizard › Creating a Customized Query Service
Creating a Customized Query Service
To use the Service Builder wizard to identify the files, follow these steps:
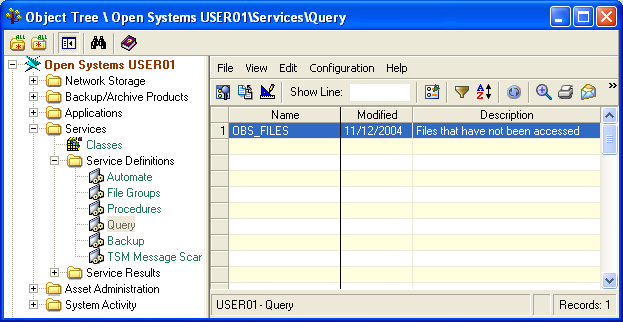
- From the Object Tree open Services, Service Definitions, and then select Query. The Query table opens:
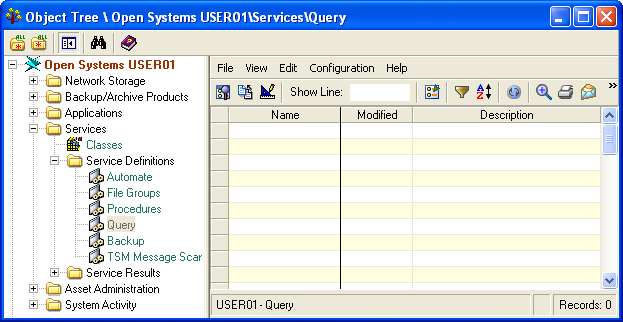
- Select Configuration, and then New in the Query table file menu. The CA SRM Service Builder wizard.
Tip: As you progress through the Service Builder wizard, notice that the text at the top of each window provides brief instructions for its use.
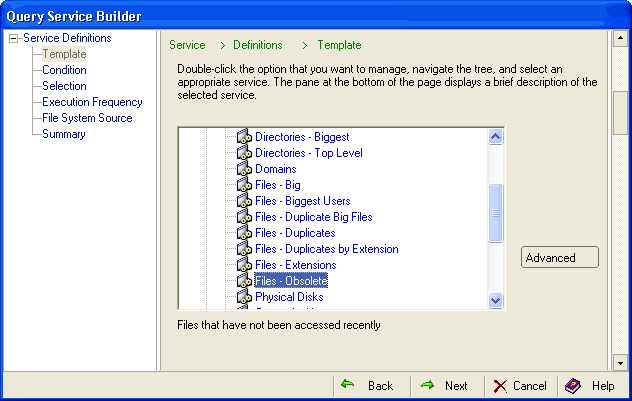
- Open Network Storage, Managed Computers, and select Files – Obsolete:
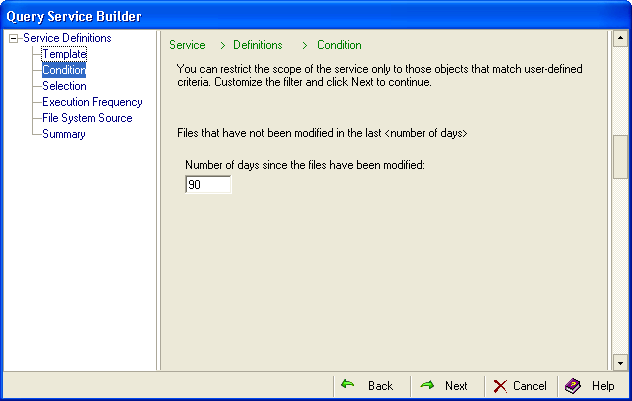
- Enter a value of 90 days:
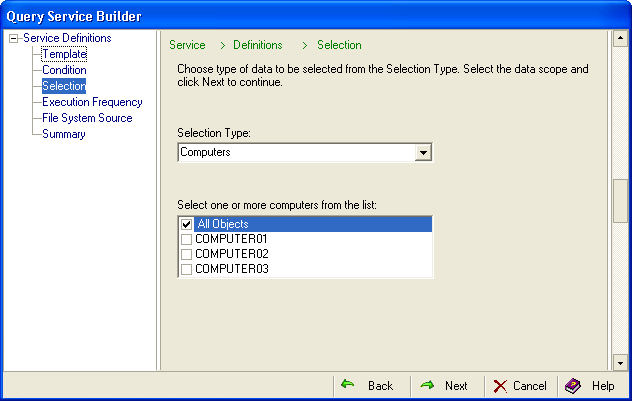
- Select Computers from the Selection Type drop-down list. In the box Select one or more computers from the list, select the All Objects check box:
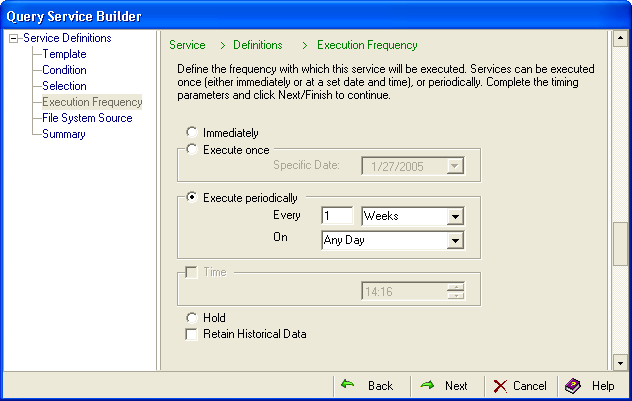
- Select the frequency. You can run the query immediately or specify a date and time for service execution:
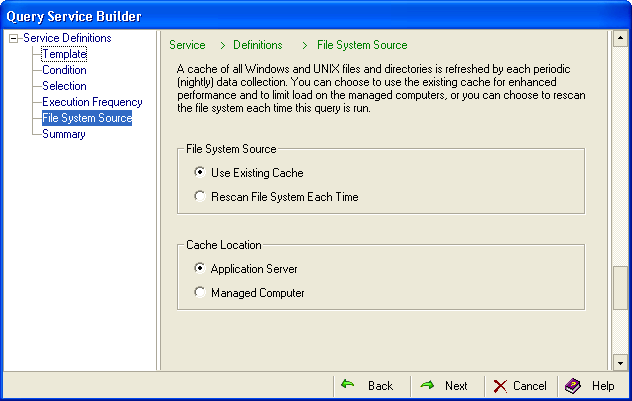
- Select the file source. You can choose to scan the cache of the most recent data collection (usually nightly) or you can choose up to the minute information and scan the file system each time the query is run. Using the existing cache is more efficient. Next, select the cache location:
- Click Launch to indicate to the Service Builder wizard that you want to execute this new service immediately after it is compiled (If you scheduled a time, the query will still run at that time):
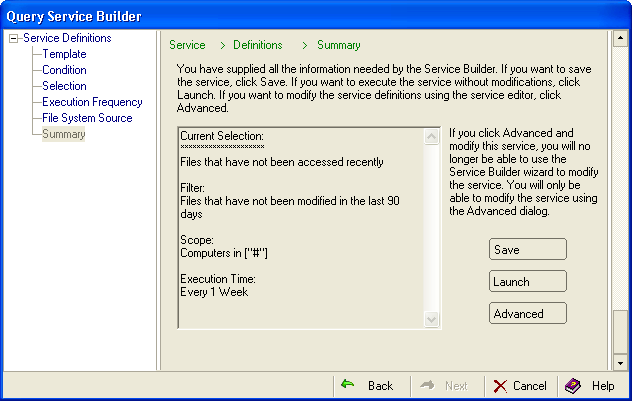
You can further customize the configuration of the service by clicking Advanced, which launches the Service Editor.
Note: If you make changes in the Service Editor, you can no longer use the Service Builder Wizard for this particular query. All future changes to this query will need to be done in the Service Editor.
- Enter following information:
- Name—OBS_FILES
- Description—Show obsolete files that have not been accessed in 90 days.Click OK. CA SRM executes the job OBS_FILES. The Query Result is displayed as a view under the source object from which it was created:
Copyright © 2016 CA Technologies.
All rights reserved.
|
|