

Follow these steps:
As the window shows, the recorder is listening on port 8001 to the target port 8080. The window also shows a session and transaction count. Because the test case has not been run, the count is at 0. When the test case finishes running, this window has three transactions that are counted.
With the test case recorded, you can end the recording session by clicking Next. DevTest processes the recording and presents a list of transactions. For more advanced virtual service transactions, modify the post-recording model and data on the next window. For our test case, we are ready to continue, so click Next.
On the next window, the base path, binding, and logic settings are correct.
The next window indicates that a Web Services (SOAP) data protocol handler has been selected for the request side.
DevTest processes the recording a final time and creates the virtual service model and the virtual service image files.
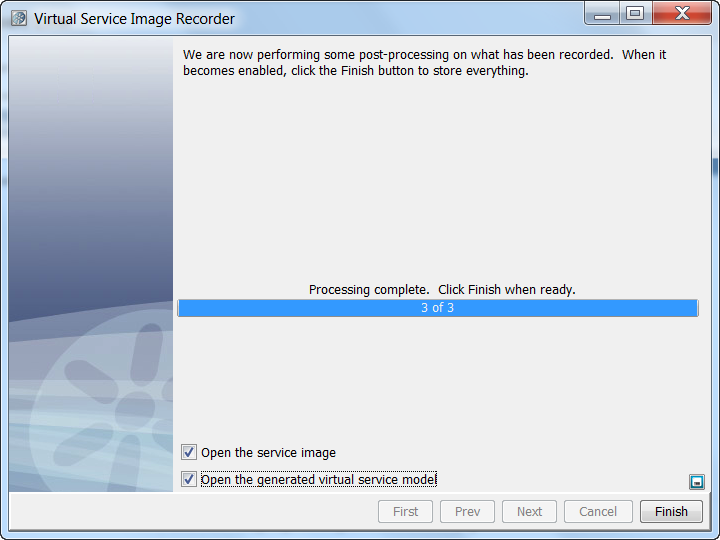
You can open and edit each of these files in DevTest Workstation.
DevTest closes the recorder and opens the selected files in DevTest Workstation.
|
Copyright © 2014 CA Technologies.
All rights reserved.
|
|