After you create the Microsoft SQL Database and configure the ODBC connection, install CA Business Intelligence. The installation is comprised of two installation wizards that must be executed sequentially.
- Open the CA Business Intelligence media.
- Extract the CA Business Intelligence media to a folder on the server and open the media folder.
- Right-click cabiinstall.exe and select Run as Administrator.
The CA Business Intelligence installation wizard opens.
- Select your installation language and click OK.
The introduction page opens.
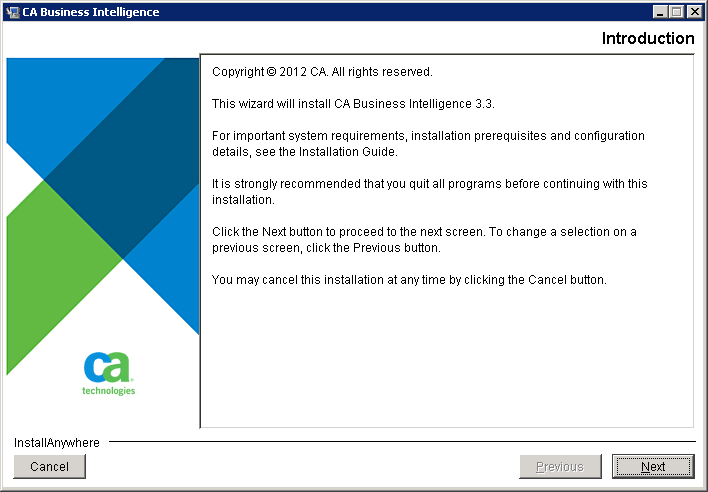
- Click Next.
The License Agreement page opens.
- Scroll down the license text, select the I accept the License Accept option, and click Next.
The Sample Database and templates page opens. You can use the CA Sample templates for testing your CA Business Intelligence installation.
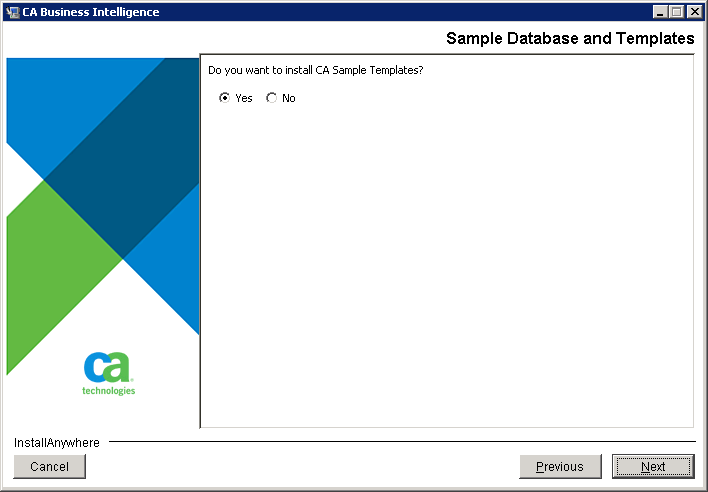
- Verify that Yes is selected, and click Next.
The Generate Response File page opens. You can provide your installation settings to CA Support if necessary, using the response file.
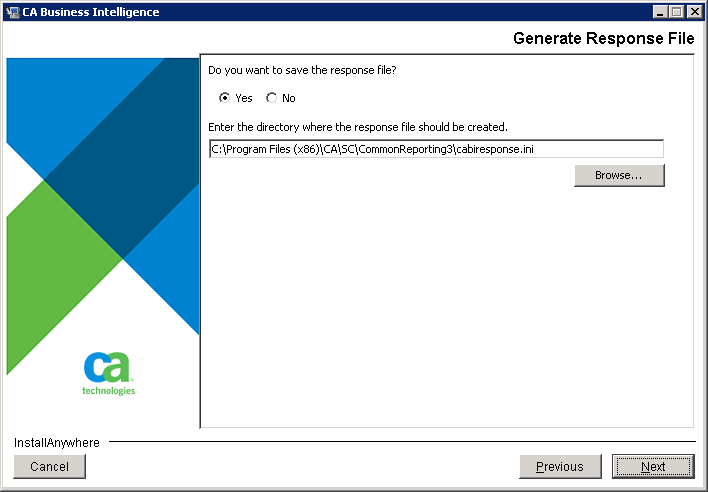
- Verify Yes is selected.
- Accept the location of the response file or click Browse to change the location of the response file and click Next.
Note: If you save the response file, you can provide your installation settings to CA Support if necessary.
The Review Settings page opens.
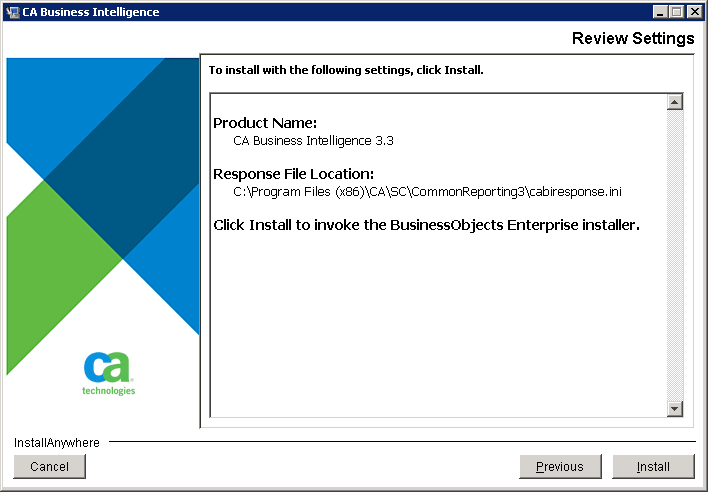
- Click Install.
The CA Business Intelligence Installation wizard opens.
Note: Verify the task bar as the CA Business Intelligence Setup wizard sometimes opens behind the CA Business Intelligence installation wizard.
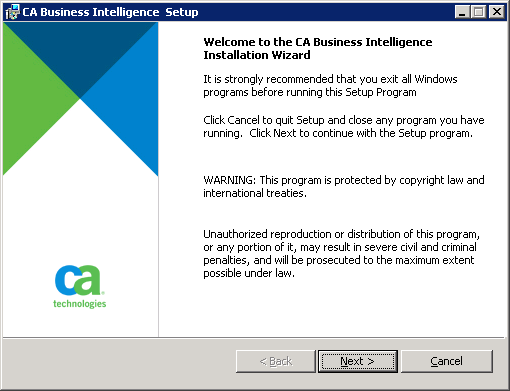
- Click Next.
The License Agreement page opens.
- Select the I accept the License Agreement option and click Next.
The Choose Language Packs page opens.
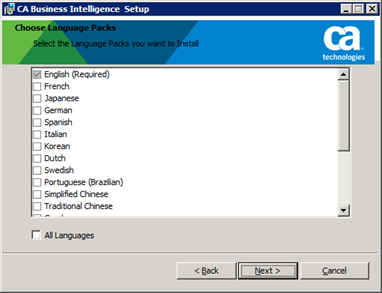
- Select the language packs you want to install and click Next.
The Install Type page opens.
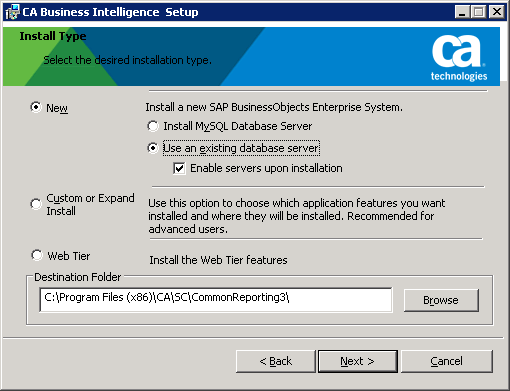
- Complete the following details and click Next:
- Select New.
- Select Use an existing database server.
- Select the Enable servers upon installation check box.
- (Optional) Click Browse to select the Destination Folder.
The Server Components Configuration page opens.
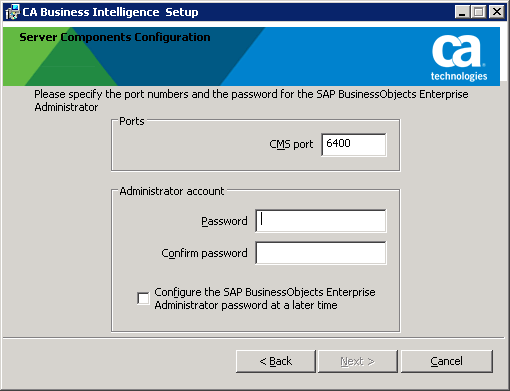
- Complete the following details and click Next:
- Type the Port number (for example, 6400).
- Type a password, confirm the password.
Note: Record the password in the Installation Worksheet.
- (Optional) Select Configure the SAP BusinessObjects Enterprise Administrator at a later time to set password later.
- Click Next.
The Server Intelligence Agent page opens.
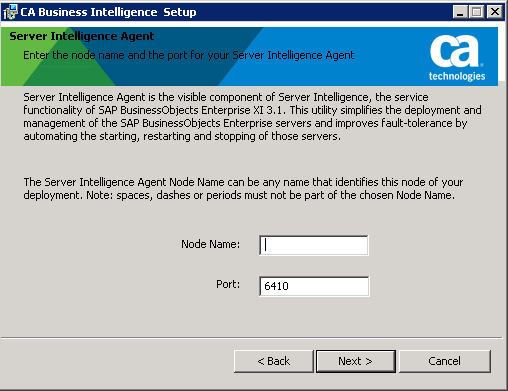
- Type the Node Name (for example, Server name), Port (for example, 6410), and click Next.
Default Node Name: localhost
The CMS Database Information page opens.
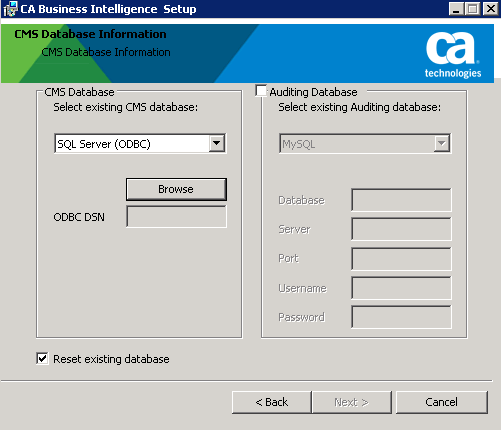
- Select SQL Server (ODBC) from the drop-down list and click Browse to select CA Business Intelligence database.
The SQL Server Logon dialog opens.
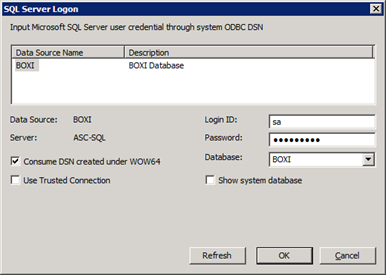
- Complete the following fields, and click OK:
- Highlight the Data Source Name that is created earlier “BOXI”.
- Verify (sa) is the Login ID.
- Enter the Password for the Login ID.
- Select the Database “BOXI” for the drop-down list that was created for BOXI.
- Verify Consume DSN created under WOW64 is selected.
The CMS Database Information page opens.
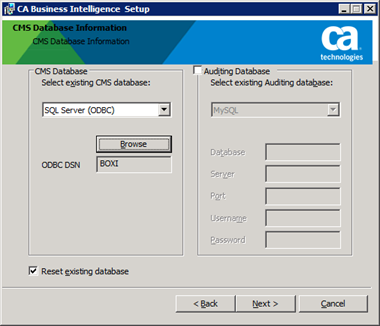
- Click Next.
The Select Web Application Server page opens.
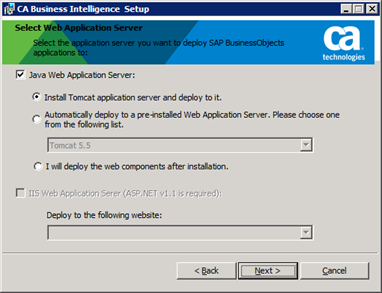
- Verify the following settings and click Next:
- Verify that the ava Web Application Server check box is selected.
- Verify that the Install Tomcat application server and deploy to it option is selected.
The Configure Tomcat page opens.
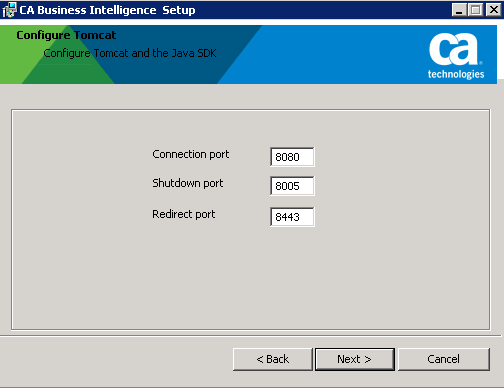
- Enter the following parameters and click Next.
Note: If a port is in use by another service, change the port information accordingly.
- Connection port
-
Specifies the port number for the connection.
Value: 8080
- Shutdown port
-
Specifies the shutdown port number.
Value: 8005
- Redirect port
-
Specifies the port number to redirect.
Value: 8443
The Start Installation page opens.
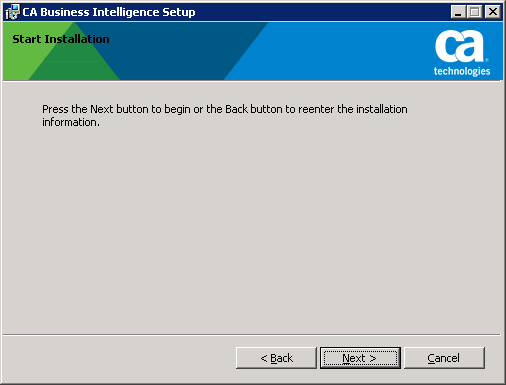
- Click Next.
The installation begins. Installation process can take several minutes to complete.
The Install Complete page opens in the background.

- Select No, I will restart my system myself and click Done.
Note: In the background, the installation Complete page opens in the main installer. Complete the CA Business Intelligence configuration and then restart the server.
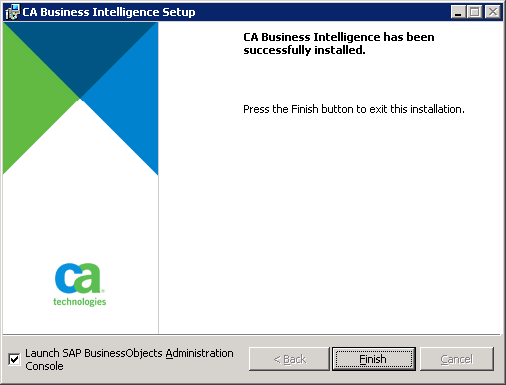
The main installer page closes and you can configure CA Business Intelligence using the second installation wizard.
- Select the Launch SAP BusinessObjects Administration Console check box and click Finish.
The Central Management Console login page opens.
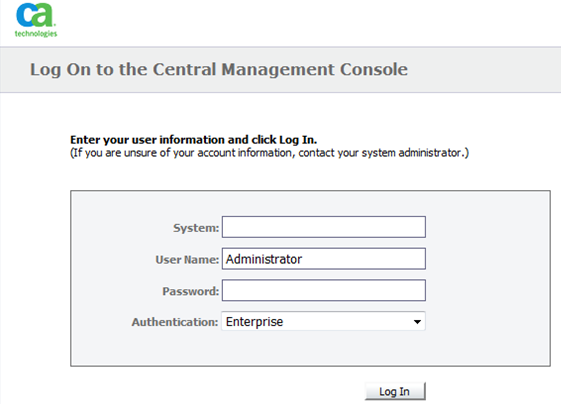
- Complete the following details:
- Log in as Administrator.
Note: The password is the same as you provided during the installation. Refer the Installation Worksheet for the password.
- Select Enterprise in the Authentication drop-down menu.
- Click Log In.
The Central Management Console Home page opens.
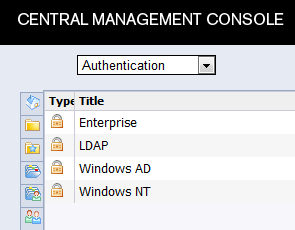
- Select Authentication from the drop-down.
The Authentication page opens displaying a list of authentication options.
- Double-click Windows AD.
The Windows AD settings page opens.

- Complete the following details:
- Select the Enable Windows Active Directory (AD) check box.
- Click the double quotes “ “ next to configure the AD Administrator Name.
The Windows Active Directory page opens.
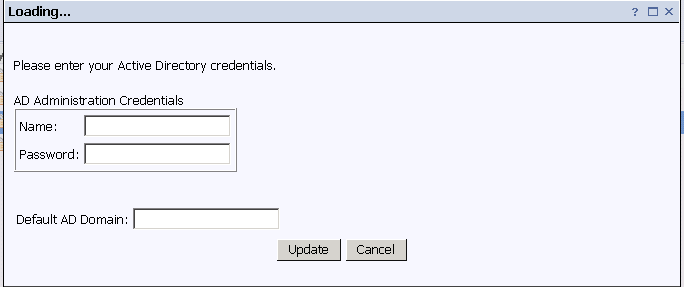
- Enter your Active Directory credentials.
- Click Update.
- Close the Windows AD configuration window.
- Double-click Enterprise.
The Enterprise settings page opens.
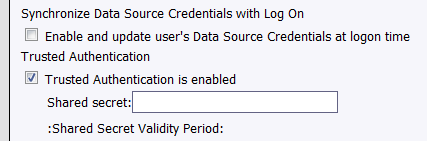
- Complete the following details:
- Select the Trusted Authentication is enabled check box.
- Enter a string in the Shared secret field. Update this value in the Installation Worksheet, CA Business Intelligence section.
- Click Update.
- Click Log Out and close the window.
- Restart the server.
You have installed CA Business Intelligence.

