Using CA XCOM Management Center Through the Internet › Schedule Transfer › Build Transfer Records › Edit Link
Edit Link
To build a transfer record using the Edit link
- Click Schedule Transfer.
The main Schedule Transfer page appears.
- Click Add link.
An empty transfer record is added to the table.
The local server section is also displayed at the top of the page.
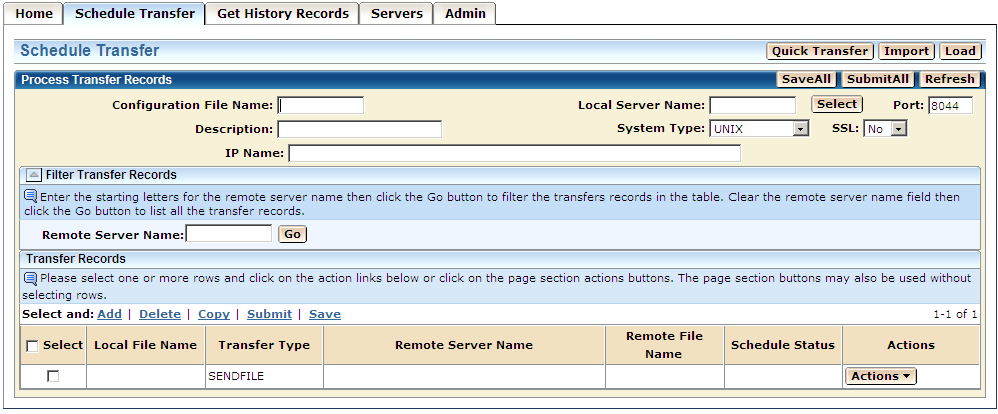
- Either enter the information for the local server or click the Select button to select the local server from the list of available servers.
- Click Edit link from the Actions drop-down for the empty transfer record.
The Edit Transfer Record page appears. It contains a set of collapsible sections.
- Enter or select the transfer record parameters.
Notes:
- For a brief description of the parameters on this page, see the appendix "XML Formats."
- You can either type in the information for the local and remote servers or use the Select buttons to select local and remote server information from the list of available servers.
- By using the Select button for the remote server, you can select more than one server from the list and build multiple transfer records.
- You can also either type in the local and remote file names or use the Browse buttons to find and select the files from your local workstation.
- Click the Update button.
- CA XCOM Management Center builds the transfer record and returns to the main Schedule Transfer page, displaying the built record in the transfer record table for further processing.
Note: You can click Cancel to cancel the process and return to the previous page.

