Previous Topic: Install an AgentNext Topic: Configure a Windows Event Source


Create a Connector Based on NTEventLog

After installing an agent, you create a connector to specify the event sources for the events you want to collect. Since you installed an agent on a server with a Windows operating system, you create a connector based on the NTEventLog integration and specify settings for the WMILogSensor as described in the connector guide you open from the New Connector Creation wizard. You specify the name of the host on which the agent is installed for agent-based log collection. Optionally, you can add another WMI log sensor for this connector and specify a host other than the one where the agent is installed. This enables agentless log connection. The additional host or hosts must be in the same domain and have the same Windows administrator as the first host you added.

To configure a connector based on NTEventLog

  1. Maximize your browser displaying the CA User Activity Reporting Module Agent Explorer.
  2. Expand Agent Explorer and then expand the Default Agent Group.

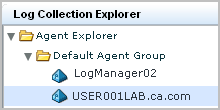
    The name of the computer where you installed the agent appears.

    Agent Explorer folder - showing agents and groups

  3. Select this agent.

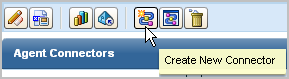
    The Agent Connectors pane appears.

  4. Click Create New Connector

    Agent Explorer buttons - Create New Connector selected

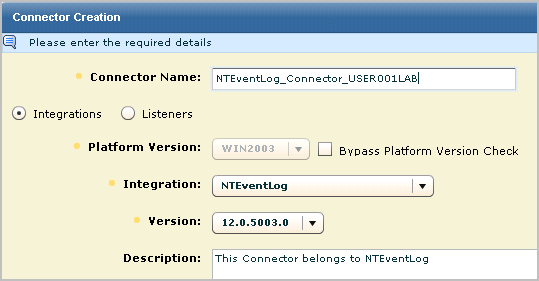
    The New Connector Creation wizard appears with the Connector Details step selected.

  5. Leave Integrations selected, and select NTEventLog from the Integration drop-down list.

    The Connector Name and Description fields are populated based on the selection of Integration.

  6. Edit the connector name to make it unique. Consider extending this name with the target server name, for example, NTEventLog_Connector_USER001LAB.

    Select NTEventLog as the Integration. Make the connector name unique by appending the target hosname for host-based log collection.

  7. Select the Connector Configuration step.

    Agent Install wizard - Navigation bar

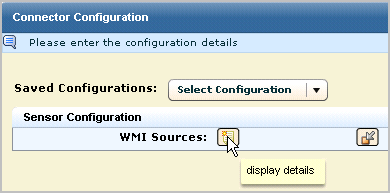
    The Sensor Configuration pane appears with a Help button to the Connector guide for NTEventLog, which provides help on the fields for sensor configuration.

    The connector configuration panel includs a help button for the associated connector guide.

  8. Click the display details button for WMI sources.

    Click display details for WMI sources.

  9. Configure the WMILogSensor settings for the local computer for agent-based log collection. Click the Help link for details.

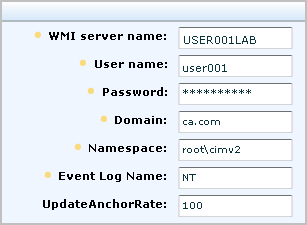
    The following example shows a configuration where the user is a Windows administrator on the specified WMI server. The domain is for the WMI server.

    WMI server name is the local machine where the agent is installed.

  10. (Optional) Configure a WMI sensor for a different computer for agentless log collection using this same connector.
    1. Click the repeat super node button.

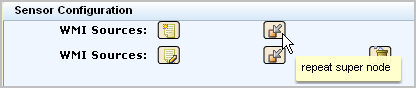
      The following illustration shows a configuration with two WMI sources.

    Click the repeat super node button.

    1. Configure the WMILogSensor settings for another computer.

    The following example shows a configuration for a second WMI log sensor in the same domain and with the same administrator credentials.

    This sensor points to a computer remote from the one where the agent is installed.

  11. Click Save and Close.
  12. To view the status of the connector you configured, do the following:
    1. Select the agent in the left pane.
    2. Click Status and Command.
    3. Select View Status of Connectors.

    The Status Details pane appears.

    Connector Status Details pane

  13. Click the Running link.

    The displayed status of the target configured in the connector includes the CPU percentage, memory usage, and average events per second (EPS).