

Step 2 grants access to log on to the CA User Activity Reporting Module application.
Step 3 restricts, or scopes, access to the CA User Activity Reporting Module application after logon. At the broadest level, you can grant read only access or both read and write access to the specified identities.
Selection of policy type determines the granularity at which you can specify permitted actions.
You can permit limited access to a resource by creating a filter that specifies the EEM folder for that resource and then specifying restrictions on the folder.
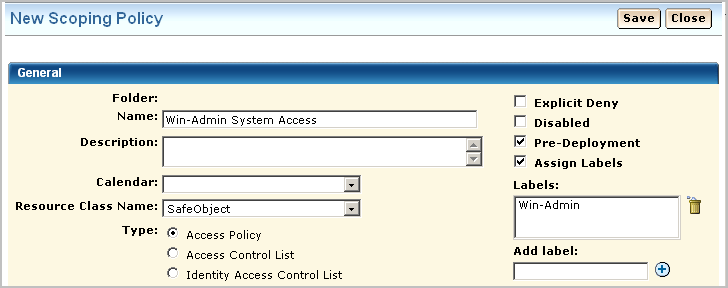
This example demonstrates how to restrict access to read access in general with further restrictions to a specific feature. Specifically, Step 3 restricts the Win-Admin user to viewing system access reports. The following example shows how to create a scoping policy called Win-Admin System Access that grants read access to the SafeObject, AppObject and specifies filters that restrict report access to those with the System Access tag. It also demonstrates how to test the policy, and after verification how to remove the pre-deployment setting.
The General area of a scoping policy designed to specify application access to read only or both read and write specifies SafeObject as the resource class name. The following example shows the policy name of Win-Admin System Access. It is a good practice to select Pre-deployment for a new policy until you have tested it and are satisfied it is ready for use in a production environment.
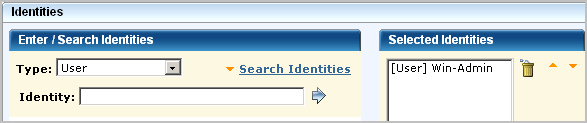
You can grant access to either users or groups. In this example, access is granted to the new user Win-Admin.
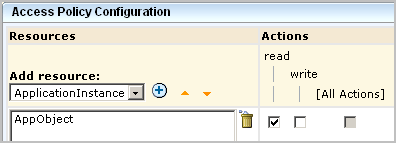
The "highest-level" policy created for CA User Activity Reporting Module is the CALM Access Policy, where CAELM is the application instance. This scoping policy is to specify that the read action is allowed on the application objects, AppObject, which refers to all the application features.
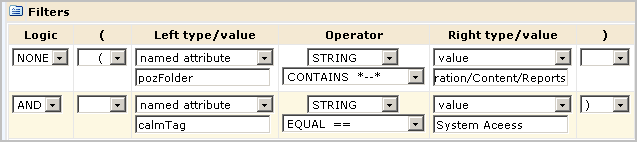
You can further limit the specified action allowed on all objects by specifying filters. Filters are often specified in pairs, where the first filter specifies the CA EEM folder where data related to a given feature is stored and the second filter specifies a restriction on objects in that location. The first filter in the following example limits CA EEM folder access to the folder where the reports resource is stored. Specifically, it specifies that the pozFolder contains /CALM_Configuration/Content/Reports. The second filter limits access to reports with the tag System Access by specifying calmTag is equal to System Access.
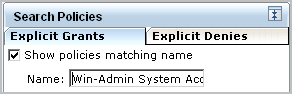
After saving a policy, you can search for it to review. You can search for policies by name, identity or resource. You can enter a partial value. You can also enter multiple criteria. Examples for this scenario follow.
Searching by the full name displays the one policy you need.
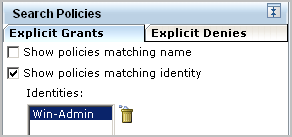
Searching by identity only displays all policies that apply to this identity including those that apply to all identities.
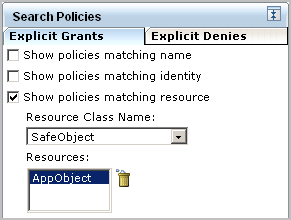
Searching by resource only where the resource is AppObject displays all system supplied and custom policies that grant read or read and write access to any identity.
When the custom policy you search for displays on the policy table, examine the values, including the filters. If you notice anything that requires correction, you can click the name link to redisplay the policy for editing.


It is a good practice to test each new policy. Be sure to enter the attribute/value pairs in the order you entered the filters, with the higher-level attribute first.

Verify that the result is ALLOW.

After verifying the result is ALLOW, clear the Pre-Deployment setting on the policy. Otherwise, you will not be able to log in as Win-Admin to evaluate what this user can do.

|
Copyright © 2013 CA.
All rights reserved.
|
|