

You can specify the properties of virtual appliance in an OVF template. VMware uses this template to provision a CA User Activity Reporting Module server. Use the VMware vSphere Client to deploy the OVF template.
Note: The screenshots in the following procedures contain sample data for your reference. These sample screenshots are in reference to VMware vSphere Client 4.0.0. We recommend that you specify data appropriate to your environment.
To deploy an OVF template
The VMware vSphere Client dialog opens.
The application window opens.
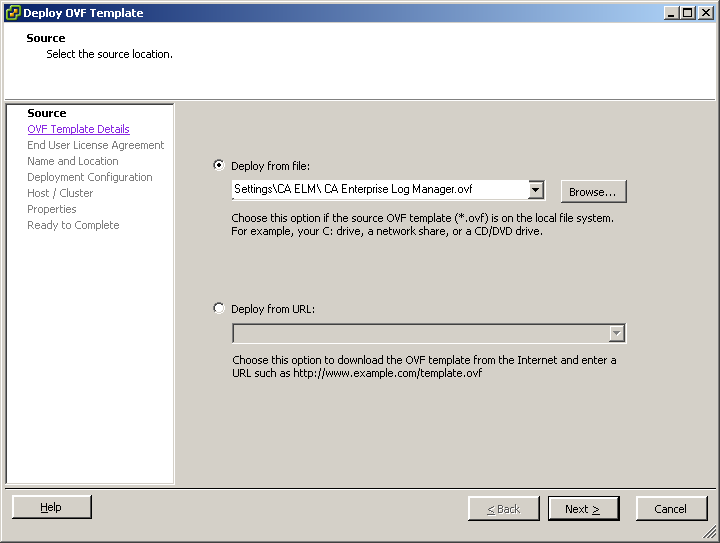
The Deploy OVF Template window appears. By default, the Deploy OVF Template window displays the Source page. You must enter the location of the OVF template in this page.
Note: The pages displayed in the Deploy OVF Template window vary according to the VMware vSphere Client version and settings you are using. For more information about deploying a OVF template, go to www.vmware.com.
The path of the OVF template location is displayed in the Deploy from file field.
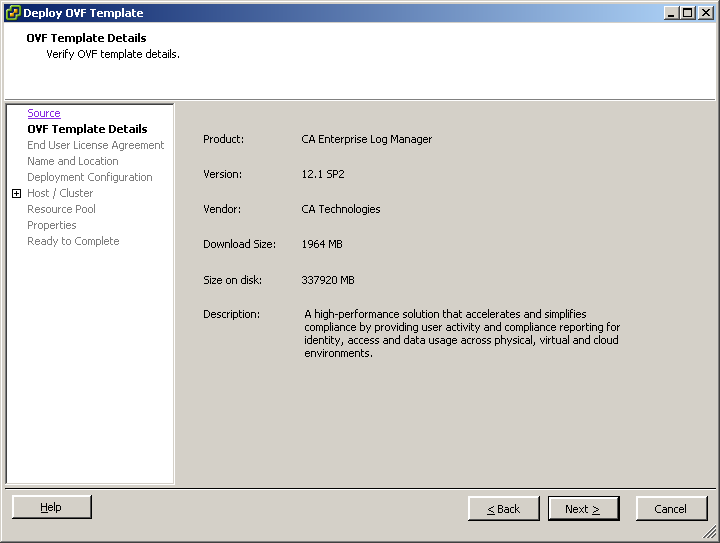
The OVF Template Details page opens. This page displays the details stored in the OVF template such as the download size, available disk size, and vendor name.
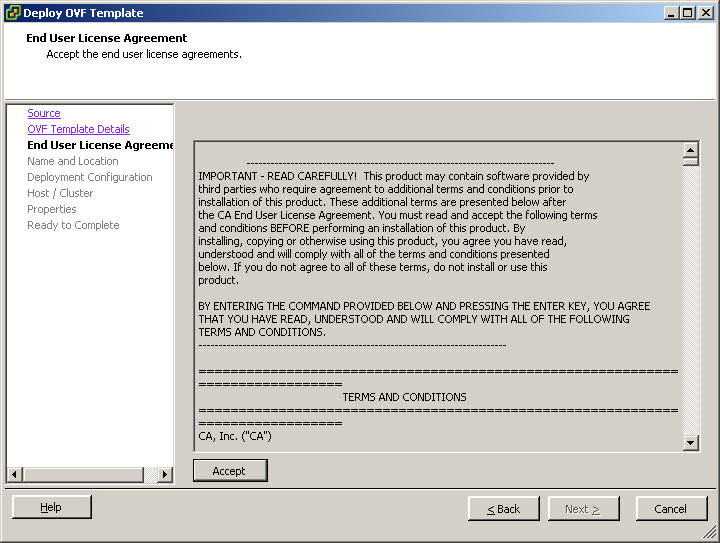
The End User License Agreement page opens. This page displays the license agreement for third-party products. You must accept this license agreement to install CA User Activity Reporting Module.
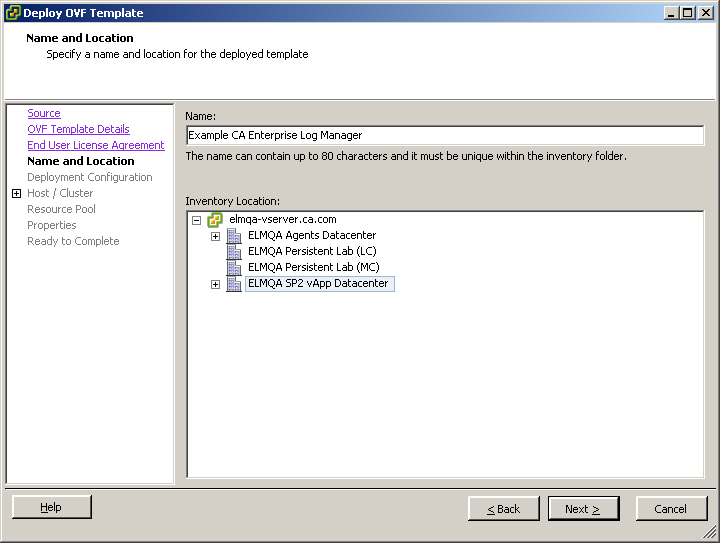
The Name and Location page opens. This page lets you add a name to identify the CA User Activity Reporting Module server, and specify the datacenter where you want to provision the CA User Activity Reporting Module server.
Note: By default, the name specified in the OVF template is displayed in the Name field.
The Deployment Configuration page opens. The Deployment Configuration page lets you specify the configuration mode of the CA User Activity Reporting Module server you want to provision.
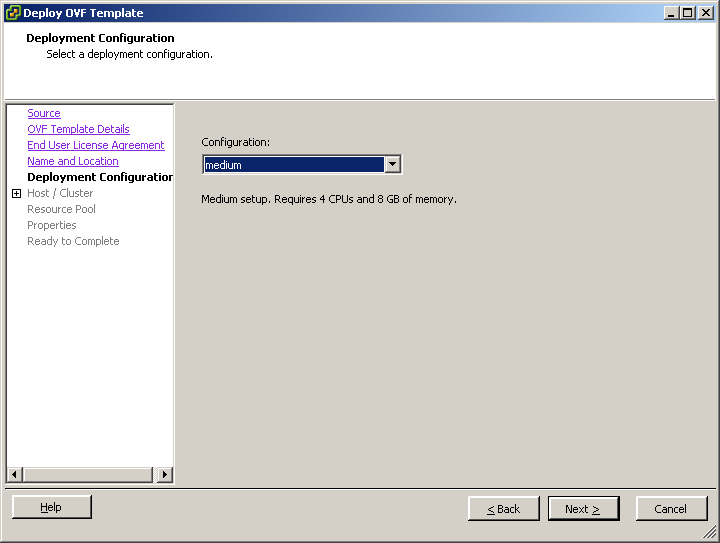
If you select medium, VMware provides four CPUs with 8 GB RAM for each CPU. If you select large, VMware provides eight CPUs with 8 GB RAM for each CPU.
Note: We highly recommend that you use a medium deployment configuration to provision a collection server, and a large deployment configuration to provision a management or reporting server.
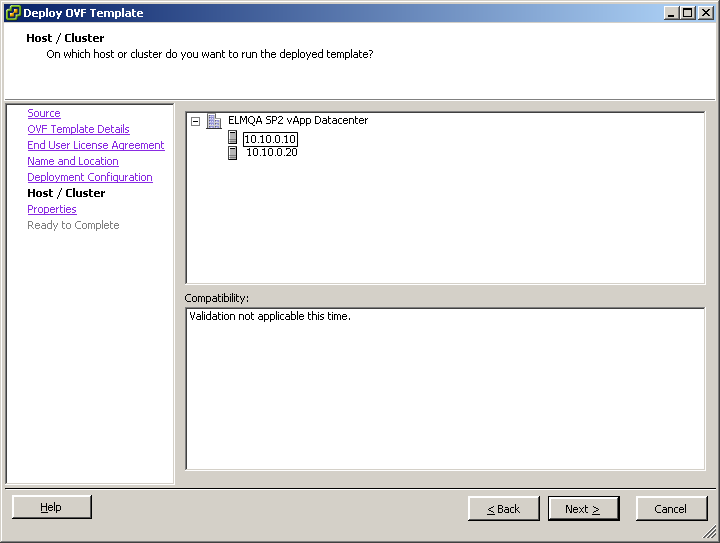
The Host / Cluster page opens. This page appears only if you have not selected the resource pool before you start importing the OVF template. The Host / Cluster page displays the datacenter you selected and its available clusters. You must specify the cluster location under the datacenter where you want to provision the CA User Activity Reporting Module server.
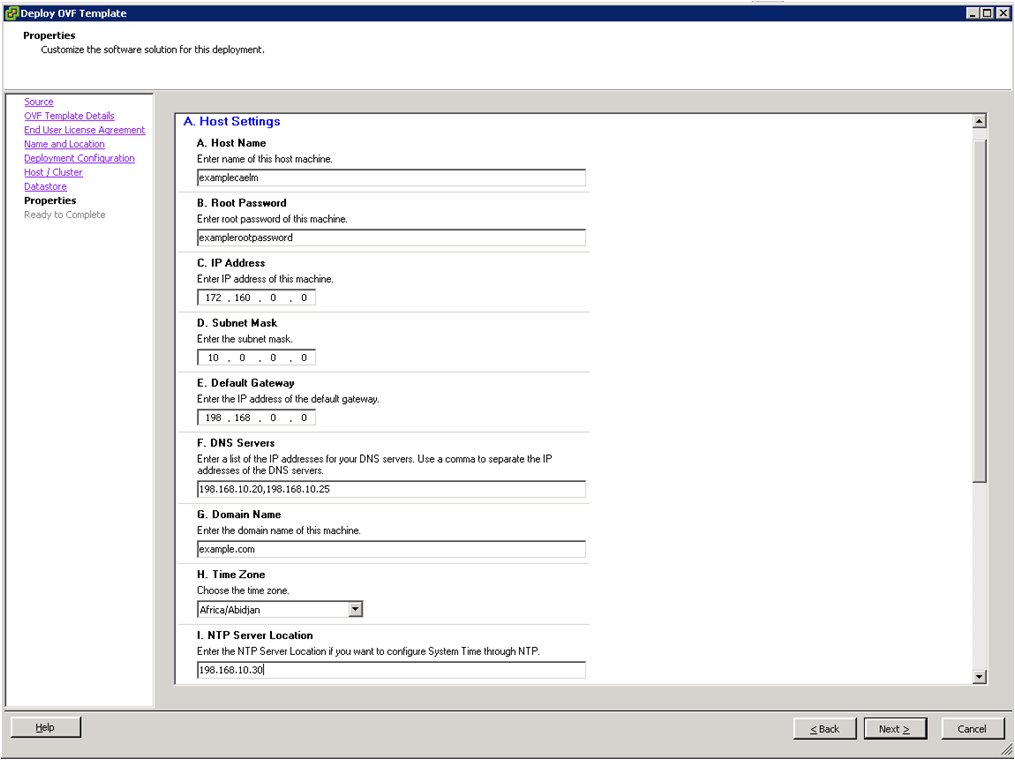
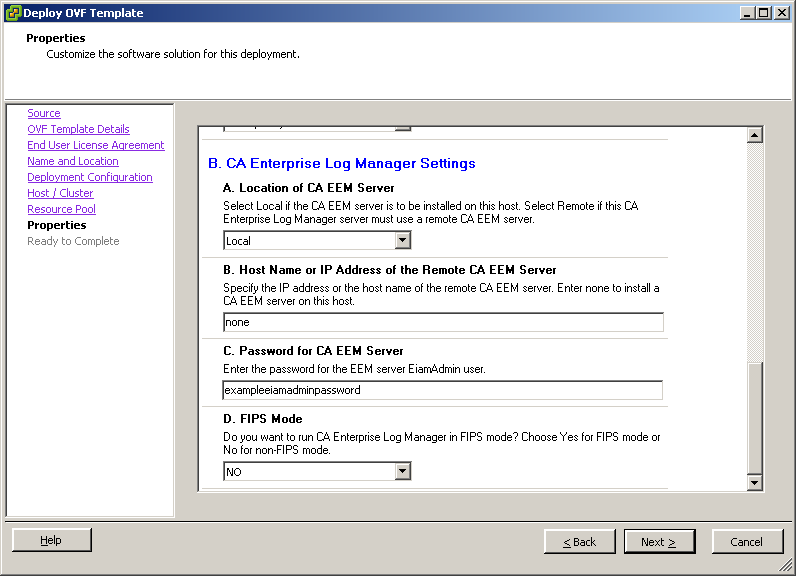
The Properties page opens. This page contains the Host settings and CA User Activity Reporting Module settings.
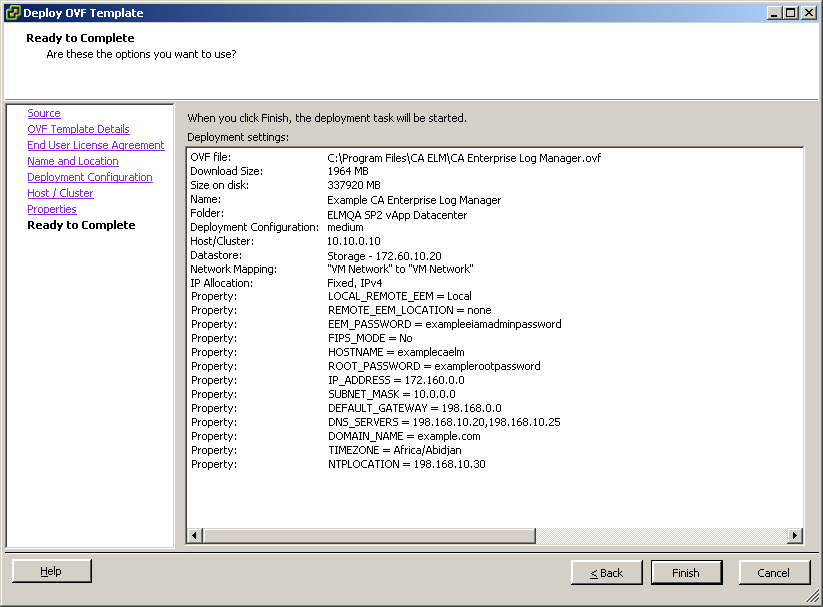
The Ready to Complete page opens. This page displays a summary of the details you have entered in the previous pages.
The message Opening VI target is displayed. The deployment status of the virtual appliance is displayed. If the installation is successful, the virtual appliance is listed under the datastore you selected in the left pane.
|
Copyright © 2013 CA.
All rights reserved.
|
|