

The simplest deployment that lets you view queried events is a single-server system. Be sure to select a machine that meets or exceeds the minimum hardware requirements for a CA User Activity Reporting Module soft appliance.
Note: See the Release Notes for the certified hardware list, operating system support, and system software and service requirements.
To install a CA User Activity Reporting Module for a single-server system
Note: The domain must be registered with the DNS Servers in your network for the installation to complete.
This is the default application name for the CA User Activity Reporting Module application.
Installation progress information appears.
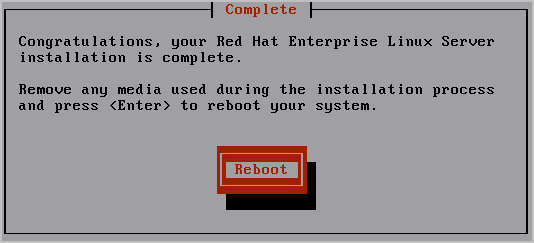
The system reboots and enters non-interactive startup. It displays messages describing installation progress. Detailed information about this installation is saved in the following file: /tmp/pre-install_ca-elm.log.
The following prompt appears:
Please insert the CA Enterprise Log Manager r12 - Application Install disk and press enter.
Your system is reviewed for whether it meets the minimum recommended specifications for optimal performance. If it does not, a prompt appears asking whether you want to stop the installation process.
The following prompt appears:
Please enter a new hostname :
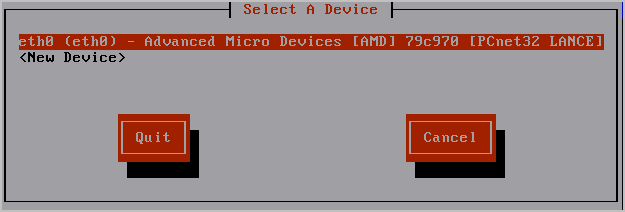
The network services are restarted with the new settings, which are displayed.
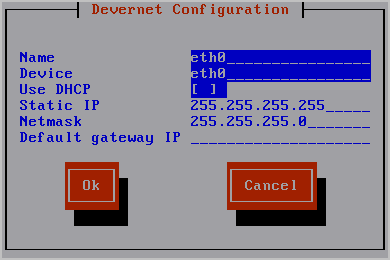
The following message appears:
Do you want to change the network configuration? (n):
The following message appears:
Please enter the domain name for this system :
The following message appears:
Please enter a comma separated list of DNS servers to use:
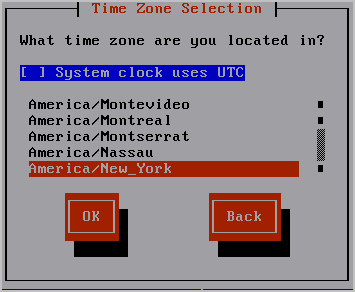
Your system date and time is displayed with the following message:
Do you want to change the system date and time? (n)
The following message appears:
Do you want to configure the system to update the time through NTP?
If you specify yes, the following message appears:
Please enter the NTP Server name or IP Address
A confirmation message similar to the following appears: "Your system has been configured to update the time at midnight using the NTP server located at <yourntpserver>."
At the end of the EULA, the following message appears:
Do you agree to the above license terms? [yes or no]
Product registration information is displayed followed by this message:
Press Enter to continue.....
Messages state that in preparation for CA User Activity Reporting Module installation, the system settings are being configured. The CA end user license agreement displays.
At the end of the license, the following message appears:
Do you agree to the above license terms? [Yes or no]:
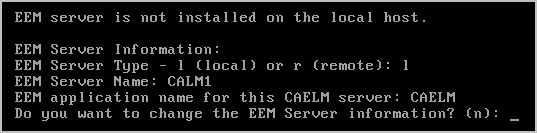
CA EEM server information appears.
Do you use a local or remote EEM server?
Enter l (local) or r (remote) :
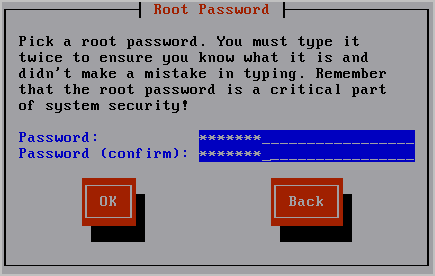
Enter the password for the EEM server EiamAdmin user :
Confirm the password for the EEM server EiamAdmin user :
Enter an application name for this CAELM server (CAELM):
The EEM Server information you entered so far appears with a message that asks if you want to make changes.
The installation process begins. Messages appear showing the progress as each CA User Activity Reporting Module component is successfully installed, registrations completed, certificates acquired, files imported, and components configured. The message CA ELM Installation succeeded appears. When the installation completes, the system displays the console logon address.
Do you want to run CAELM Server in FIPS mode?
Enter Yes or No
If you enter y, the CA User Activity Reporting Module server will start up in FIPS mode. If you enter n, it will start up in non-FIPS mode.
A <hostname> login prompt appears. You can ignore this.
Note: If, for any reason, you want to display the operating system prompt from this login prompt, you can do so by entering caelmadmin and the default password, which is the password you assigned to the EiamAdmin user account. You use the caelmadmin account to log in to the appliance on the console or through SSH.
|
Copyright © 2013 CA.
All rights reserved.
|
|