

To run the CA SRM Exchange Registration Wizard, follow these steps:
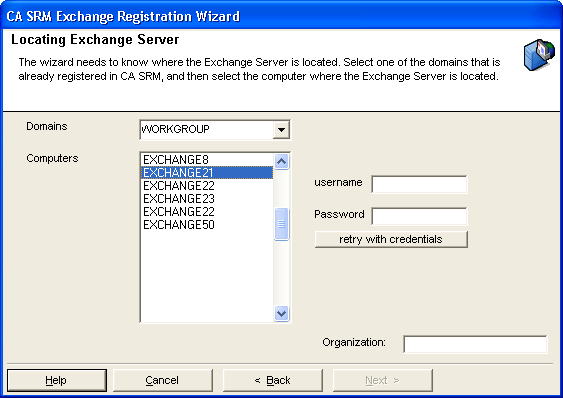
Note: If you select Exchange 2000, 2003, 2007, 2010, or 2013, CA SRM lists all Microsoft Exchange computers in the domain.
If no Exchange servers appear in the Computers list for a given domain, but you know that there are Exchange servers in the domain, enter your Active Directory credentials in the Username and Password text boxes and click Retry with Credentials.
Note: You only need to enter your Active Directory credentials if you are unable to discover any servers.
Enter:
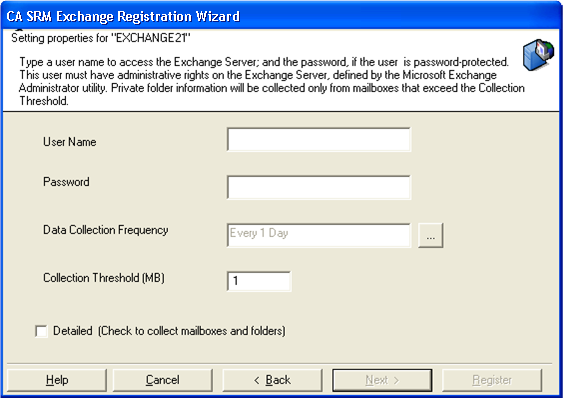
CA SRM collects basic information automatically. Collecting detailed information increases the time required by the data collection service.
Note: The user must have administrator rights on the Exchange server, defined using the Microsoft Exchange Administrator utility.
To attach a geographic location to the computer or server, select one from the drop-down list. You can manually add a location by clicking New Location. Type the location information and select a contact in the Create New Location dialog.
To attach an organization to the computer or server, select one from the drop-down list. You can manually add an organization by clicking New Organization. Type the organization name and select a contact in the Create New Organization dialog.
Add a contact by clicking New Contact in the Organization or Location dialogs. Type the name, telephone number, and email address of the new contact person in the Create a New Contact dialog. You can access your default address book by clicking the To: button and select the email address from there. Clicking OK returns you to the New Location or New Organization dialog.
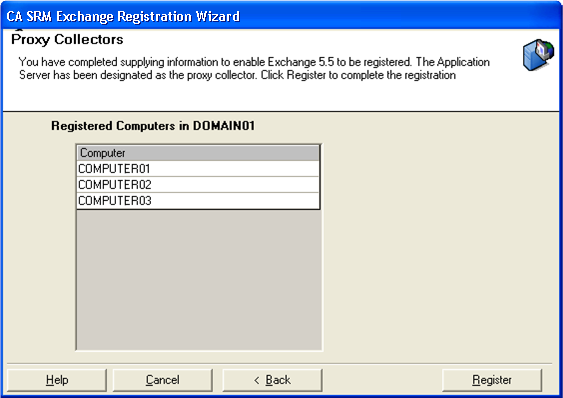
When finished, click Register.
|
Copyright © 2016 CA Technologies.
All rights reserved.
|
|