

Managing Defined Applications › Defining an Automate Service
Defining an Automate Service
This section describes how to create Automate services using the Service Builder Wizard. The Service Builder Wizard contains predefined sets of sample services. After completing the configuration steps, the automate service is ready to use. If you want to tailor a service, use the Automate Service Builder Wizard to customize it.
The following example shows you how to check large footprint defined applications and send a message to the Windows Event Log.
To do this, follow these steps:
- Expand the CA SRM Object Tree, Open Systems, Services, Service Definitions, and then select Automate, as shown in the following diagram:
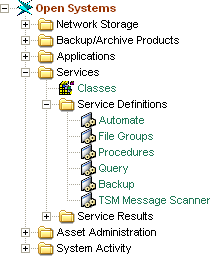
The Automate table opens. You can also access Automate services from the Open Systems file menu by selecting Create Services and then Automate.
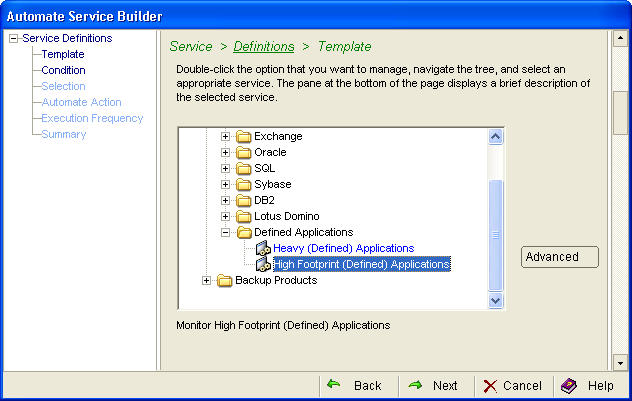
- Click the Configuration menu and then New in the Automate table. The Automate Service Wizard opens. From the Automate table main menu, select Configuration, and New. In the Template dialog expand Applications, Defined Applications, and then select High Footprint (defined) Applications:
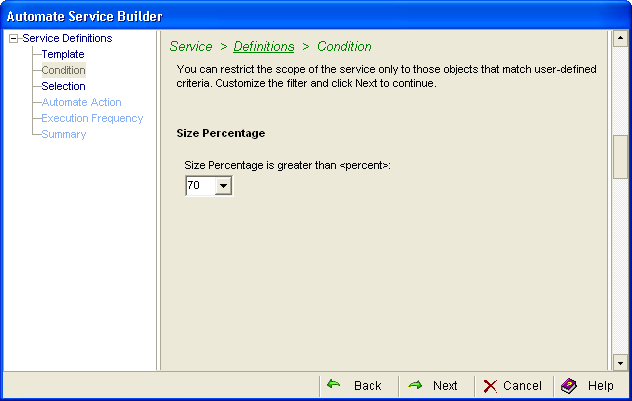
- Select the condition that triggers the message. In this example when the defined application's footprint exceeds 70% a the service sends the message:
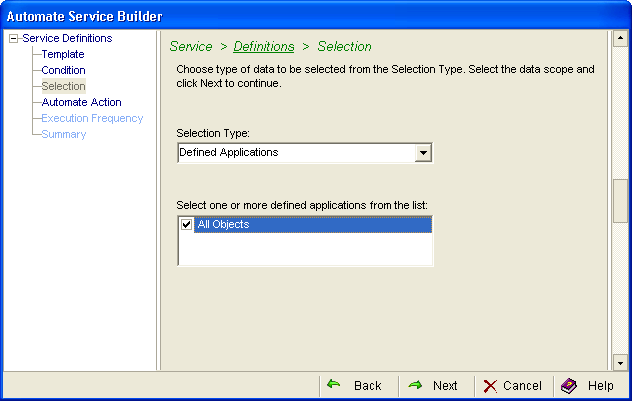
- Select the objects you want to include in this service. In the Selection Type drop-down list select Defined Applications. Select the specific applications in the selection box:
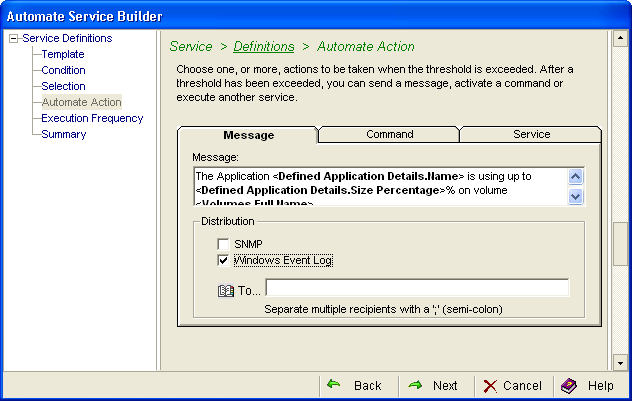
- Click the Message tab and select Windows Event Log. This means after the threshold is reached the service will send a message to the Windows Event Log:
- Select the execution frequency. The service can operate:
- Immediately—Collection occurs immediately but only once.
- Execute once—Collection occurs at a future date but only once. Click the drop-down list to enter the date in the calendar.
- Execute periodically—Collection occurs at regular intervals. Designate the interval in the Every box. Enter a number then select the frequency:
- Hours
- Days
- Weeks
- Months
- Business Days
If you select Weeks, you can choose a specific day in the On box. The On box is inactive for the other frequencies.
The Retain Historical Data (Trending) option is only available when you enable periodic execution.
- Specific Time—Collection occurs at, or as soon as possible after, a specific time of day. If a server is down and CA SRM cannot collect at the specified time, CA SRM collects as soon as it can that day (prior to midnight).
If you want to collect at a specific time check this box. This only works in conjunction with the Execute once and Execute periodically options. Use the spin box to designate the time of day you want the collection to occur.
- Hold—This option keeps the service available but the service does not run. It remains on hold until you change the option to one of the frequencies listed above. You can use the Hold option for situations where you want to kickoff this service from outside of CA SRM using the command line option. Hold is not available for every service.
- The Summary dialog displays the parameters for the service that you have defined. If you want to make changes, click the Back button. If there are no changes, click Launch to name and then execute the service. Click Save to save the service without executing it. CA SRM runs the service according to the configuration shown in this dialog.
Note: If you make changes in the Advanced dialog, you will have to use it for all of your future changes. After you use the Advanced dialog for a service, you can no longer edit the service in the Service Builder Wizard.
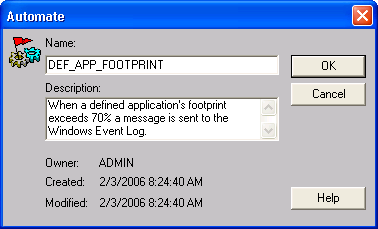
- Enter a name for the service in the dialog. You can also provide an optional description. When you finish, click OK. The service executes or saves depending on what you selected in the previous dialog:
You can use the CA SRM Activity Monitor to check the progress of any service that you create. From the Open Systems menu, select Activity Monitor.
Copyright © 2016 CA Technologies.
All rights reserved.
|
|