Previous Topic: Import a ReportNext Topic: Schedule a Report


Export a Report

For situations where you are running CA SRM Web Reporter from more than one Business Objects Universe, you can use the Import Wizard to save and export reports between universes. This saves you the time of having to recreate a custom report on each universe.

This procedure is a generic example of how you might use import wizard to export a report.

To export a report

  1. Click Start, Programs, BusinessObjects <release>, BusinessObjects Enterprise, Import Wizard.

    Note: <release> indicates installed version of [assign the value for boe in your book].

    Import wizard welcome screen opens.

  2. Click Next.

    The Source Environment dialog opens.

    Exp_Screen1

  3. Click the Source drop down arrow and select the source Business Intelligence Archive Resource (BIAR) File from which you are going to export the report.

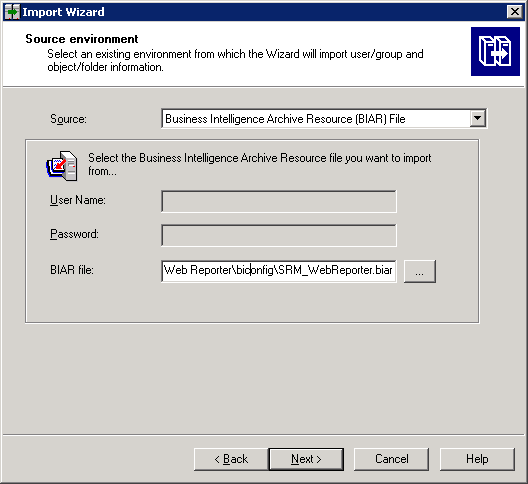
    Note: In this example we are using the BIAR file as the source.

  4. Click the ... button to open the search dialog, navigate to and select the BIAR file and then click Next.

    The Destination Environment dialog opens.

    Exp_Screen2

  5. Complete the CMS Name, User Name, and Passwords fields for the destination computer.
  6. Select the authentication mode by selecting from drop-down menu and then click Next.

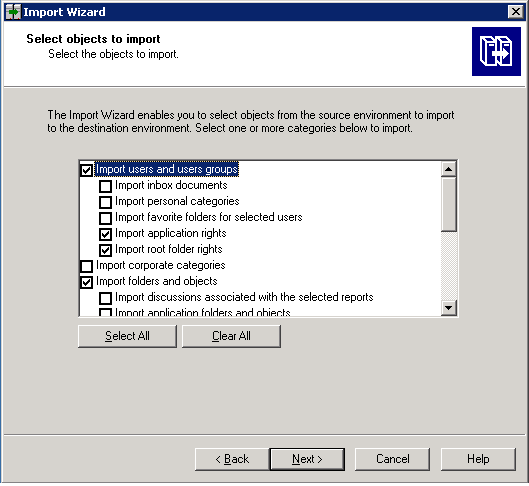
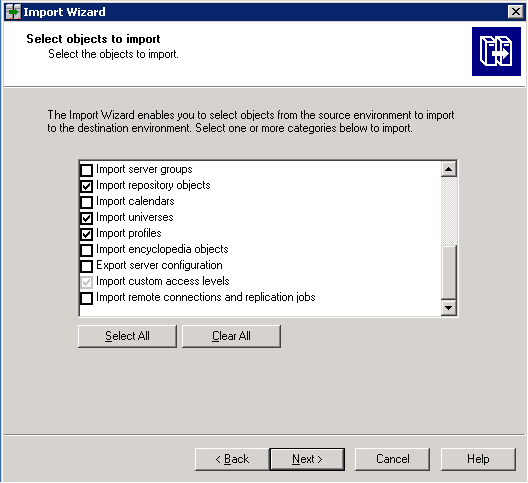
    The Select Objects to Import dialog opens.

    Exp_Screen3

    Exp_Screen3

  7. Select the import options you want to use, and then click Next.

    The Users and Groups dialog opens.

  8. Select the applicable Groups and Users, and then click Next.

    The Custom Access Levels dialog opens.

  9. Select the required custom access levels you want to use and click Next.

    The Folders and Objects dialog opens.

  10. Navigate to and select the report to export, and then click Next.

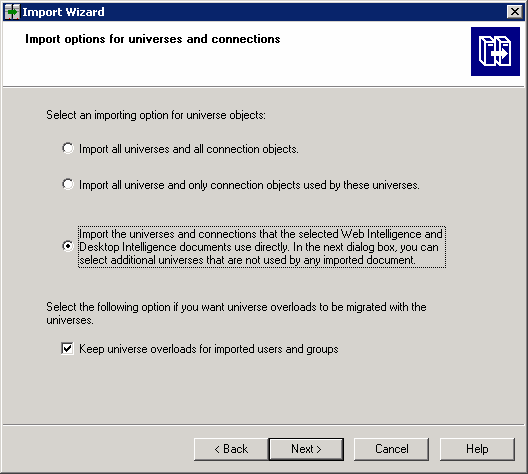
    The Import options for universes and connections dialog open.

    Import5

  11. Select the third option as in the previous example, and then click Next.

    The Universe Folder and Universes dialog opens.

  12. Select the CA SRM central database universe and then click Next.

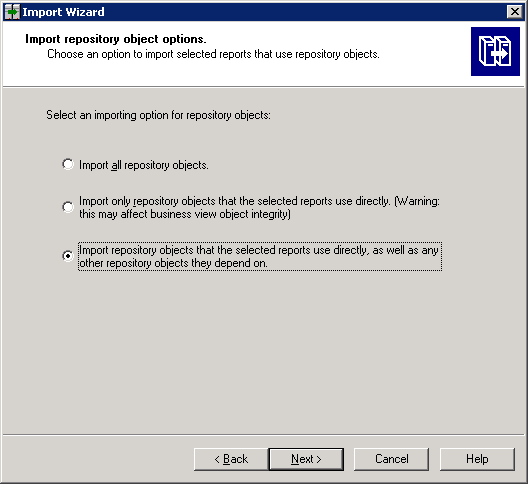
    The Import Repository Object Options dialog opens.

    Exp_Screen10

  13. Select the third option as in the previous example, and then click Next.

    The Import Options for Publications dialog opens.

  14. Select an import option and then click Next.

    The Ready to import dialog opens.

  15. Verify the information and then click Finish.

    The export process completes.