

The settings you select here apply only to the report generated by your manual execution. They are not saved in the view definition.
Observe the following:
To create different kinds of output with the Windows Client and send output to different destinations
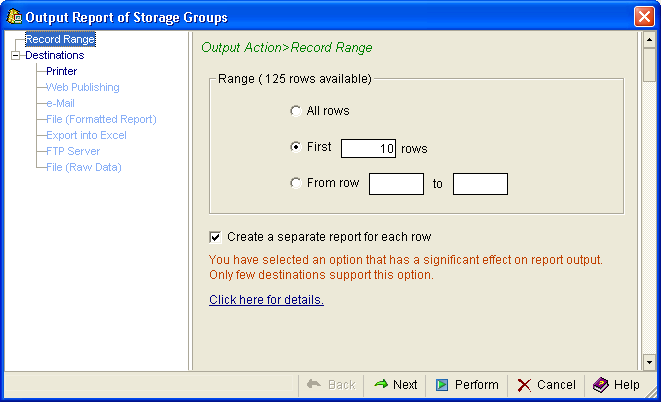
When this option is selected a separate report is created for each row specified and the reports are published at the destinations specified in the Destination dialog.
Each report file is given a unique name by adding a key value to its name. The syntax of the file name is given_name (key_value).file_extension. You can specify the given_name in the destinations dialogs, if no given_name is provided then the default is used. For example, the default file name for the APCDASD Storage Group PDF will appear as “POOLS Report (APCDASD).PDF”.
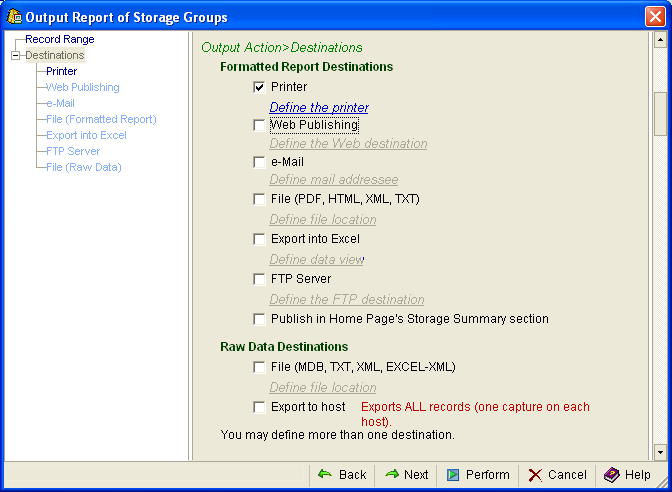
With this option only reports with table, trend, or both components are produced, and only the following report destinations and formats are supported:
Note: Reports based on Light-Trend or Multi-Host views ignore this option.
If either the destination or the format are not supported then the request is ignored. For example, requests for separate row reports for e-Mail, Web Publishing, Export into Excel and File (Raw Data) destinations are ignored, also requests for File - XML format, File - TXT format, and FTP Server - Excel (XSD+XML) format are ignored, and so on.
This option has a significant effect on the report output, including the number of reports. For example, if you have specified 200 rows then 200 reports will be created. The Record Range dialog has a Click here for details link, if selected a window appears explaining this option further.
|
Copyright © 2013 CA.
All rights reserved.
|
|