

You can initiate single logout at the Service Provider.
To configure single logout at the SP
The SAML 2.0 Auth Scheme Properties dialog opens.
The rest of the fields become active.
http://www.idp.demo:80/affwebservices/public/saml2slo
http://www.sp.demo:81/spsample/SLOConfirm.jsp
Use the web pages included with the sample application to test single logout. To have access to these pages, you must have run the sample application.
The web pages are located in the following two folders.
policy_server_home/samples/federation/content/idpsample
policy_server_home/samples/federation/content/spsample
Specifies the installed location of the SiteMinder Policy Server.
Important! If you have run the sample application, the idpsample and spsample folders are automatically copied into the document root directory of your web server.
If you have not run the sample application, use your own web pages. Verify that your HTML page for testing SP-initiated single sign-on includes a hard-coded link to the single logout service.
After you have successfully tested single sign-on, you can test single logout from the SP.demo welcome page.
To test single logout
On the SP Welcome page, click the link labeled Single Logout using HTTP Redirect binding.
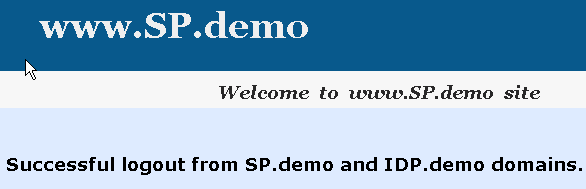
If single logout is successful, the following page appears:
Complete tasks at the Identity Provider and Services Provider to configure artifact single sign-on.
Required tasks at the Identity Provider:
Required tasks at the Service Provider:
For artifact binding, set up and enable the session store at the IdP. When you use the artifact binding, the session store is required to store the assertion before it is retrieved with the artifact.
To enable the session store
For instructions, see the Policy Server Installation Guide.
SiteMinder Session Data Source
admin
dbpassword
dbpassword
16 (default)
Enable SSL for the web server where the Web Agent Option Pack is installed. Enabling SSL verifies that the back channel over which the assertion is passed is secure.
Follow these steps:
For the IIS Web Server used in the sample network, the IIS Certificate Wizard would be used.
|
Copyright © 2012 CA.
All rights reserved.
|
|