

Configure an XML Digital Signature (XML DSIG) authentication scheme to verify user identities that are associated with the X.509 certificates used to sign XML request messages.
To use an X.509 certificate to identify a user, the XML DSIG authentication scheme uses a certificate mapping to compare a certificate with a user in a user directory. A certificate mapping defines how data in the certificate is mapped to form a user Distinguished Name (DN), which the Policy Server uses to authenticate the client.
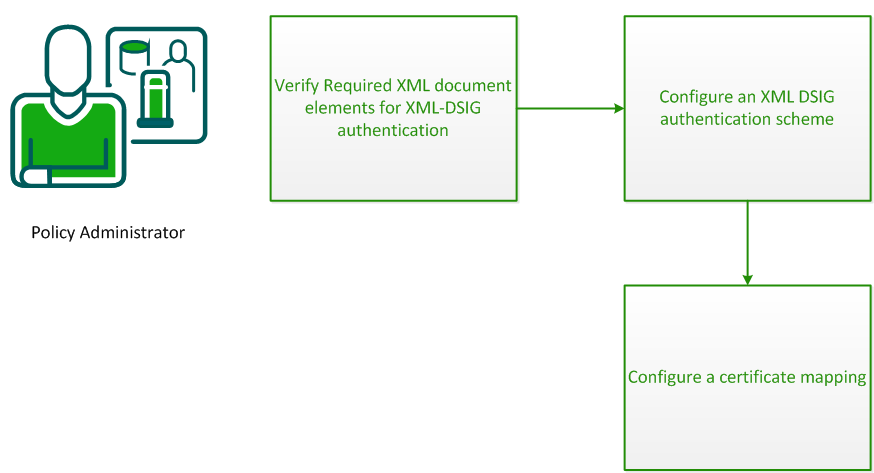
To configure CA SiteMinder® Web Services Security to validate user identities using XML DSIG authentication, complete the following process:
For the XML-DSIG authentication scheme to work, the XML document sent by the web service consumer must contain the following elements:
As the parent element for the XML signature, it specifies all information relevant to the digital signature.
To verify the signature, CA SiteMinder® Web Services Security requires that an X.509 certificate be part of the <Signature> element in the XML document.
Because the Policy Server does not interact with a Certificate Authority for this scheme, you must configure a certificate mapping that maps the Issuer DN in the certificate to a corresponding entry in the referenced user store. For LDAP user directories only, you can configure the certificate mapping to require that a copy of the certificate is in the user store to be compared against the certificate in the document.
This element specifies the key needed to validate the signature. This information may include keys, names, and certificates for the sender.
For the Policy Server to authenticate a client, this element must have enough information to determine the public key that created the signature.
This is a child element of <KeyInfo>; it contains a string value that identifies the key to the recipient of the XML document. This string could be a key index, a distinguished name (DN), or an email address, for example.
The Policy Server maps the value of this element to an entry in the user store.
To obtain authentication information from digital signatures associated with incoming XML documents, you configure the XML DSIG authentication scheme.
Follow these steps:
The Create Authentication Scheme pane opens.
Authentication scheme settings open.
Note: Click Help for descriptions of settings and controls, including their respective requirements and limits.
Note: If the XML document uses raw XML, select the Must cover entire document option, because the entire document is the payload. With raw XML, no envelope headers or body tags exist to distinguish the payload from other content.
The authentication scheme is saved. You can now assign it in application object components or realms.
A certificate mapping defines how data in the certificate is mapped to form a user Distinguished Name (DN), which the Policy Server uses to authenticate the client.
Configure a certificate mapping that lets CA SiteMinder® determine how to compare user certificate information with the information stored in the user directory.
To configure a certificate mapping
The Certificate Mappings page appears.
The Create Certificate Mapping page appears.
Note: Click Help for descriptions of settings and controls, including their respective requirements and limits.
When entering the DN, escape reserved special characters with a backslash (\). Special characters include:
More information about reserved special characters for DNs exists at http://www.faqs.org/rfcs/rfc2253.html.
Note: If you use a relational database as a policy store, Issuer DNs cannot exceed 255 characters. If you use an LDAP directory as a policy store, verify the character limit for your specific directory.
For LDAP directories only, you can configure the Policy Server to verify that the certificate the user presents matches the certificate stored in the user record in the user directory. The Certificate Required in Directory option lets you require this verification.
Note: The attribute in the user record where the certificate is stored is named usercertificate.
If you do not select CRLs, you can use OCSP.
The certificate is mapped with the selected user directory.
Note: For more information about certificate mapping, including how to test a mapping and configure custom mapping expressions, see Certificate Mapping for X.509 Client Authentication Schemes in the Policy Server Configuration Guide.
|
Copyright © 2013 CA.
All rights reserved.
|
|