

For authentication and single log-out requests, you can enable SAML 2.0 HTTP POST binding as a method for exchanging requests and responses.
This procedure assumes that you are familiar with federated environments and have created and activated one or more of the following partnerships:
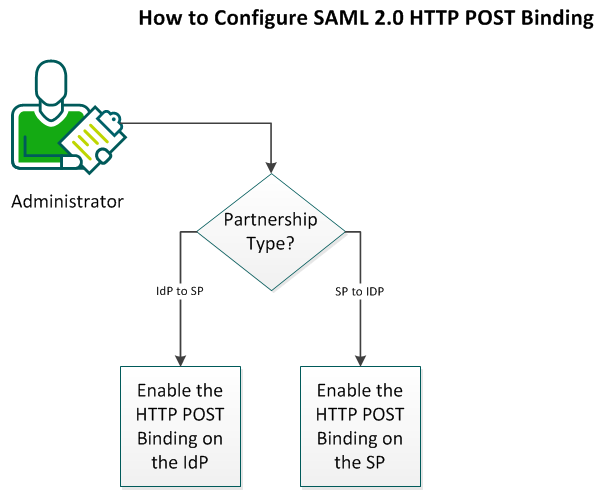
The following graphic describes how to enable SAML 2.0 HTTP POST binding:
Follow these steps:
You can enable the HTTP POST binding on the IdP side (of an IdP to an SP partnership).
Follow these steps:
Specifies the types of bindings the IdP allows when it receives an authentication request from the SP.
Options: HTTP-Redirect, HTTP-POST
Determines which single sign-on profile the federation system uses for processing requests. You can select all bindings; the local entity determines the sequence in which the bindings are tried.
Options: HTTP-Artifact, HTTP-POST, Enhanced Client and Proxy
Note: Select the ECP profile if the entities in the partnership are communicating indirectly through an enhanced client. An enhanced client can be a browser or other user agent, or an enhanced proxy, such as a wireless proxy for a wireless device.
Note: You can select multiple bindings for each item. For example, you can select HTTP-Redirect and HTTP-POST together. You also can select different bindings for each of these items. For example, you can select the HTTP-POST binding for one and the HTTP-Redirect binding for another.
Note: You can select multiple bindings for this item. For example, you can select HTTP-POST and HTTP-Redirect together.
SSO HTTP-POST binding is enabled.
You can enable the HTTP POST binding at the SP side (of an SP to an IdP partnership).
Follow these steps:
Specifies the types of bindings the SP uses when it sends an authentication request to the IdP.
Limits: HTTP-Redirect, HTTP-POST
Determines which single sign-on profile the federation system uses for processing requests. You can select all bindings; the local entity determines the sequence in which the bindings are tried.
Options: HTTP-Artifact, HTTP-POST, Enhanced Client and Proxy
Note: Select the ECP profile if the entities in the partnership are communicating indirectly through an enhanced client. An enhanced client can be a browser or other user agent, or an enhanced proxy, such as a wireless proxy for a wireless device.
Note: You can select multiple bindings for each item. For example, you can select HTTP-Redirect and HTTP-POST together. You also can select different bindings for each of these items. For example, you can select the HTTP-POST binding for one and the HTTP-Redirect binding for another.
Note: You can select multiple bindings for this item. For example, you can select HTTP-POST and HTTP-Redirect together.
SSO HTTP-POST binding is enabled.
|
Copyright © 2013 CA.
All rights reserved.
|
|