

|
|
|
You can use the Windows Client Output Report feature to define output formats, schedules, and destinations of your object view as it is currently displayed. When you select Destinations in the Output Report feature, you can indicate the format of the report and where you want a report to be published.
Note: The Customize Reports Wizard in the Web Client provides a output report feature where you can define output formats, schedules, and destinations of object user-view data. For more information, see the CA Vantage SRM Web Client Guide.
When using this feature in the Windows Client, the output includes all the information from your object view as it appears in your object view at the time you generate the report. Before you generate the report, you can use other object view options (such as filter, sort, color code, and so on) to design how the information appears in your object view and subsequently how the report appears. The number of records in the report depends on the Record Range settings. You also have the option of using the View and Output Definition feature to customize reports with the appearance and information you want.
To start the Output Report feature in the Windows Client
The object view appears.
The Output Report dialog appears.
The following is a sample of the Windows Client Destinations dialog of the Output Report feature for the Storage Group object.
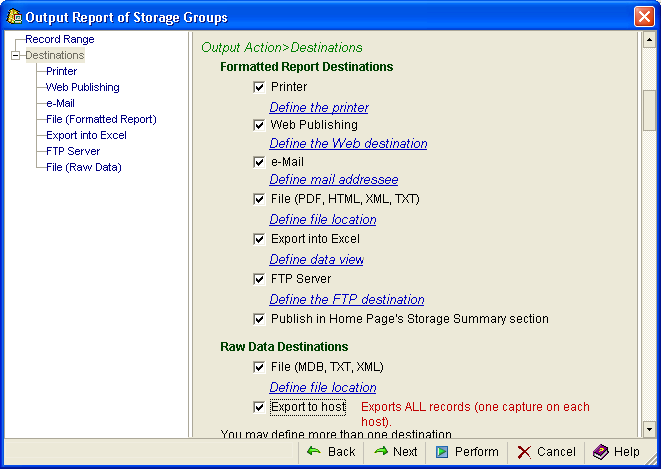
Each output destination gives you additional options as shown in the following example procedure for creating a Formatted File.
To produce a Formatted File using the Output Report feature
A check mark appears in the box next to the File (PDF, HTML, XML, TXT) option and the Define file location link is highlighted.
The Output Action>Destinations>File (Formatted Report Destinations) dialog appears with PDF (Adobe Acrobat) format selected as shown in the following sample.
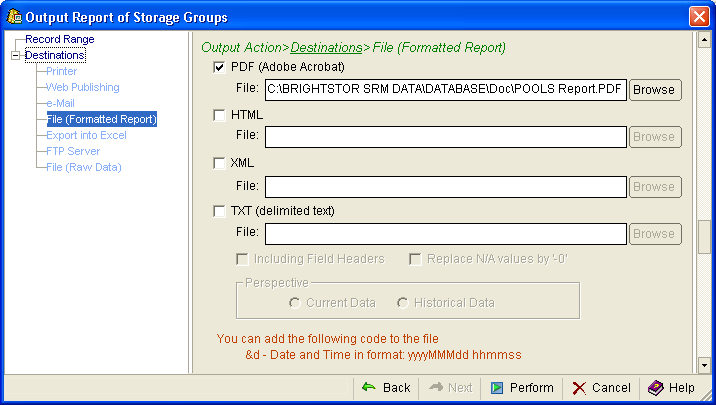
The File: field is populated with a default location dependant on the formats selected.
The File: field is populated with the new file location.
The Output Action>Destinations>File (Formatted Report Destinations) dialog closes, and the file is created and filed in the location indicated.
Note: For more information about the Output Report dialogs, click the Help icon in the Output Reports dialog.
| Copyright © 2012 CA. All rights reserved. | Tell Technical Publications how we can improve this information |