

|
|
|
You can quickly print an object view using the Windows Client Print Report icon (![]() ) from the toolbar of the object view.
) from the toolbar of the object view.
Note: The Customize Reports Wizard in the Web Client provides a output report feature with output report options. You can then print the output report as you would any report. For more information, see the CA Vantage SRM Web Client Guide.
When using this Windows Client feature, the output includes all the information from your object view as it appears in your object view at the time you generate the report. Before you generate the report, you can use other object view options (such as filter, sort, color code, and so on) to design how the information appears in your object view and subsequently how the report appears. The number of records in the report depends on the Record Range settings. You also have the option of using the View and Output Definition feature to customize reports with the appearance and information you want.
To quickly print an object view using the Print Report icon in the Windows Client
The object view appears.
The Output Action>Record Range dialog appears as shown in the following sample.
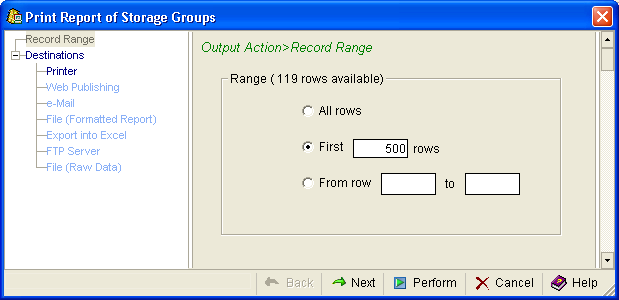
The number of rows you want included is indicated.
The Output Action>Record Range dialog closes and the print file is sent to your default printer. You do not need to perform any more of the following steps.
The Output Action>Destinations dialog appears.
The Output Action>Destinations>Printer dialog is displayed as shown in the following sample:
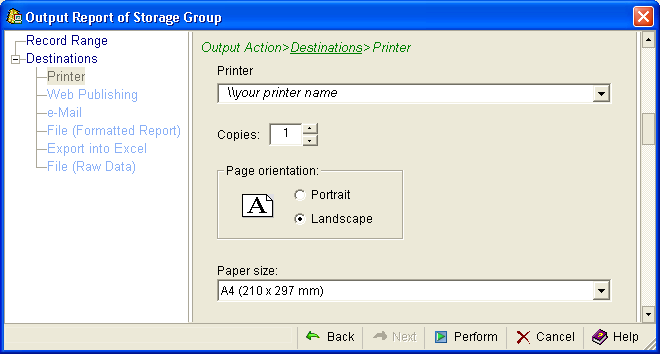
Note: The Printer drop-down list includes all printers you have defined in your Windows operating system printer setup.
The printer name selected appears.
You can also use the Output Action>Destinations>Printer dialog to indicate number of copies, page orientation, and paper size.
The Output Action>Destinations>Printer dialog closes and the print file is sent to the printer.
Note: For more information about the Output Report dialogs, click the Help icon in the Output Reports dialog.
| Copyright © 2012 CA. All rights reserved. | Tell Technical Publications how we can improve this information |