

Upgrade Examples › Example: Upgrade Any Node of the Domain Orchestrator from 3.1 SP01 to Release 4.2 on Windows
Example: Upgrade Any Node of the Domain Orchestrator from 3.1 SP01 to Release 4.2 on Windows
The following example is the first of two related examples on upgrading a clustered Domain Orchestrator from 3.1 SP01 to Release 4.2 on a Windows operating system. The examples include selected screenshots and commentary for the following scenario:
- Domain Orchestrator node 1 - pam-sandbox-n1
- Domain Orchestrator node 2 - pam-sandbox-n2
- Load Balancer for Domain Orchestrator - pam-sandbox-LB
These are the steps:
- Log in to the host with the node of the clustered Domain Orchestrator that you plan to upgrade.
- Open the CA Process Automation release you are upgrading. For example, from the Start menu, select Programs, CA, CA Process Automation Domain 3.1 SP01, Start CA Process Automation Management Console.
Note: This is an easy way to verify that CA EEM is running and that your database server is active. This is a prerequisite to upgrade.

- Click Sign Out, close the CA Process Automation Management Console, and stop the Orchestrator Service. (If you open Services, you can verify that the service is not in Started status. Do not proceed while the Status is "Stopping." Refresh this view and wait until the Status field is cleared.

- Navigate to the DVD1 folder on the installation media and start the Domain_Installer_windows.bat.
- Click Next to move through the initial pages of the Third-Party Installer Setup wizard:
- Welcome to the CA Process Automation 3rd Party Installer Setup Wizard
- License agreement - I accept the terms of the License Agreement
- For Select Destination Directory, browse to the exact directory that contains the files for CA Process Automation 3.1sp01: bin, client, docs, lib, and server. This directory is typically ITPAM, but it could have a name you previously provided.
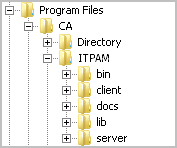
Important! You must point to the correct directory so that the installation process recognizes your previous configuration options.
- Click Next to proceed through Prerequisites for CA Process Automation Installation.
Installation of third-party components begins.
- When the JDBC Jars for Installation page appears, click Add Files if you are using a MySQL database server or a SQL Server. Browse to the location of the appropriate jar file.
For example, the JDBC driver for SQL Server has changed, browse to DVD1\drivers\jtds-1.3.jar for SQL Server.
- When the Completing the CA Process Automation Setup Wizard page appears,
- Change the last directory of the displayed path from DVD1 to DVD2.
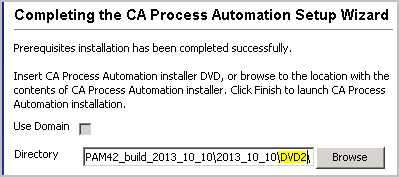
- Click Finish.
The following message appears: "Copying CA Process Automation installer. This may take a few minutes to complete, please wait."
- When the Welcome to CA Process Automation Domain Setup Wizard appears, click through the initial pages of the wizard:
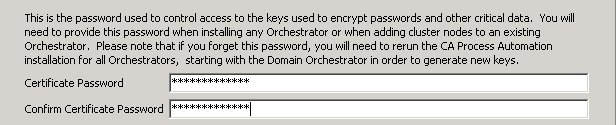
- When the Set Certificate Password appears, enter the same certificate password that was used in the previous release, and then click Next.
- Click Next to Select Start Menu Folder - the default is CA Process Automation 4.2
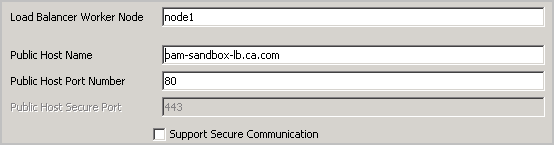
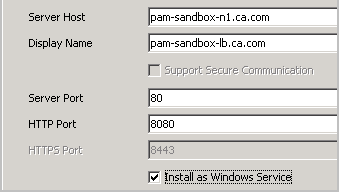
- For General Properties, click Next. Install as Windows Service is selected by default.
The following example includes our sample data:
- Click Next to proceed through the following pages:
- Scripts Temporary Directory
- Powershell Execution Policy
- When the Embedded Entitlements Manager (EEM) Security Settings appears, entries from your previous configuration are populated by default. For example:
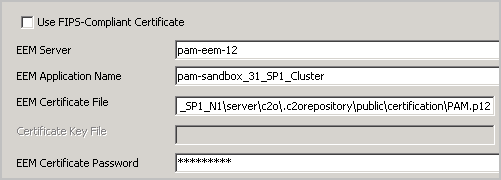
- Skip the Default Active Directory Domain field unless you configured CA EEM to use multiple Microsoft Active Directories. In this case, enter the name of one of the ADs you configured.
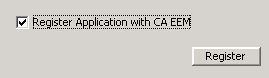
- Select Register Application with CA EEM and click Register.
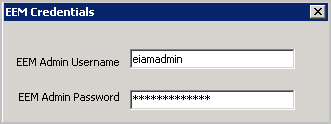
- Supply credentials for logging into CA EEM as the EiamAdmin administrator and click OK.
- Click Yes to agree to upgrade.

- Click OK to the "Application Upgraded" message.
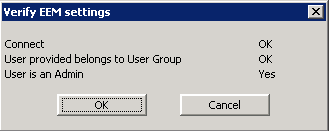
- (Optional). Click Test EEM Settings and complete the Verify EEM settings:
- If your user credentials are stored in CA EEM, enter the user name and password for your CA Process Automation user account.
- If CA EEM uses Active Directory, entered your AD credentials.
Respond to the confirmation message.
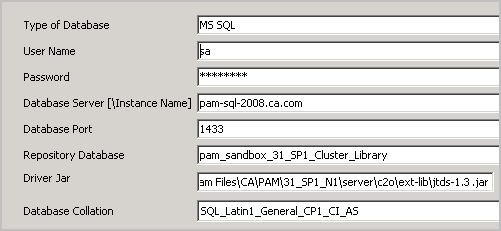
- As the following Database Settings appear, click Test Database Settings to verify that "Test is successful" is displayed. Click Next.
- Repository database (also known as the Library database)
- Runtime database
- Reporting database
The following example includes our sample data:
- For Additional Jars for Installation, click Next or select from the displayed list and add additional files if required.
- Wait while Setup upgrades (installs) the CA Process Automation Domain.
- When the Completing the CA Process Automation Domain Setup Wizard appears, click Finish.
- Log off the server on which node 1 of the clustered Domain Orchestrator was upgraded.
Note: If you have connectors to update, defer starting the Orchestrator service until this update is complete.
Copyright © 2014 CA.
All rights reserved.
|
|