

Custom menus let you organize dashboards and make them available to selected roles. Administrators and designers can create custom menus and can select dashboards for each menu.
A custom menu is not available to any users until the administrator edits a role to include it. The role must, in turn, be assigned to a user account.
Follow these steps:
The current list of menus opens.
The Add Menu page opens.
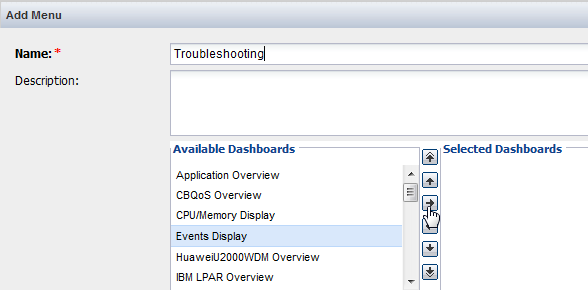
Is a name for the menu. This name appears when you click the Dashboards tab.
(Optional) Describes the menu to help other operators identify it.
The following graphic shows the Add Menu page as it appears in the CA Performance Center Console.
The dashboard moves to the Selected Dashboards list (CA PC) or Selected Reports list (NPC).
Use Shift + Click or Ctrl + Click to select multiple dashboards.
(CA PC) Use the up and down arrows to change the order of the dashboards in the menu.
Note: A maximum of 20 dashboards can be assigned to a single menu. An error message appears if you try to add more than 20 dashboards.
|
Copyright © 2014 CA.
All rights reserved.
|
|