

Follow these steps:
The InterTest Debug Settings dialog opens with the main tab in view.
The data set name appears in the PROTSYM Datasets area.
The InterTest Debug Settings dialog opens.
Displays Basic Demo. If Basic Demo is not showing, select it in the box.
Describes the mainframe data set name and member name. Type CAI.CAMRJCL(DEMOJCL) or a data set name provided by your CA InterTest administrator.
Describes the type of data set. Select IBM PDS, or the data set type appropriate to the one provided by your CA InterTest administrator.
Describes the name of the job step. Type Step1.
Leave empty.
Describes the output data set where the converted JCL resides. Type HLQ.MYJCL(BATCHDMO), where HLQ is the high level qualifier you choose, or any allocated PDS.
The converted JCL is placed in HLQ.MYJCL(BATCHDMO).
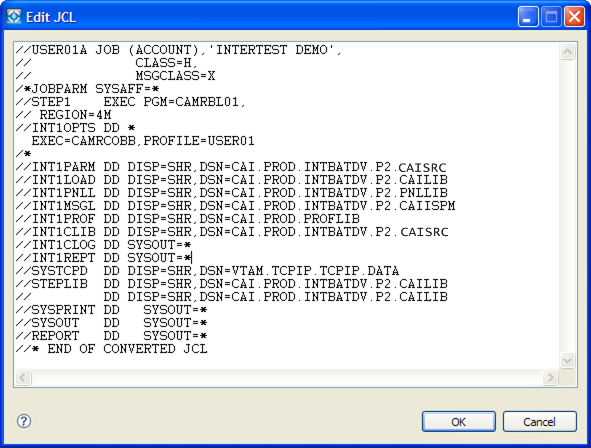
The Edit JCL dialog opens.
The following illustration shows the edited JCL:
The Edit JCL dialog closes and you return to the InterTest Debug Settings dialog.
You receive a message indicating that the file has been saved successfully. Click OK. You return to the InterTest main window.
|
Copyright © 2015 CA Technologies.
All rights reserved.
|
|