

Configuring the Apache Proxy Plug-in requires editing the http.conf file.
Follow these steps:
weblogic_home/server/lib/solaris
to
apache_home/modules
LoadModule weblogic_module modules/mod_wl_20.so
<IfModule mod_weblogic.c>
  WebLogicHost weblogic_server.com
  WebLogicPort 7001
  MatchExpression /iam
  MatchExpression /castylesr5.1.1
  MatchExpression /ca/Odata
</IfModule>
The policy administrator performs this task after completing the CA Identity Manager tasks. While you load your environments into CA Identity Manager, reference the 4.X agent. CA SiteMinder® uses that agent when creating the Domain/Realm on the CA SiteMinder® Policy Server. This agent validates SMSESSION cookies. Update the Domain/Realm and reference the fully functioning agent that is on the web server is used to access CA Identity Manager. This web server acts as the access point to CA Identity Manager and creates SMSESSION cookies.
Follow these steps:
Note: If you do not have a proxy agent (web server agent), create one. Verify that you have a web server and proxy in place to front CA Identity Manager.
After you add CA SiteMinder® to the environment, the logoff in CA Identity Manager does not really do anything. To reenable this functionality, update the Agent Configuration Object (ACO) for the agent on the proxy.
Follow these steps:
The next time that the agent retrieves its configuration from the policy server, the new setting is propagated.
The following topics describe common errors that you can occur. Where at all possible a resolution has been paired with the error to assist you with your integration.
Symptom:
Missing Windows DLL (MSVCP71.dll)
We observed that after the CA SiteMinder® connection was enabled, JBoss threw a java error complaining about a missing DLL (MSVCP71.dll).
Note: This error may not appear if JBoss is running as a service. If at all possible, test your configuration without running JBoss as a service.
Solution:
Follow these steps:
Symptom:
Incorrect CA SiteMinder® Policy Server Location.
Solution:
An incorrect location is referenced in ra.xml the error, "Cannot connect to policy server: xxx" appears.
Follow these steps:

Symptom:
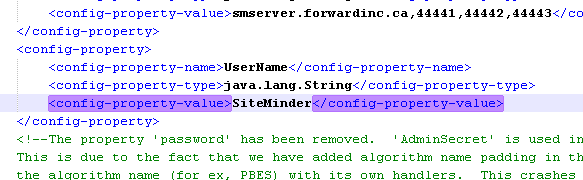
Incorrect Admin Name
Solution:
An incorrect admin is referenced in ra.xml, the error "Unknown administrator" appears.
Follow these steps:
Symptom:
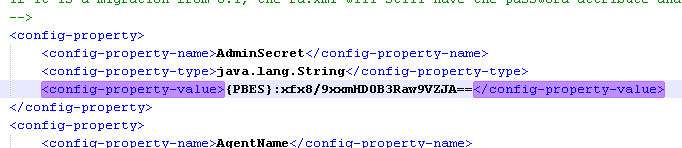
Incorrect Admin Secret
Solution:
An incorrect admin secret is used in ra.xml, the error, "Cannot connect to the policy server: Invalid credentials" appears.
Follow these steps:
Symptom:
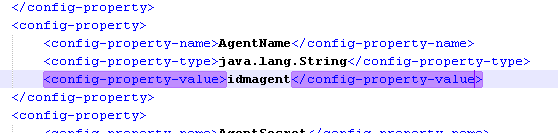
Incorrect Agent Name
Solution:
An incorrect agent name is used in ra.xml, the error, "Cannot connect to the policy server: Failed to init Agent API: -1" appears.
Follow these steps:
Symptom:
Incorrect Agent Secret
Solution:
An incorrect agent secret is used in ra.xml, the error "Cannot connect to the policy server: Failed to init Agent API: -1" appears with a preceding crypto handler error.
Follow these steps:

Symptom:
No User Context in CA Identity Manager.
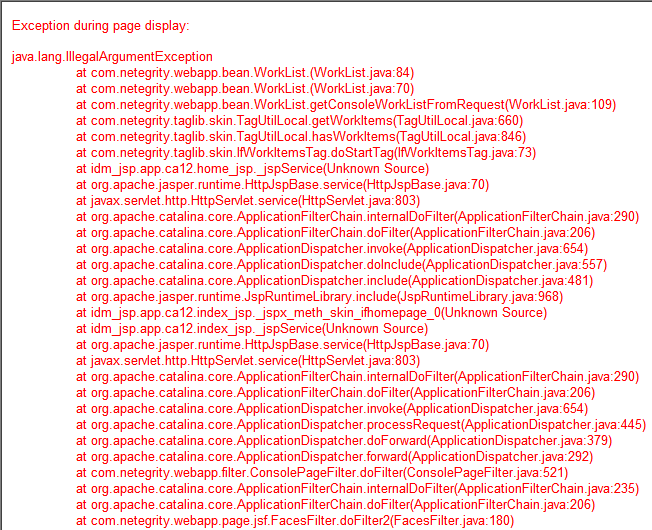
If a user tries to access CA Identity Manager without a SMSESSION cookie, CA Identity Manager cannot authenticate the user. In this case, you can expect to see can emptyCA Identity Manager UI.
If you have Workflow enabled for your environment, expect to see a failure much like this.
Solution:
A few things can cause this, but it is usually one of the following:
The first two causes are pretty straight forward. Make sure that you route through the web server with the fully functional web agent enabled. If however you are going through the web server and the agent is enabled, then you need to modify the Domain.
Follow these steps:
The default effective resource for the rule is an asterisk "*".
You have moved the forward slash from the realm to the rule. The protection is the same, but CA SiteMinder® treats it differently.
You can successfully log in to CA Identity Manager through CA SiteMinder®. To validate proper protection, review your CA SiteMinder® agent logs.
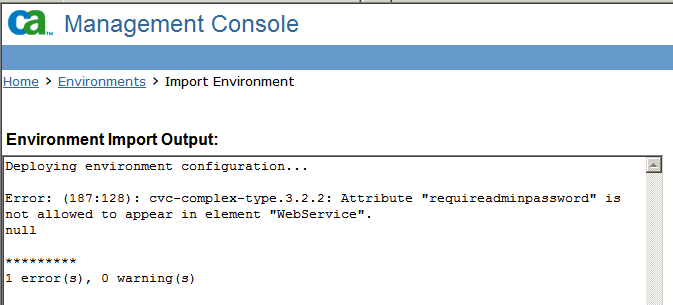
Symptom:
When importing an environment back into CA Identity Manager after integrating with CA SiteMinder®, an error appears about attribute "requireadminpassword" and the element "WebService".
Note: This issue can also occur when CA SiteMinder® is not part of the deployment.
Solution:
This error allows partial deployment of the environment. The partial deployment can create empty elements in the CA Identity Manager object store. Correct one of the environment XMLs and reimport.
Follow these steps:
Note: Remove the tag and the value. Do not remove only the value.
You do not have to delete the environment that was created from the failed attempt. Reimporting a corrected file fixes the errors from the failed attempt.
|
Copyright © 2014 CA.
All rights reserved.
|
|