

File scan collect tasks collect the folder and drive information from the agent computer's hard disk and displays it under File Explorer
To create, configure, and schedule a file scan
The Select New Collect Task Type dialog appears.
The Schedule New Collect Task dialog appears.
The Scheduling Options dialog appears.
The Scheduling Options dialog closes and the Schedule new Collect Task dialog appears.
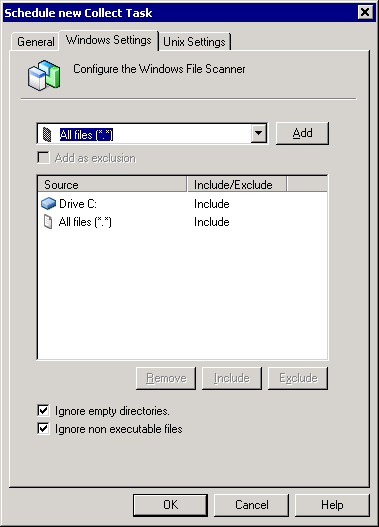
The task in the following illustration is configured to collect all the executable files (.exe, .dll, .bat) in Drive C ignoring the empty directories.
The task in the following illustration is configured to collect all the executable files, ignoring empty, network, and user login directories.

Note: File scan cannot retrieve files from directories for which the user is denied access to. On Windows, if the asset management agent is configured to file scan a network drive, the agent must be installed to run under the same user account that maps the network drive.
|
Copyright © 2013 CA.
All rights reserved.
|
|