

The WebViewUI.zip file that is located in the CA Gen installation directory includes the default skin for Web View applications. You can modify the default skin directly but we recommend that you replace the skin files that you wish to override using the injection technique. This technique keeps your skin overrides from being overwritten with updates to your CA Gen installation.
Use the injection technique either to replace individual skin files or to apply an entirely different skin while assembling the application.
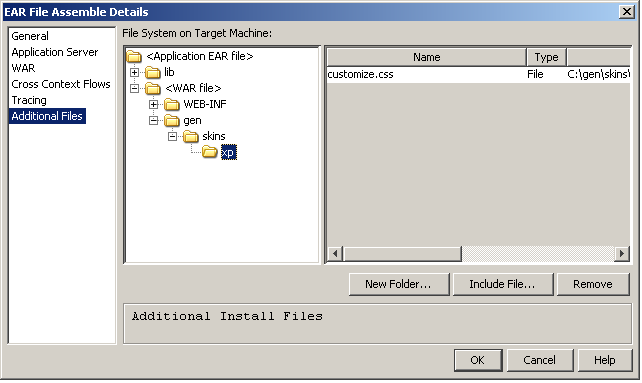
Example: The example below details the steps required to override the skinloader.js file and add an additional CSS file named customize.css.
Follow these steps:
The EAR File Assemble Details dialog opens.
This directory structure is necessary to properly override the skinloader.js file provided in the <CA Gen installation directory>\Gen\webview\ui\WebViewUI.zip file.
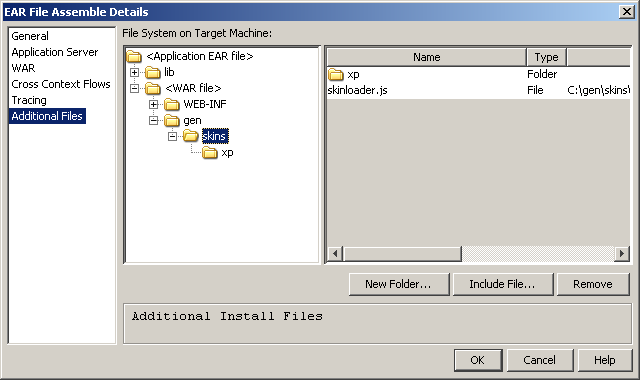
The directory structure is created and the modified skinloader.js file is included in the WAR file.
The directory structure is created and the CSS file is included as shown:
|
Copyright © 2013 CA.
All rights reserved.
|
|