
Normally, we might start by creating a brand new model. In this case, we will start with an existing model that has a software (more about components when we get to that point in the tutorial) component copied into it. In addition, we have included some rudimentary bmp and gif images, which will be used for some of the examples in our application.
Follow these steps:
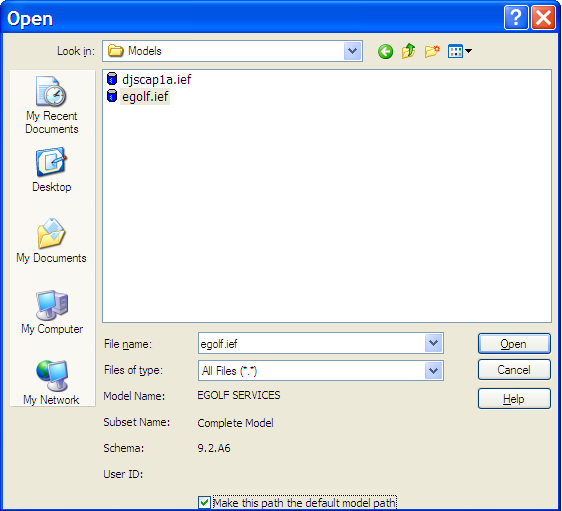
In the subsequent file Model Open dialog box, change the Look in: path to your model directory, select egolf.ief from the list of models, check the Make this path the default model path checkbox at the bottom of the dialog box, and then click Open.

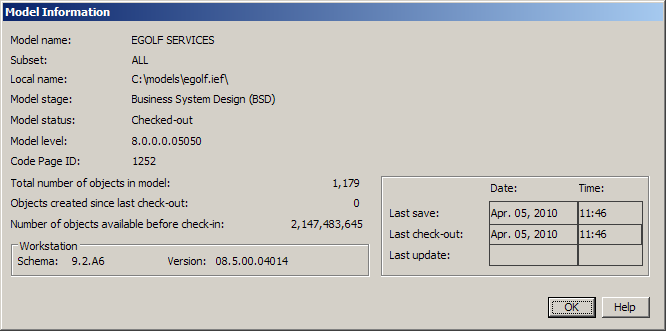
Note: The model name is EGOLF SERVICES and the local name is egolf in the Model Information dialog.

Models have a [long] Model name and a [short] Local [model] name. If we were to upload this model to an Encyclopedia, the name of the model as it was stored in the Encyclopedia would be the long model name. However, here on our local workstation, the model is placed in a folder with the local model name followed by the .ief extension. We will look in this folder later in this module.
|
Copyright © 2013 CA.
All rights reserved.
|
|