

If you want to populate a group view or display information on the user interface in an HTML table format, you need to map the output parameters using arrays.
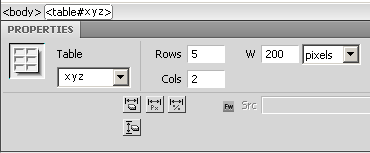
Note: When you add a table control on an HTML page in Adobe Dreamweaver, the <name> tag or the <id> tag are not associated with the table by default. Without either of these tags, the table does not appear in the Web Service Action Designer Editor view. To add the <id> tag, create the table and select Properties. Enter a unique ID for the table in the Table entry field.
Follow these steps:
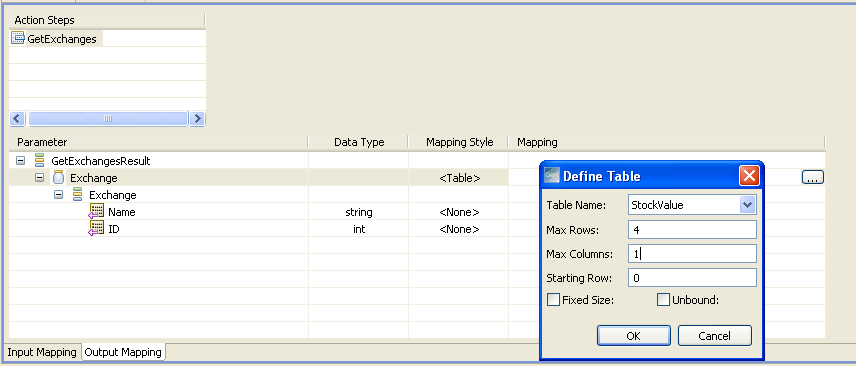
The Define Table dialog prompting to enter the number of rows and columns opens.
A table populates data only for the number of rows that are defined. Additional rows are omitted.
Defines the name of the table created in Adobe Dreamweaver (in the .html file).
Defines the maximum number of rows in the table.
Defines the maximum number of columns in the table.
Defines the row number from where the table should be populated. If the first row in the table is a heading, the Starting Row should be 1. For tables without any heading, the Starting Row should be 0.
Specifies if the table should have a fixed size.
Specifies the limit for the number of rows in the table. If you select this option, there is no maximum limit for the number of rows in the table.
The table parameters are mapped.
|
Copyright © 2015 CA Technologies.
All rights reserved.
|
|