

Generating an ASP.NET Web Client Application › Generate ASP.NET Web Client Application from the Toolset
Generate ASP.NET Web Client Application from the Toolset
After the ASP.NET Web Client installation and design procedures are completed, you can generate ASP.NET Web Clients from the Toolset.
Follow these steps:
- Start the Toolset and open your model.
- From the Construction menu, select the Generation option.
- From the Generation window, select the Options menu and then Generation Defaults. The Generation Defaults dialog appears:
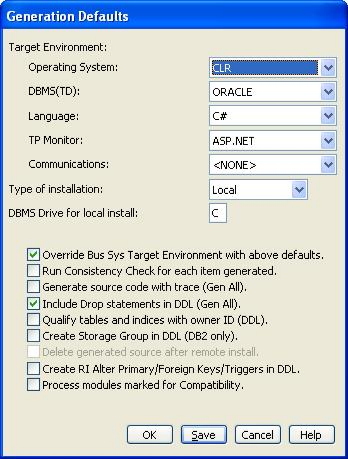
- Select CLR from the Operating System drop-down.
- Select C# from the Language drop-down.
- At the Type of Installation drop-down box, select Local or Remote.
For a Remote install, generated files are packaged into one installation file, which can then be manually transferred to any Windows target system. For a Local install, generated files are compiled and prepared for installation onto a server. This server can either be running on the same machine as the toolset or a different machine. The default is Local.
- Click OK.
- Optionally, you can select the Options menu from the Generation window, then Model Generation Properties and enter the designated information in the .NET section.
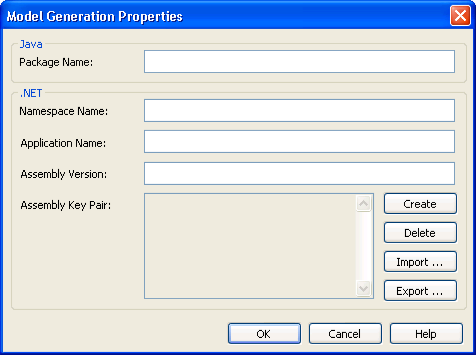
- Click OK and you are ready to continue with generation of an ASP.NET Web Client Application.
Consistency check rules identify the unsupported features in ASP.NET Web Client applications. These unsupported features are identified in the form of warnings. For a complete list, see the chapter Unsupported Features.
A load module is considered eligible for ASP.NET Web Client generation if the ASP.NET Web Client settings are reflected in any one of the following:
- Generation Defaults panel (when the Override Business System Target Environment with the preceding defaults check box is selected)
- Client Environment
- Business System Environment
Copyright © 2013 CA.
All rights reserved.
|
|