

To verify successful installation of the DevTest Solution, start the DevTest Server, open each user interface and log in.
This section contains the following topics:
Start DevTest and Log In to UIs
Start the DevTest Processes or Services
Log in as the Standard Super User
Create a User with the Super User Role
Access the DevTest User Interfaces
Follow these steps:
This section explains the process of starting the DevTest Server with all components available. Use the sequence that is shown to ensure that all components start. Some of the ways you can start the DevTest processes or services are described following the start process.
Note: About DevTest Server Components describes the processes.
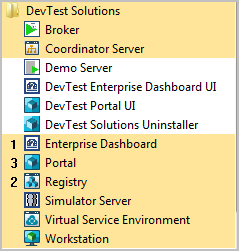
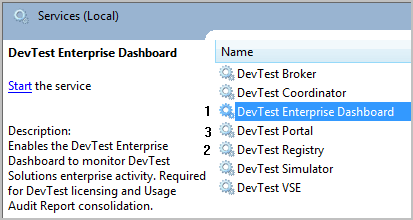
Start Order Sequence
Start the DevTest Server processes (or services) in the following sequence. (The Start menu shortcuts are shown.)
Follow these steps:
Note: To shut down the server components, use the reverse order.
Ways You Can Start DevTest Server
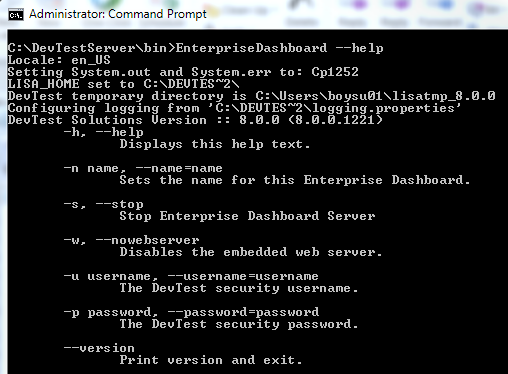
Access the DevTest Server processes in one of the following ways:

Get help by entering the command name followed by --help. For example:
Important! Access Control List (ACL) is mandatory. No one can use DevTest Solutions without first logging in with a valid name and password.
Setting up security involves creating role-based user accounts and specifying the ACL with LDAP or with credentials that you define. If you plan to use LDAP for authentication, you do not add your own user name and password as described in Create a User with the Super User Role. To access the UIs before you configure LDAP, use the standard user that is defined with the Super User role.
When you access the DevTest Workstation, a login dialog resembling the following graphic opens:
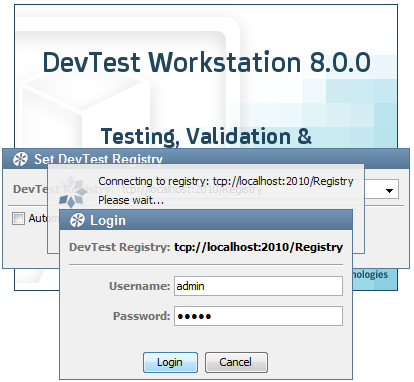
To log in, type admin in the Username field, type admin in the Password field, and click Login. The DevTest Workstation opens.
When you browse to the DevTest Portal, the login area resembles the following example.
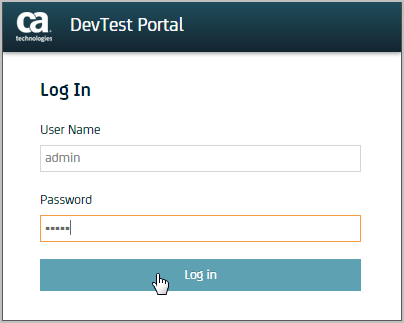
To log in, type admin in the User Name field, type admin in the Password field, and click Log in.
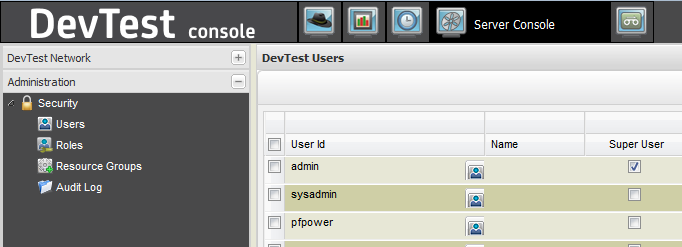
The DevTest Console presents a similar login dialog. You can log in to that browser with the same standard user.
Grant yourself full access to DevTest Solutions.
Follow these steps:
http://localhost:1505
Now, you can access any DevTest user interface or command-line interface and log in with the user ID and password that you defined.
The Enterprise Dashboard, the registry, and the Portal you are using must be running for all UIs. See Start the Server Components.
Access the UIs as described here. Then, log in as the standard Super User or log in with your own credentials, where you defined yourself with the Super User Role.
To learn about DevTest Solutions, browse to the demo server on your local host, and follow the tutorials in Using CA Application Test.
http://localhost:8080/lisabank
To view the list of registries that are connected to the Enterprise Dashboard:
http://hostname:1506
Before you use CA Continuous Application Insight, install the DevTest Java agent. Browse to the following URL and log in to the DevTest Portal to access CAI. Specify the host name of a computer with a running registry. See the Using CAI documentation.
CAI requires the Portal to be running. The UI requires the Broker to be running. CA Application Test and CA Service Virtualization use the Portal for some functionality. See Using CA Application Test and Using CA Service Virtualization.
http://hostname:1507/devtest
Start DevTest Workstation on your local host. Workstation is where you create and edit tests and also stage tests. Some alternative methods include TestRunner and junitlisa ant task, for example. See the Using CA Application Test documentation. The UI requires a coordinator server and a simulator server to be running.
The Console includes links to the Server Console (including VSE), CVS Dashboard, Reporting, and VSEasy. Specify the host name of a computer with a running registry. For information about using the Administrative tab in the Server Console, see Administering DevTest Solutions. For other information, see Using CA Service Virtualization. The UI for CA Service Virtualization requires VSE to be running.
http://hostname:1505
|
Copyright © 2014 CA Technologies.
All rights reserved.
|
|