

Getting Started › CA Application Test Tutorials › Tutorial 7 - Test an Enterprise JavaBean (EJB)
Tutorial 7 - Test an Enterprise JavaBean (EJB)
The LISA Bank application provides a full set of EJBs to interact with an account, get the user and account information from the Java interface.
This tutorial uses the Enterprise JavaBean Execution test step to call EJB methods in a test case and test the response with an assertion. You test a simple EJB to verify that the addUser and deleteUser methods work as expected.
Tutorial Tasks
In this tutorial, you:
- Use the Enterprise Java Bean Execution step.
- Use the Complex Object Editor with EJB objects.
Prerequisites
- You have completed Tutorial 6 - Test a Website.
- DevTest Workstation is open.
- You have access to the demo server.
Step 1 - Create a Test Case
Follow these steps:
- In the Project pane, right-click the Tests folder and select Create New Test Case.
- Set the file name to tutorial7.
- Click Save.
Step 2 - Create a Configuration
You previously worked with configurations in Tutorial 2 - Data Sets.
Follow these steps:
- Open the project.config file.
- If the configuration does not contain the User and Password properties, add these properties. You do not need to set the values.
- Create a configuration with the name config7.
- Add the User property to the config7 configuration and set the value to Lisa7.
- Add the Password property to the config7 configuration and set the value to Pass7.
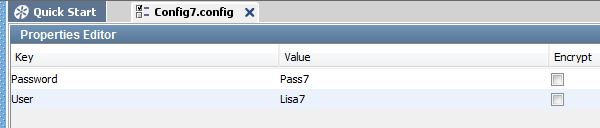
- Click Save.
- In the Project pane, right-click the config7 configuration and select Make Active.
The configuration now appears in purple.
Step 3 - Add an EJB Test Step
The Enterprise JavaBean Execution test step enables you to make calls on a running EJB.
Follow these steps:
- Click the tutorial7 tab.
- Click
 Add Step.
- Select Java/J2EE and select Enterprise JavaBean Execution.
The New EJB Setup wizard appears.
Step 4 - Connect to the Server
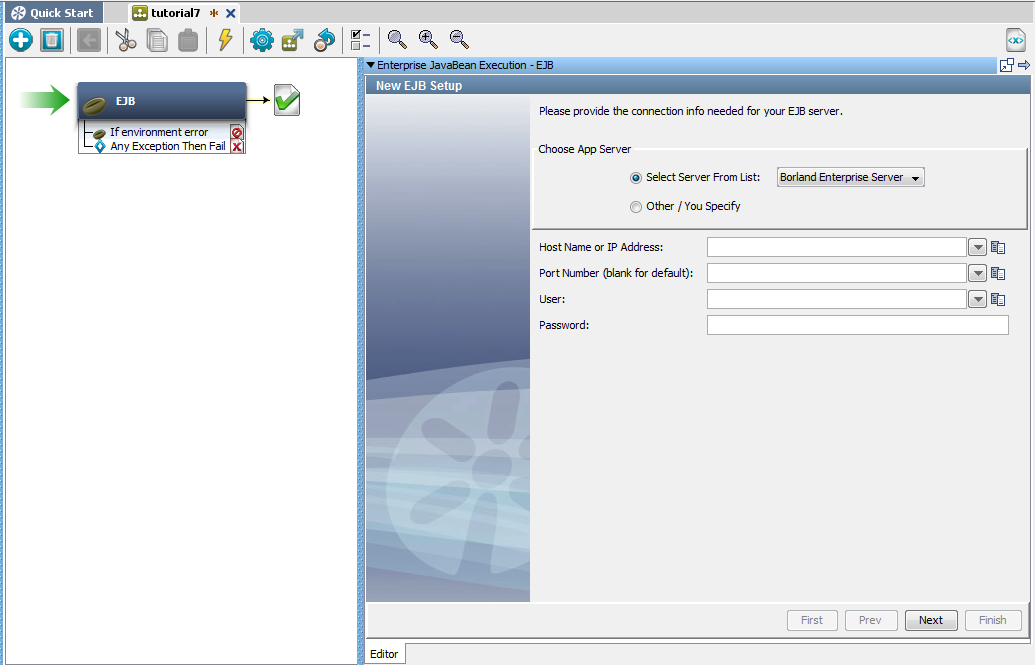
The New EJB Setup wizard prompts you to specify the connection information for the EJB server.
Follow these steps:
- From the Select Server From List drop-down list, select JBoss 3.2/4.0.
- In the Host Name or IP Address field, enter localhost.
- Click Next.
The list of JNDI names is retrieved from the EJB server.
Step 5 - Locate the EJB Interface
The New EJB Setup wizard prompts you to specify the name of the EJB interface.
Follow these steps:
- In the Remote tab, select EJB3UserControlBean/remote.
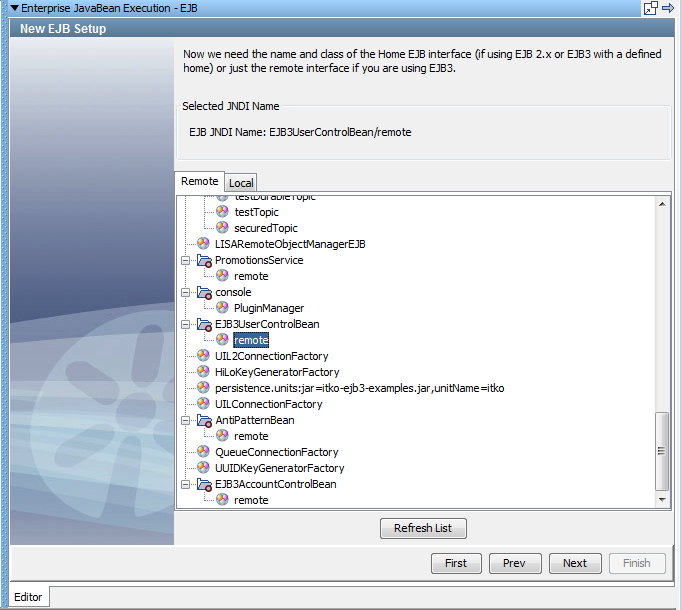
- Click Next.
The Complex Object Editor opens.
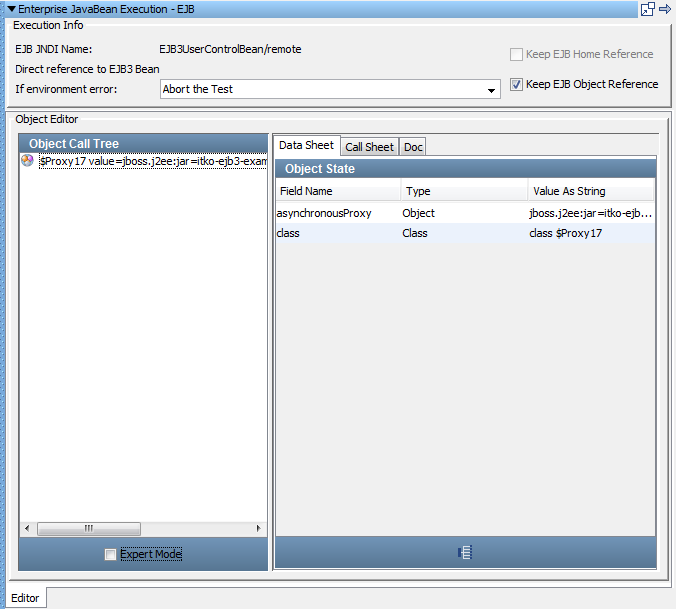
Step 6 - Configure the EJB
Follow these steps:
- If you use the same EJB object repeatedly, and the Keep EJB Object Reference check box is not already selected, select the check box.
- Set the If environment error field to the step to execute if an exception occurs while executing this EJB step. Select Fail the Test from the list.
- In the Object Editor area, select the Call Sheet tab and select the addUser method.
- Click
 Add selected method to Object Call Tree.
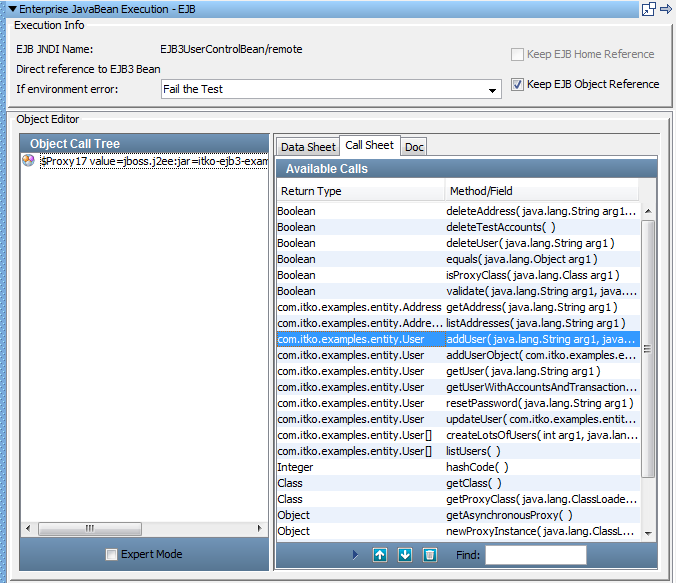
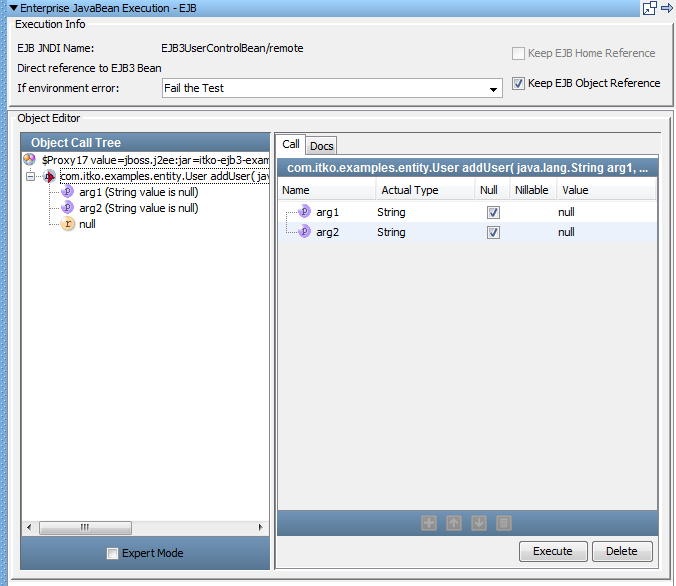
The Object Call Tree now displays the addUser method.
Important! You can only add User and Password once. To execute this tutorial more than once, change the values that are associated with User and Password.
Step 7 - Add an Assertion
To enter the method parameters and add an inline assertion:
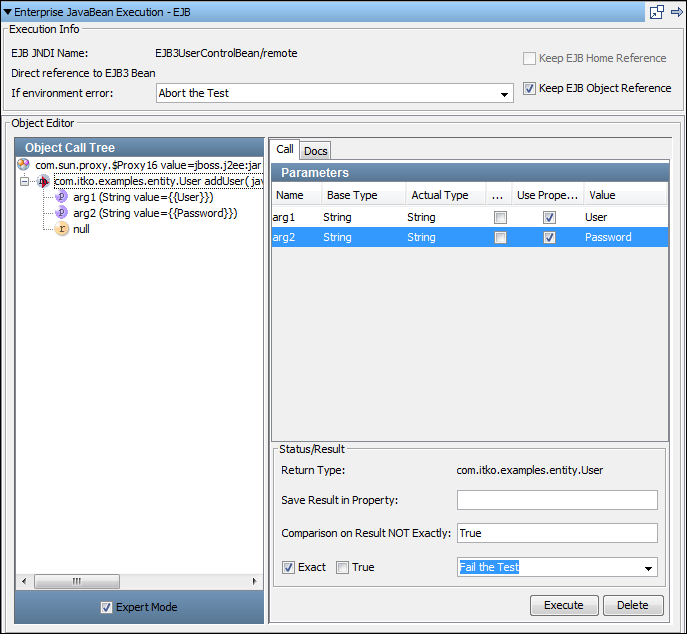
- In the Object Call Tree pane, select Expert Mode if it is not already enabled.
- Select the Use Property check boxes for each argument.
Use Property is a column heading in the Parameters area.
- In the Value column for arg1, select User from the Defaults list of properties.
- In the Value column for arg2, select Password from the Defaults list of properties.
- In the Status/Result area, add the inline assertion by selecting Exact and clearing the True check box.
- In the Comparison on Result NOT Exactly field, enter True.
- From the Exact drop-down, select Fail the Test.
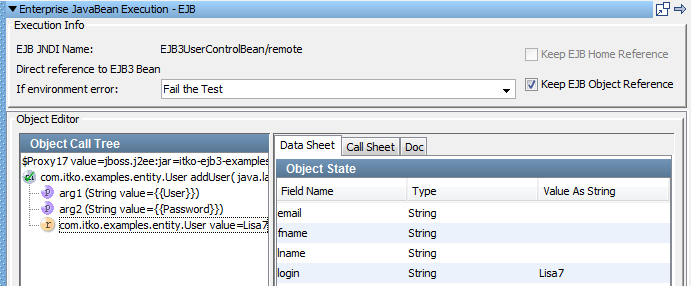
- Click Execute.
The parameters to the method are displayed in the Object Call Tree, next to the Input Parameter  icon. The return value of this method is the value of the User field, "Lisa7," in the Object Call Tree.
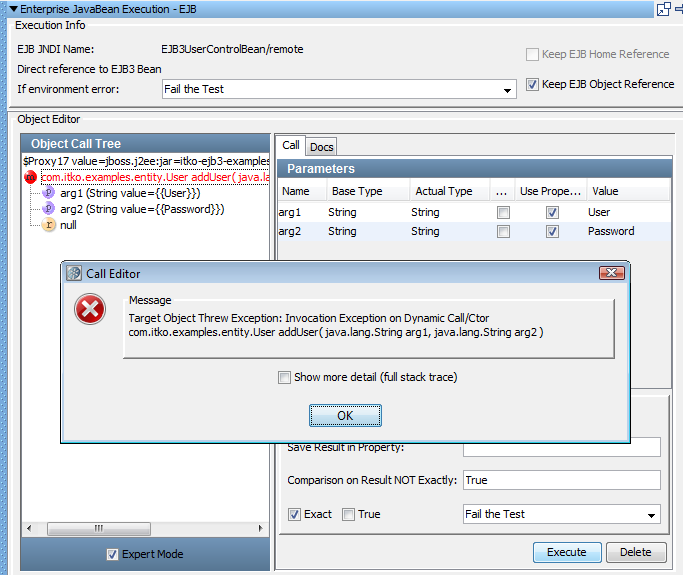
- Test the addUser method again by clicking Execute.
- The return
 changes to null and an error is produced because the user has already been added.
Step 8 - Verify the Method Execution
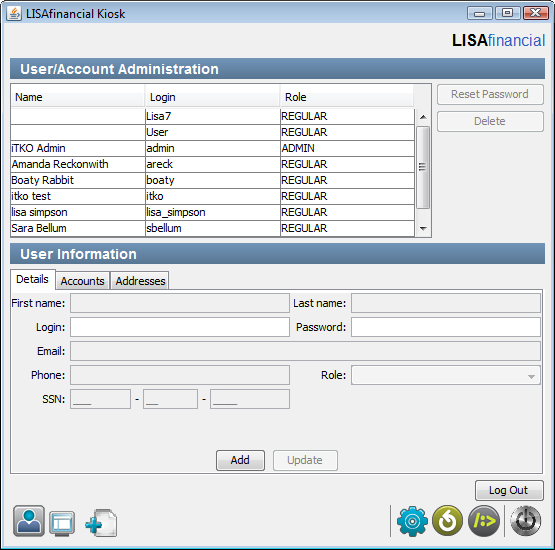
From the LISA Bank application, you can verify that the user was added.
Follow these steps:
- Go to the LISA Bank application.
- Log in as user admin with the password admin.
- To confirm that Lisa7 was added, view the list of users.
Step 9 - Add Another EJB Test Step
Now try the preceding steps again to invoke the deleteUser method.
Follow these steps:
- Repeat the tutorial beginning with Step 3 to add an EJB step with the name DeleteUser.
- Use the method parameter property User.
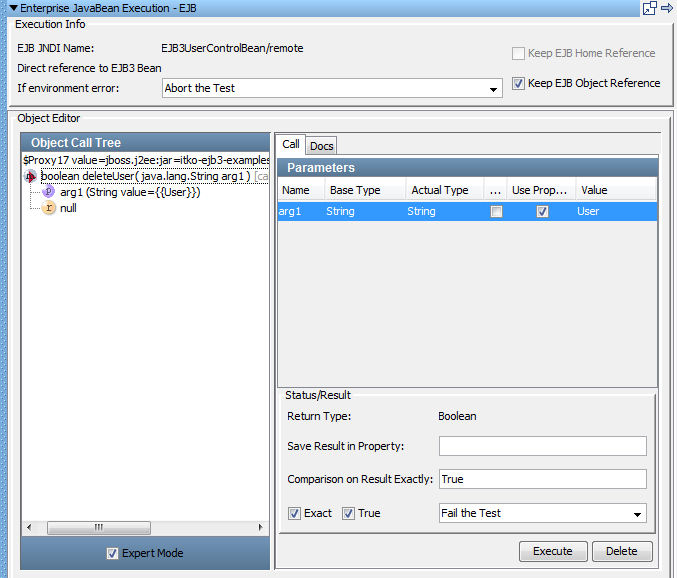
- Click Execute to execute this method and get results.
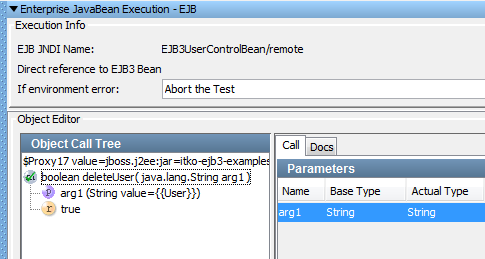
The return is true, indicating the user has been deleted.
- Click Save.
Tutorial 7 - Review
In this tutorial, you:
Copyright © 2014 CA Technologies.
All rights reserved.
|
|