Previous Topic: Tutorial 6 - Test a WebsiteNext Topic: Tutorial 6 - Part B - Run the Test Case


Tutorial 6 - Part A - Record the Test Case

With the web recorder, create a test case that contains HTTP/HTML Request steps.

Step 1 - Create a Test Case

Follow these steps:

  1. In the My Tutorials project, create a test case with the name tutorial6a in the Tests subfolder.

    The model editor opens.

Step 2 - Start the Web Recorder

In this tutorial, you record a website through HTTP proxy.
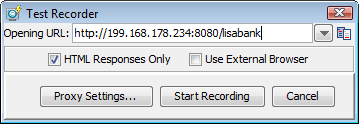
Follow these steps:

  1. Select Actions, Record Test Case for User Interface, Web Recorder (HTTP proxy) from the main menu.

    The Test Recorder dialog opens.

  2. In the Opening URL field, enter the following URL. Replace the IP address in the path with the IP address for your computer.

    Screenshot ot Test Recorder dialog for Tutorial 6

  3. Click Start Recording.

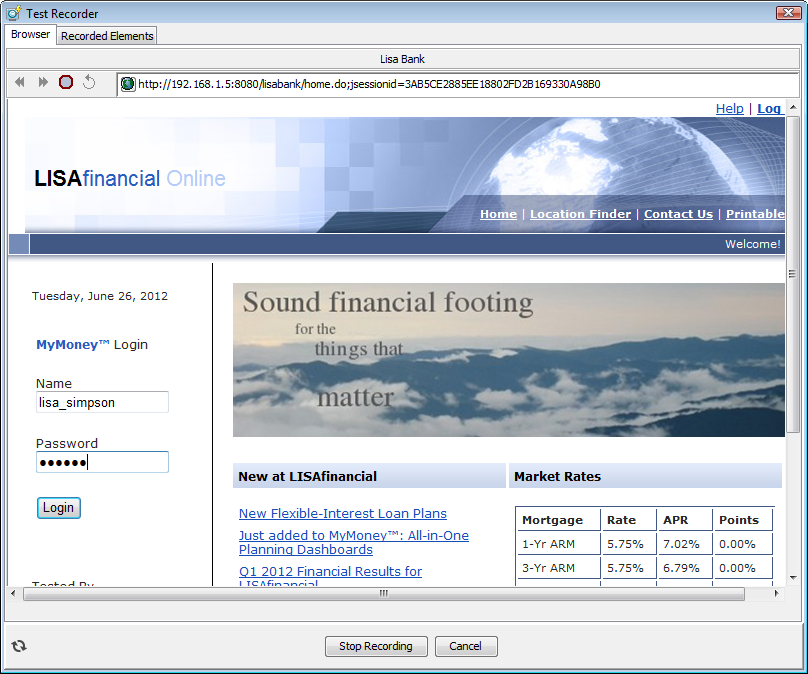
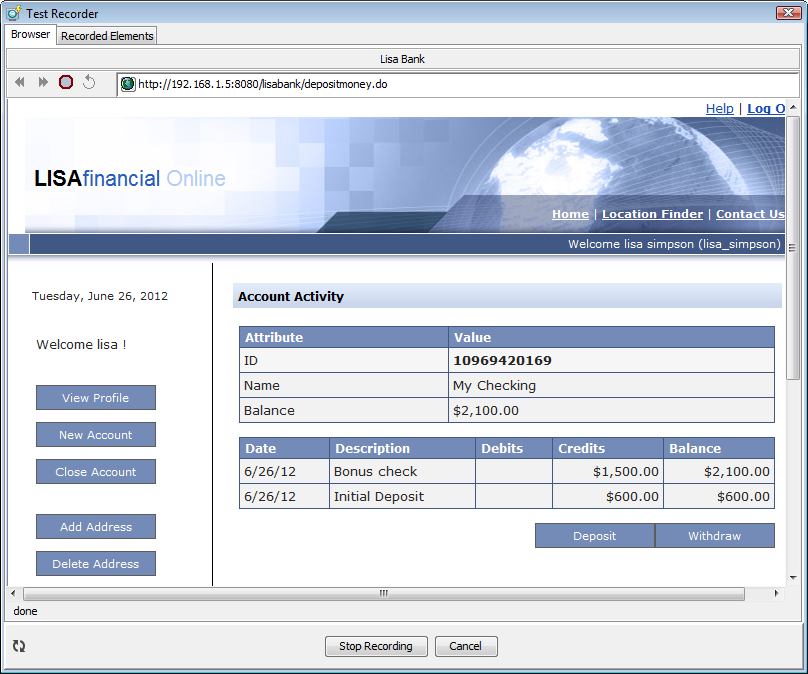
    The Test Recorder window opens. The Test Recorder window contains two tabs: Browser and Recorded Elements. The login page of the LISA Bank application appears in the Browser tab.

Step 3 - Record the LISA Bank Application

While you perform actions in the LISA Bank application, the request and response information for each page visited are recorded.

Follow these steps:

  1. In the Name field, enter lisa_simpson. In the Password field, enter golisa.

    LISA Bank login screen for Tutorial 6

  2. Click Login.

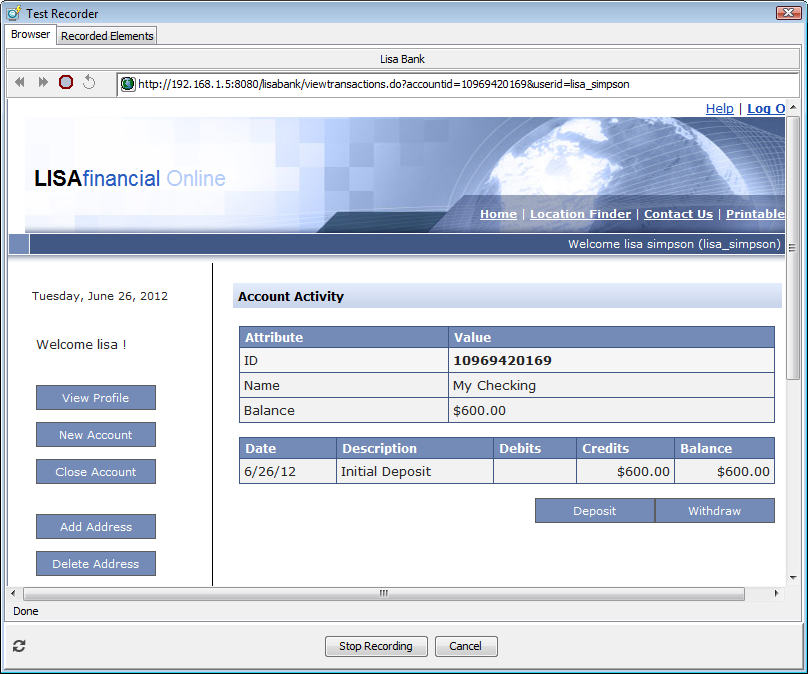
    The welcome page appears.

  3. In the Accounts section, click the account number of the checking account.

    The Account Activity window appears.

  4. Click Deposit.

    LISA Bank deposit screen for Tutorial 6

  5. In the Deposit Money area, enter the password golisa, a description of the transaction, and the amount for this deposit.
  6. Click Deposit.

    LISA Bank deposit screen for Tutorial 6 for second deposit

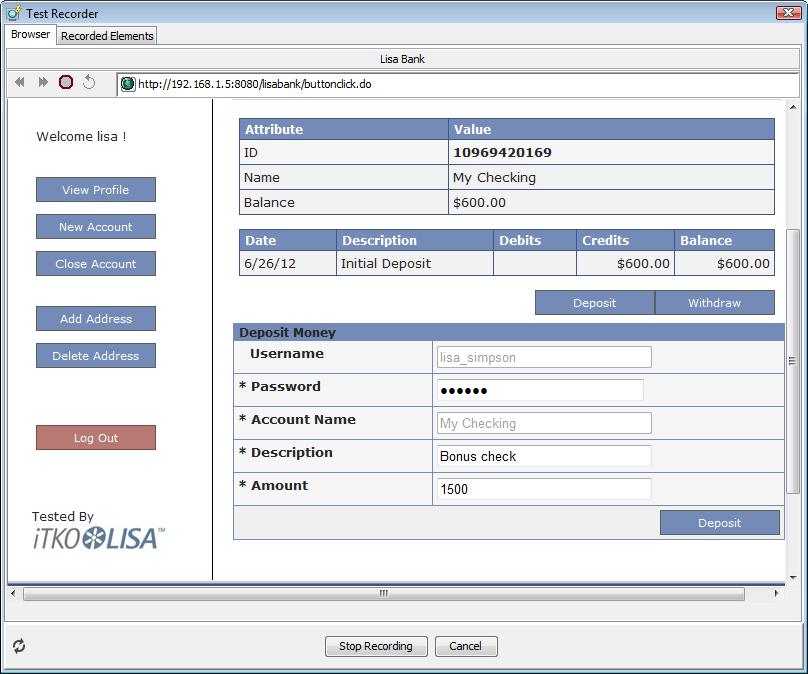
    The Account Activity window shows the updated balance and a record of the deposit.

    LISA Bank account activity screen for Tutorial 6

  7. From the left navigation pane, click Log Out.
Step 4 - Stop the Web Recorder

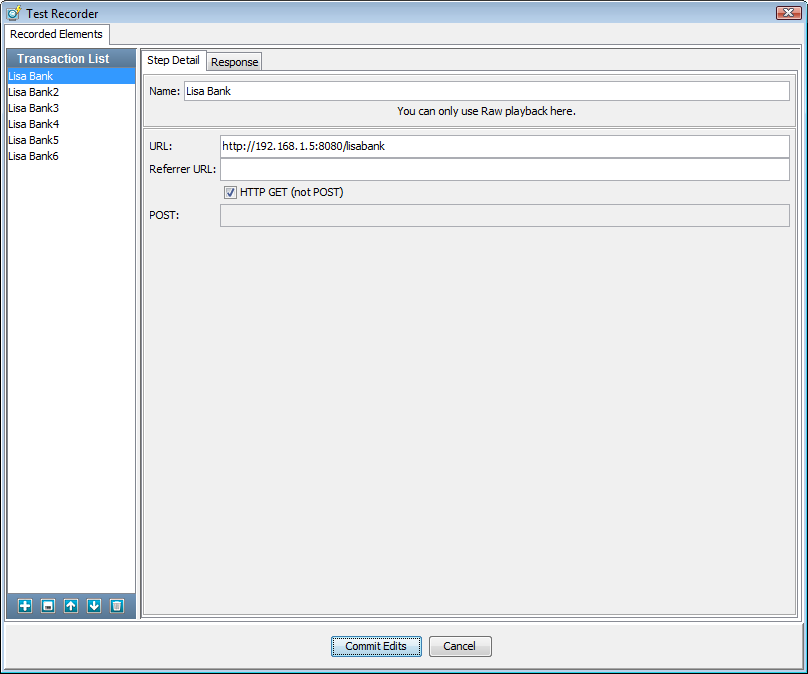
After you stop recording, you can view details about the transactions.

Follow these steps:

  1. At the bottom of the Test Recorder window, click Stop Recording.

    Filters and properties are automatically created for the web page references. The form fields for the deposit are also displayed. The left pane shows a list of transactions (steps). The right pane shows the step detail and response for the selected transaction.

    Screenshot of Test Recorder, Step Detail tab for Tutorial 6

  2. Click Commit Edits.

    The parameters page appears.

  3. Click Add to Test and Close.

    Screenshot of Test Recorder, Parameters page for Tutorial 6

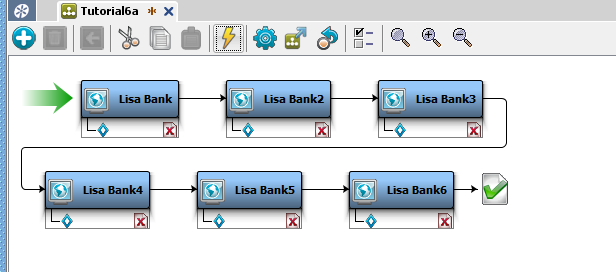
    The model editor is populated with a new test case, having all the transaction information from the saved recording. Each test step in the test case represents an HTTP request.

    Screenshot of test case for Tutorial 6

  4. Save the test case.