

To verify the Service Desk integration installation
Note: If you chose ITIL, the list displays CIs and CI classes. If not, the list displays assets and asset classes.
The Configuration Item Family List appears in the right pane, as follows:
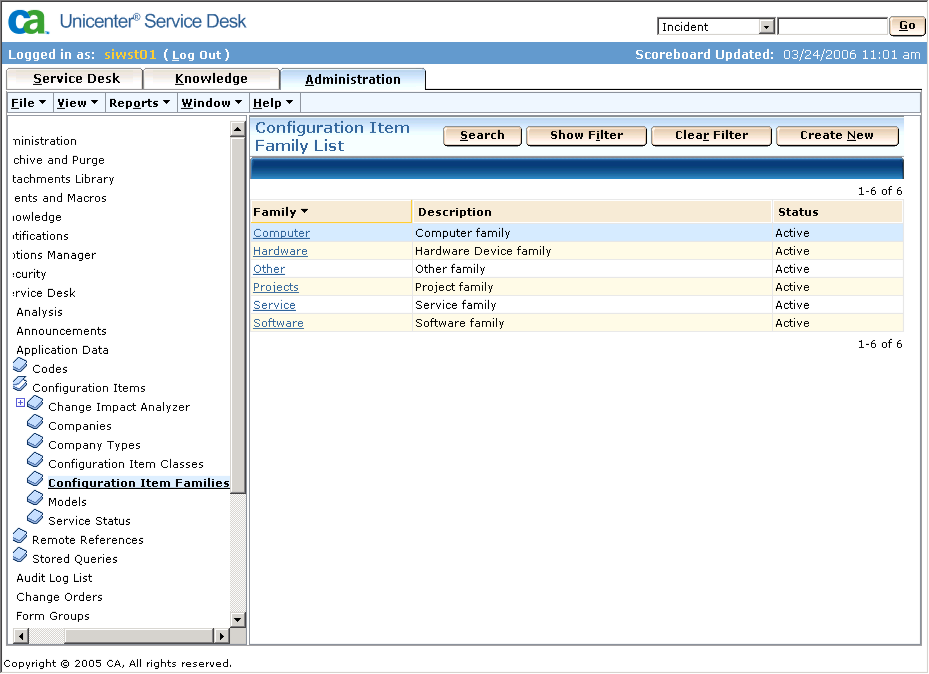
A new CI family appears representing a project. A Service Desk project CI is used to store information about projects that exist in CA Clarity PPM and Harvest. This information is used during the various integration processes.
Note: If you chose ITIL, the list displays CIs and CI classes. If not, the list displays assets and asset classes.
The Configuration Item Class List appears in the right pane, as follows:
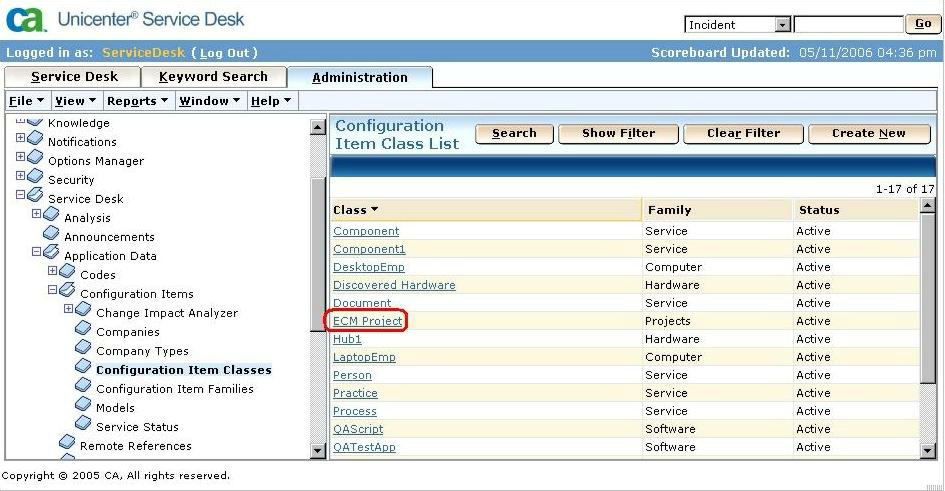
A class named ECM Project appears in the list. This class is a member of the CI family of the project. You can use this class to create the project CIs for the connector.
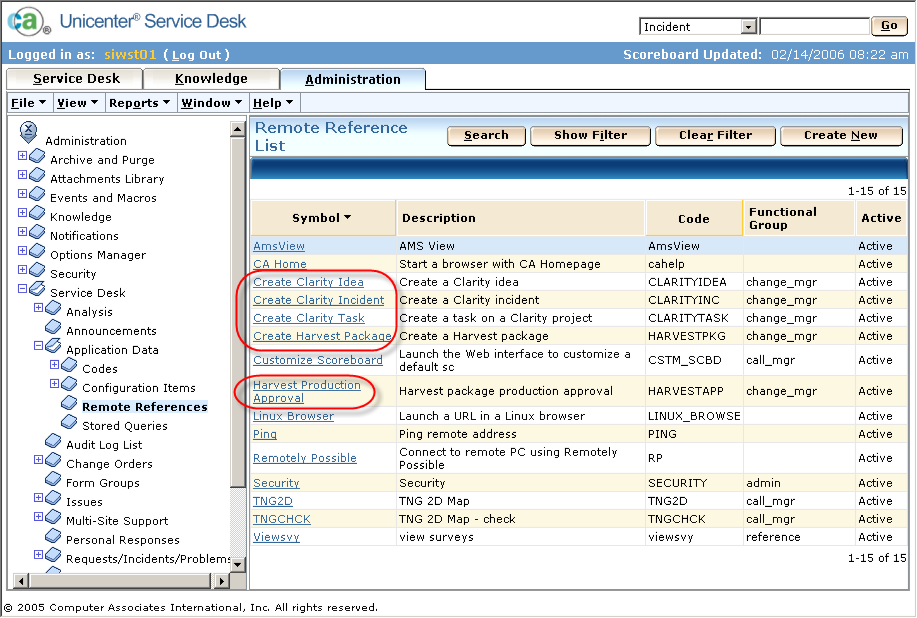
The Macro List appears in the right pane. Service Desk macros are used to start the connection processes, and are launched during specific status changes in workflow tasks.

Note: If you chose ITIL, the list displays CIs and CI classes. If not, the list displays assets and asset classes.
Note: If you chose ITIL, the list displays CIs and CI classes. If not, the list displays assets and asset classes.
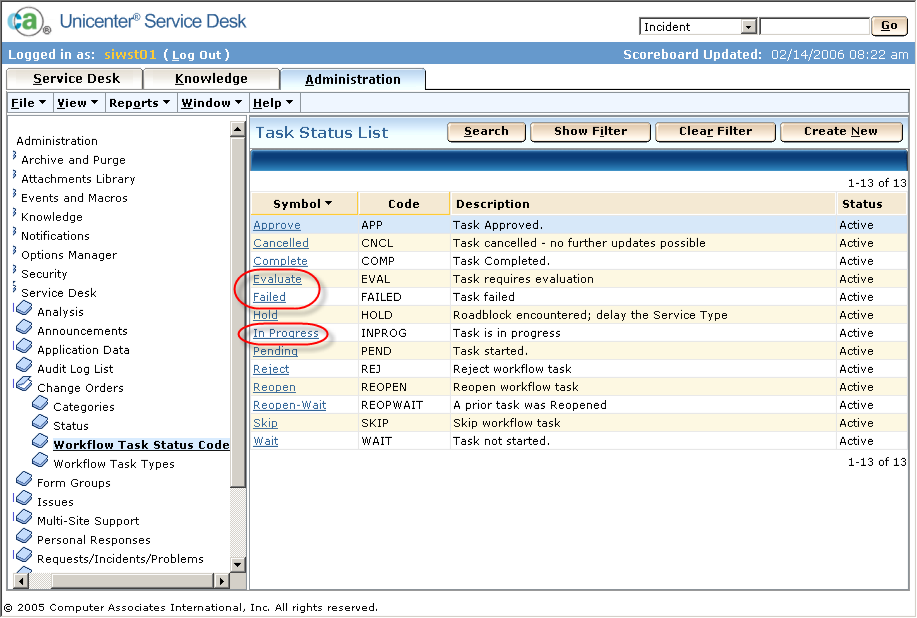
The Task Status List appears in the right pane.
Note: If you chose ITIL, the list displays CIs and CI classes. If not, the list displays assets and asset classes.
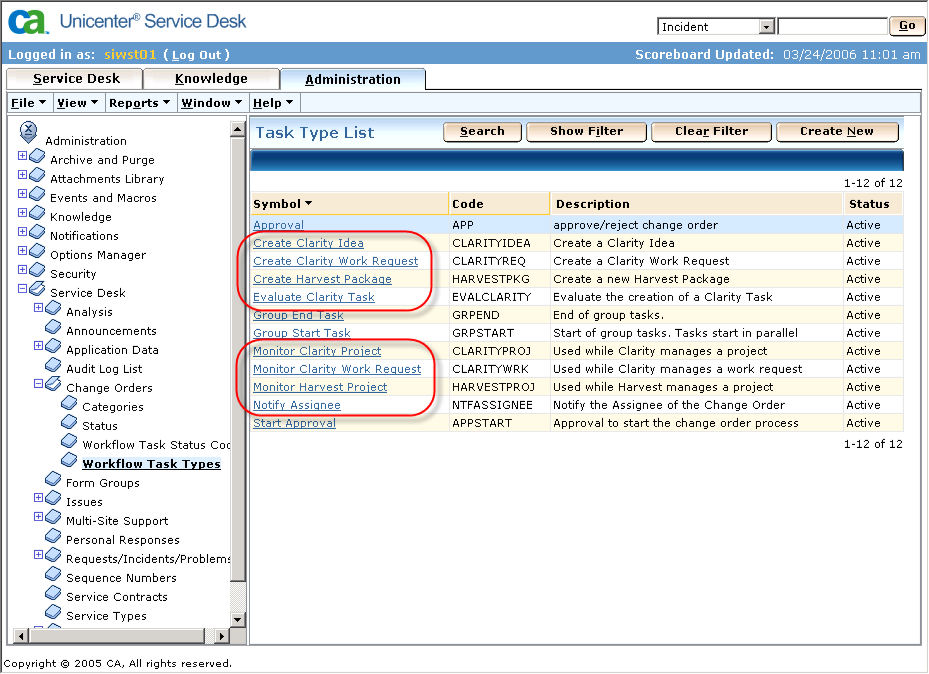
The Task Type List appears in the right pane. Workflow task types are templates that are used to create the workflow tasks that are used in a change order. The task types represent a workflow task and associate the various statuses that will be used.
Note: If you chose ITIL, the list displays CIs and CI classes. If not, the list displays assets and asset classes.
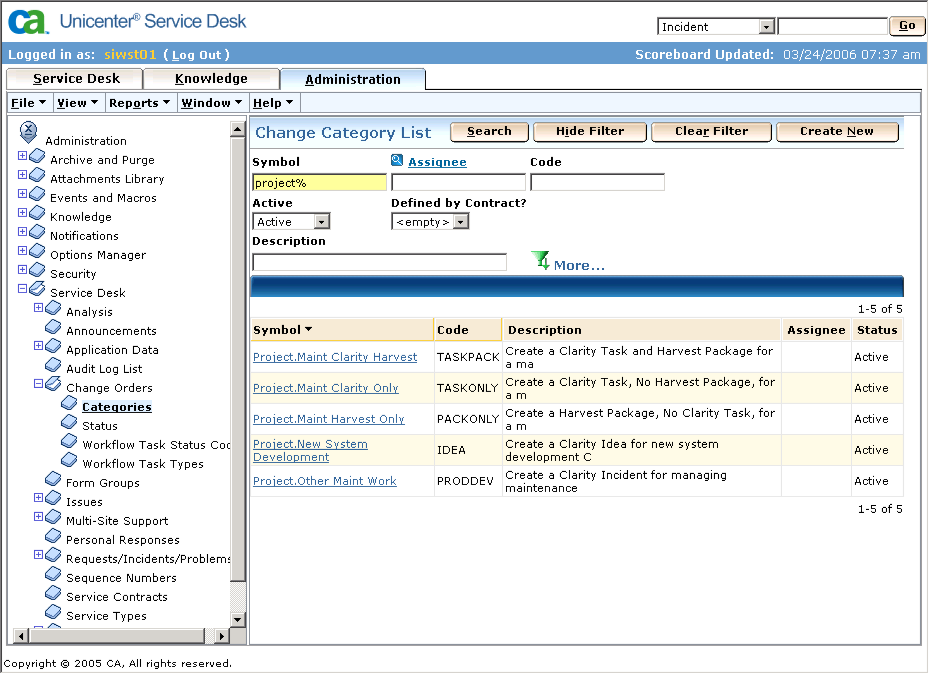
The Change Category List appears in the right pane. These sample change categories define the workflow tasks, Valid Task Statuses, and Action Macros associations needed for the various types of Change scenarios that can be performed with the connection.
|
Change Category |
Workflow Task |
Valid Status |
Status = Action Macro |
|---|---|---|---|
|
Project.New System Development |
100 Create Clarity Idea |
Cancelled, |
Complete=Create Clarity Idea |
|
|
200 Monitor Clarity Project |
Cancelled, |
|
|
|
300 Notify Assignee |
Cancelled, |
Pending=Notify WF's CHG Assignee |
|
Project.Maint Harvest Only |
100 Create Harvest Package |
Cancelled, |
Complete=Create Harvest Package |
|
|
200 Monitor Harvest Project |
Cancelled, |
|
|
|
300 Notify Assignee |
Cancelled, |
Pending=Notify WF's CHG Assignee |
|
Project.Other Maint Work |
100 Create Clarity Work Request |
Cancelled, |
Complete=Create Clarity Incident |
|
|
200 Monitor Clarity Work Request |
Cancelled, |
|
|
|
300 Notify Assignee |
Cancelled, |
Pending=Notify WF's CHG Assignee |
|
Project.Maint Clarity Harvest |
100 Evaluate Clarity Task |
Cancelled, |
Evaluate=Create Clarity Task |
|
|
200 Monitor Harvest Project |
Cancelled, |
|
|
|
300 Notify Assignee |
Cancelled, |
Pending=Notify WF's CHG Assignee |
|
Project.Maint Clarity Only |
100 Evaluate Clarity Task |
Cancelled, |
Evaluate=Create Clarity Task |
|
|
200 Notify Assignee |
Cancelled, Complete, Failed, |
Pending=Notify WF's CHG Assignee |
|
Copyright © 2014 CA.
All rights reserved.
|
|