

Implementation Guide › Case Study Examples › Case Study 19: Adapter Wizard for File-based Data Source › Adapter Creation › General Step
General Step
In the General step of the Adapter Wizard enter the following fields:
- Name: Provide a suitable name for the adapter
- Adapter Address: LOCALHOST is default option (for Application server deployment), but other addresses can be entered using the button alongside if required.
- Time Format: This is the default time format used in date/time fields within the data source. Choosing this correctly ensures the fields are automatically detected correctly later in the Wizard process. New Time Formats can be entered here now if required, using the button alongside this field.
- Time Zone: This is the time zone that the data records are recorded in. This is required so that the adapter can correctly shift the event_timestamp field (and other date/time fields) back to UTC for correct time-shifting internally. This should have been entered previously as per the data source checklist in the previous section.
Notes:
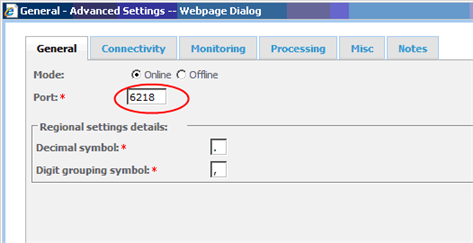
There is also an “Advanced” button on this page which provides access to a number of configuration parameters for the adapter. Most of these can be left at their default values unless modification is required.
The Adapter “Port” is automatically assigned to the adapter as of CA Business Service Insight onwards, but can be overridden here if required. Other notable parameters that can be changed include the following: Regional settings, Online/Offline mode, Connection details, Monitoring and logging options, Run Once/Always settings, Error limits, file names and comments.
Examining each of these settings is beyond the scope of this case study, but can be found in Adapter Configuration Specifications.
Click Next to continue to the next step of the Wizard. The next step provides access to the Data Source Interface of the adapter.
Copyright © 2012 CA.
All rights reserved.
|
|