

This procedure describes how to install the CA Server Automation component of CA Automation Suite for Clouds.
Follow these steps:
The CA Server Automation window opens.
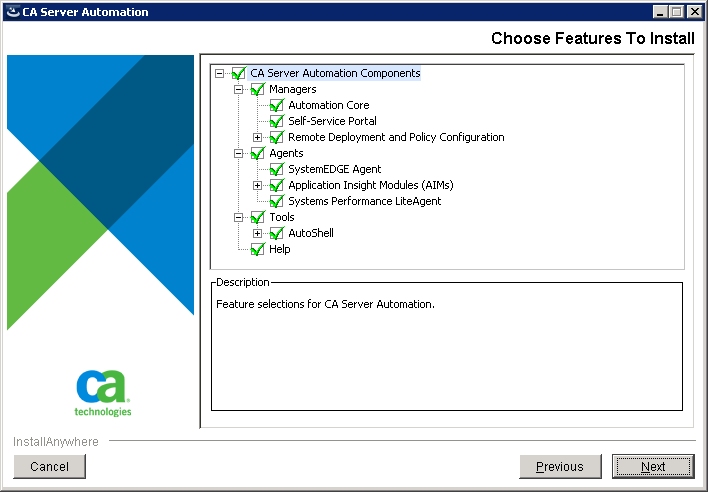
Note: The CA SystemEDGE Agent is installed with the CA Server Automation installation. If you choose to install the CA SystemEDGE Agent later, clear the installation option for the agent during this installation process.
The Preinstall Checks window opens.
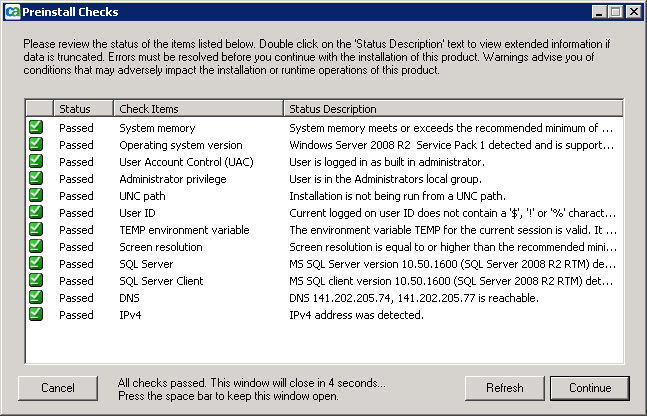
If you see the status of any item as Failed, review the Status Description and take an appropriate action.
The Introduction window opens.
The License Agreement window opens.
The Choose Features To Install window opens.
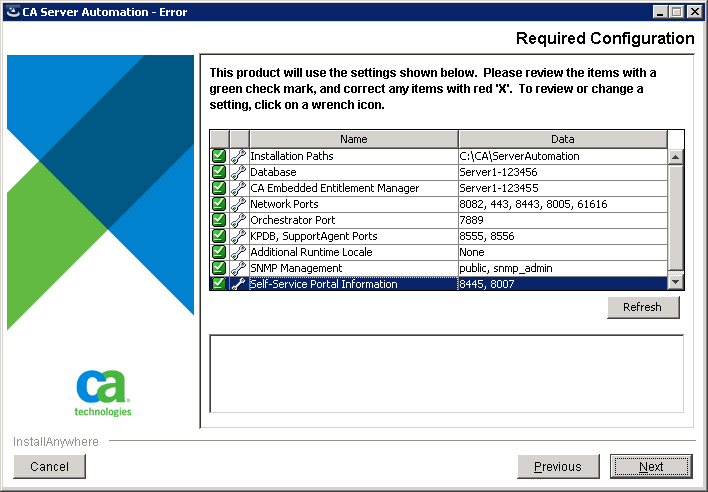
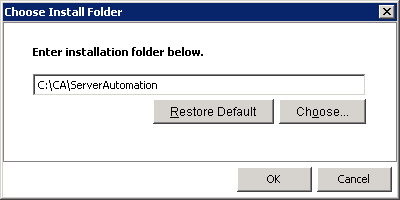
The Required Configuration window opens.
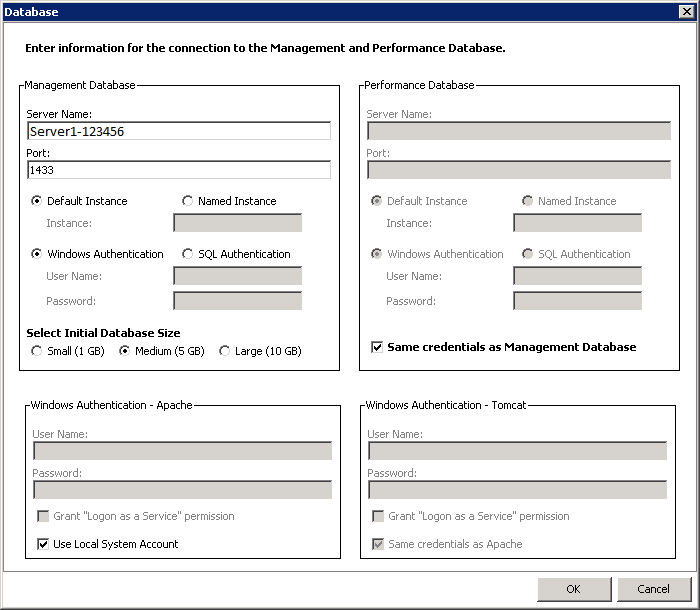
The Management DB is a common data repository for all managed objects, which are based on a model for describing management data. The Management DB stores information about servers, services, rules, actions, virtual platform objects, events, alerts, and relationships among these objects.
Specifies the host name of the server where the database is installed.
Specifies the port number of the server.
Default: 1433
Specifies that you want to use the default instance of the database.
Specifies that you want to use the named instance of the database. Type the instance name that you have provided while installing the database.
Specifies the instance name, when a named instance of the database is used.
Specifies that you want to use the Windows authentication credentials to log in to the database. Select Windows Authentication, if you have selected it while installing the database.
Specifies that you want to use the SQL authentication credentials, when the named SQL database is installed.
Specifies the initial database size depending on the expected usage.
The Performance DB is a repository that stores all the metrics that are collected from the servers in your data center.
The data that is stored in this database is used for various functions. For example, this DB is the source of the data that is used to create historical reports. CA Server Automation also uses the data in this database and user-created rules to make logical business decisions.
Select Same Credentials as Management Database to use management database login credentials for the performance database.
Apache is a web server on which CA Server Automation runs.
Tomcat is an application server that provides software applications with the following services:
CA Server Automation uses Tomcat for running its services.
Specify the Tomcat log in credentials.
Select Same credentials as Apache if the Apache account is used to log in to Tomcat.
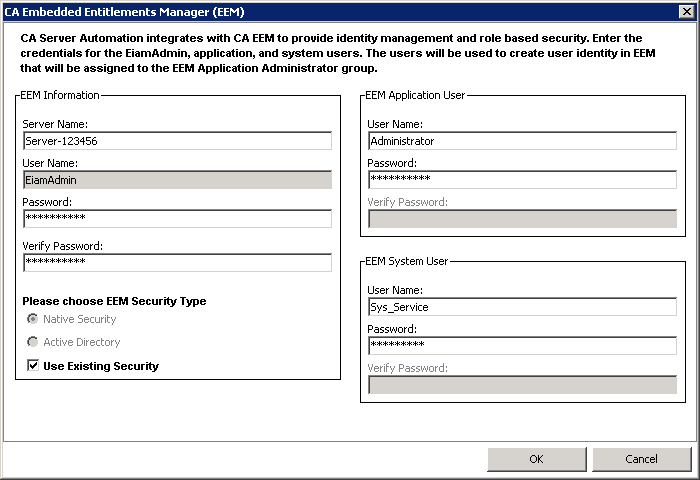
Specifies the CA EEM server administrator authentication information.
Specifies the server on which CA EEM is installed.
Specifies the user name to log in to the server where CA EEM is installed.
Default: EiamAdmin
Specifies the password.
Specifies the password for verification.
Note: Password and Verify Password must match the passwords used when you installed CA EEM.
Specifies the CA EEM application user authentication information.
Specifies the user name.
Default: Administrator
Note: Ensure user exists in CA EEM.
Specifies the password.
Specifies the password for verification.
Specifies the CA EEM system user authentication information. These credentials are used to log in to CA Server Automation.
Specifies the user name.
Default: sys_service
Note: Ensure user exists in CA EEM.
Specifies the password.
Specifies the password for verification.
Specifies that the user authentication is done locally using CA EEM.
Specifies the Active Directory option for user authentication. Select this option if CA EEM Is integrated with Microsoft Active Directory.
Indicates to use the existing security for authentication. Select the Use Existing Security check box.
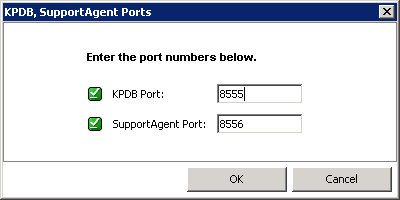
The port numbers must match port numbers that are given on the Network Ports screen. If a port is in use by another service, the dialog displays it in Red. Change the port information accordingly.
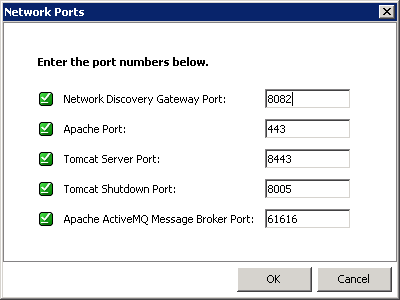
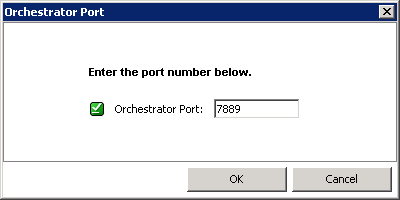
The port numbers must match port numbers that are given on the Orchestrator Port screen. If a port is in use by another service, the dialog displays it in Red. Change the port information accordingly.
The port numbers must match port numbers that are given on the screen.
If a port is in use by another service, the dialog displays it in Red. Change the port information accordingly.
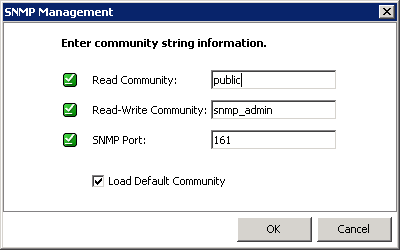
CA Server Automation uses Simple Network Management Protocol (SNMP) for monitoring the network. If a port is in use by another service, the dialog displays it in Red. Change the port information accordingly.
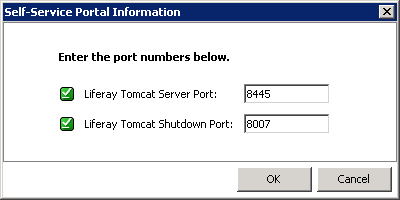
Note: Liferay is a self-service portal on which Tomcat runs. If a port is in use by another service, the dialog displays it in Red. Change the port information accordingly.
The Pre-Installation Summary window opens.

The Installing CA Server Automation window opens and when the installation is complete the Installation Complete window opens.

Note: The installation takes several minutes to complete.
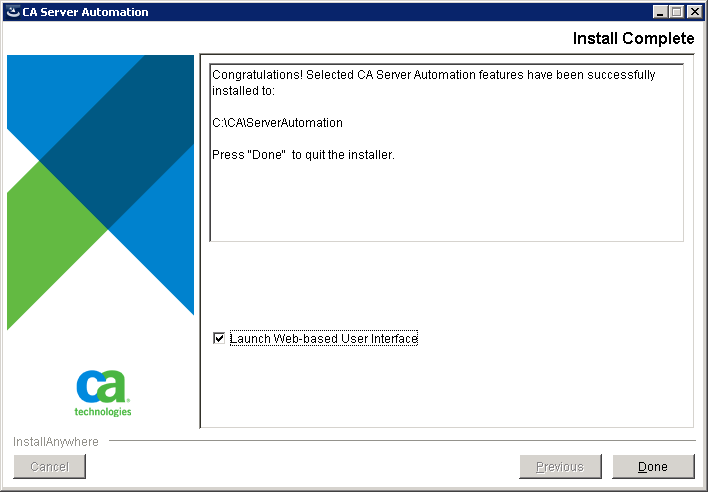
CA Server Automation is installed on the local host and the Login page opens.
|
Copyright © 2014 CA.
All rights reserved.
|
|