- Open DSM Explorer.
- Select the option In the future, do not show this dialog upon startup, and click Close.
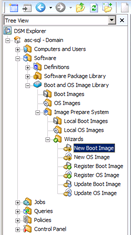
- Expand Software, Boot and OS Image Library, Image Prepare Systems, Wizards, New Boot Image.
- Click Next.
- Select WINPE30.
- Select Create Microsoft Windows PE Image and click Next.
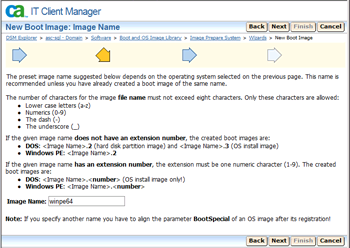
- Change the Image Name as winpe32 and click Next.
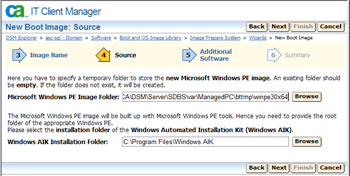
- Verify or Browse to change the Microsoft Windows PE Image Folder.
- Verify or Browse to change the Windows AIK Installation Folder.
- Click Next.
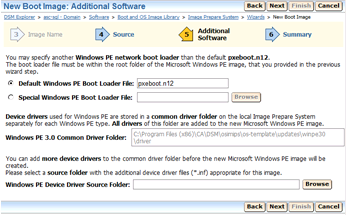
- Verify that Default Windows PE Boot Loader file is selected and that pxeboot.n12 is the value.
- Click Next.
- Click Finish.
This process can take about five minutes to complete.
- Click Run Wizard.
- Select WINPE30x64 and click Next.
- Change the Image Name as winpe64 and click Next.
- Verify or Browse to change the Microsoft Windows PE Image Folder (default okay).
- Verify or Browse to change the Windows AIK Installation Folder.
- Click Next.
- Verify that Default Windows PE Boot Loader file is selected and that pxeboot.n12 is the value.
- Click Next.
- Click Finish.
The command finished successfully message opens.
- Click OK.
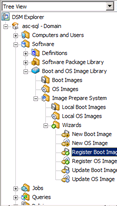
- Select Register Boot Image, and click Next.
- Verify that Register locally created Boot Image is selected.
- Select the new Boot Image (winpe32.2).
- Click Next.
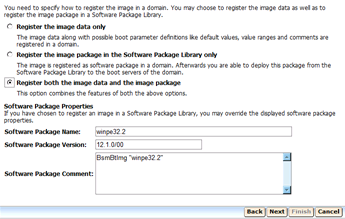
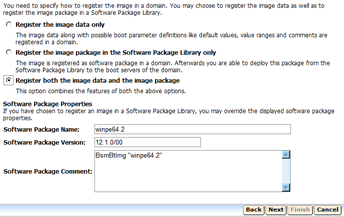
- Verify Register both the Image data and the Image package is selected.
- Verify the Software Package Name.
- Verify the Software Package Version.
- Verify the Software Package Comments.
- Click Next.
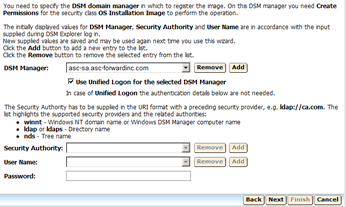
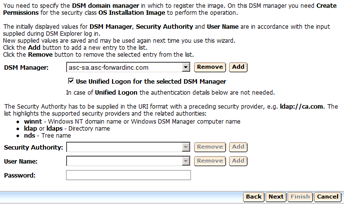
- Verify the DSM Manager is correct.
- Verify that Use Unified Logon for the selected DSM Manager is selected.
- Click Next.
The Register Boot Image Summary window opens.
- Click Finish.
- Verify and wait until the “Command finished successfully” opens.
- Click Run Wizard.
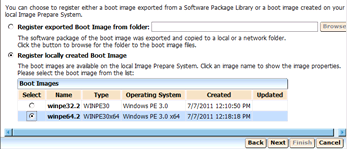
- Verify that Register locally created Boot Image is selected.
- Select the new Boot Image (winpe64.2).
- Click Next.
- Verify Register both the Image data and the Image package is selected.
- Verify the Software Package Name.
- Verify the Software Package Version.
- Verify the Software Package Comments.
- Click Next.
- Verify that the DSM Manager is correct.
- Verify that Use Unified Logon for the selected DSM Manager is selected.
- Click Next.
- Click Finish.
Verify and wait until the “Command finished successfully” opens.
- Click OK.
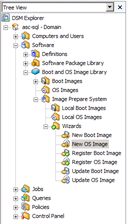
- Select New OS Image.
- Click Next.
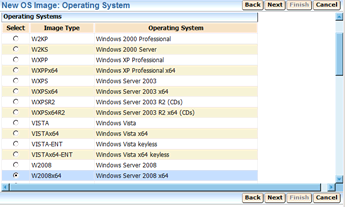
- Select the Operating System that you wish to add (Windows Server 2008 x64).
- Click Next.
- Enter an Image Name (w2k8-64).
- Click Next.
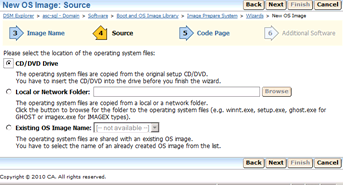
- Select CD/DVD Drive, Local or Network Folder, or Existing OS Image Name and link to the Operating System Image files.
- Click Next.
- Verify 1252 - Western European is selected.
- Click Next.
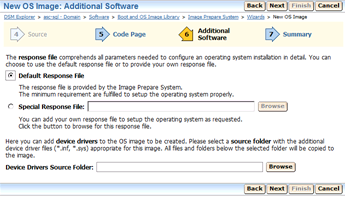
- Verify that Default Response File is selected.
- Click Next.
- Verify the Summary information.
- Click Finish.
If CD/DVD was selected for the Operating System, then you will be prompted to load media and click Continue, for each is disk or ISO image.
- Click OK.
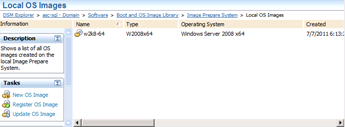
- Verify that the Local OS Images is highlighted.
- Right-click the new OS Image (w2k8-64).
- Select Register OS Image in Connected Domain, Data and Software Package.
- Click OK.
- Expand OS Images.
- Highlight the new OS Image (w2k8-64).
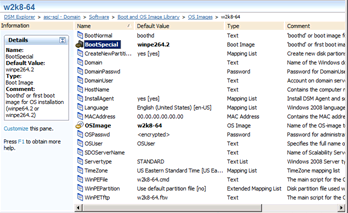
- Right-click BootSpecial and select Edit Default Value.
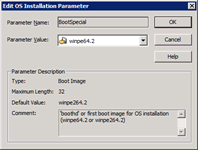
- From the drop-down list change the Parameter Value to the correct Boot Image created earlier (winpe64.2).
- Click OK.
- Close the DSM Explorer.

