

Protecting Full Systems › Configure the Web Proxy to Connect to the Cloud Service › Create a New EC2 Replica Instance
Create a New EC2 Replica Instance
To use Arcserve RHA cloud capabilities for a Full System Data Replication or High Availability scenario, you need to create an EC2 replica instance. Ensure the following requirements are met before starting this procedure:
Note: More information about EC2, including instance details and creating key pairs (required for this procedure), is described in the Amazon EC2 user documentation on the Amazon website.
To create a new EC2 replica instance
- Select the Cloud View panel in the Arcserve RHA Manager.
Instances that you have already created display in the Cloud Accounts and Instances list for the specified region. You can click the Change Default Region button  on the toolbar to specify a different default region.
- Right-click the AWS account that you want to use, and select Create Instance.
The Instance Creation Wizard opens.
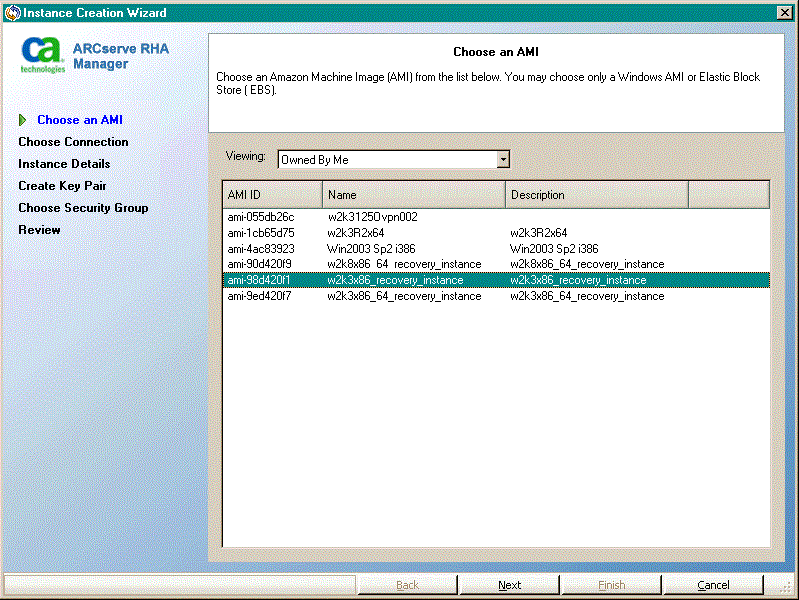
- Select an Amazon Machine Image (AMI) from the list in the Choose an AMI dialog and click Next.
Note: You can only use EBS-backed Windows AMIs.
The Choose Connection screen opens.
- Specify the VPC subnet where you want to allocate the instance and click Next.
Note: The instance is automatically assigned a DHCP address from the IP range of the subnetwork where it was allocated.
The Instance Details screen opens.
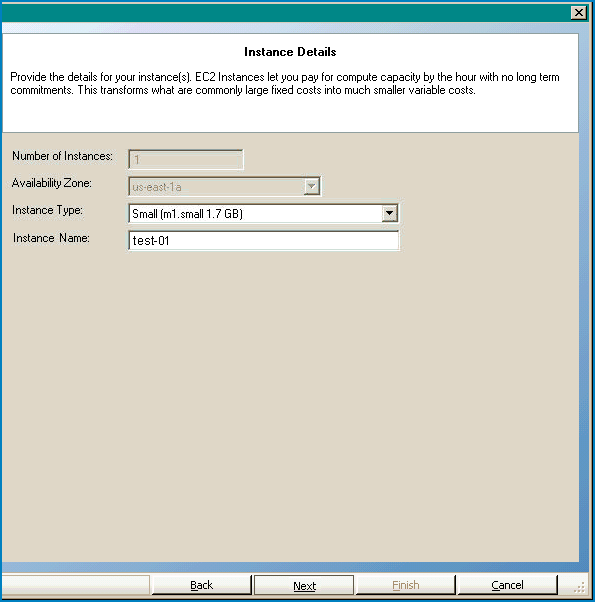
- Specify the number of instances, Availability Zone, and Instance Type and click Next. The instances let you pay for compute capacity by the hour with no long-term commitments so that large fixed costs are transformed into much smaller variable costs.
The Create Key Pair screen opens.
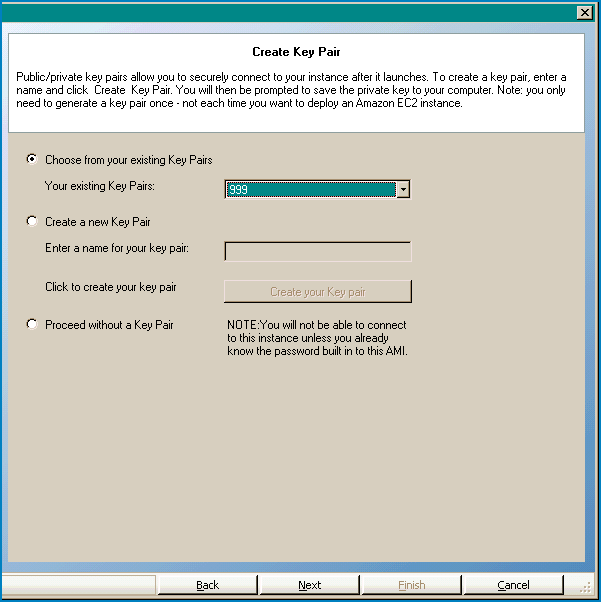
- Select an existing key pair or create a new key pair to securely connect to your instance after it launches. If you create a new key pair, you are prompted to save the private key to your computer. Click Next.
Note: You only need to generate a key pair once, not each time you want to deploy an instance.
The Choose Security Group screen opens.
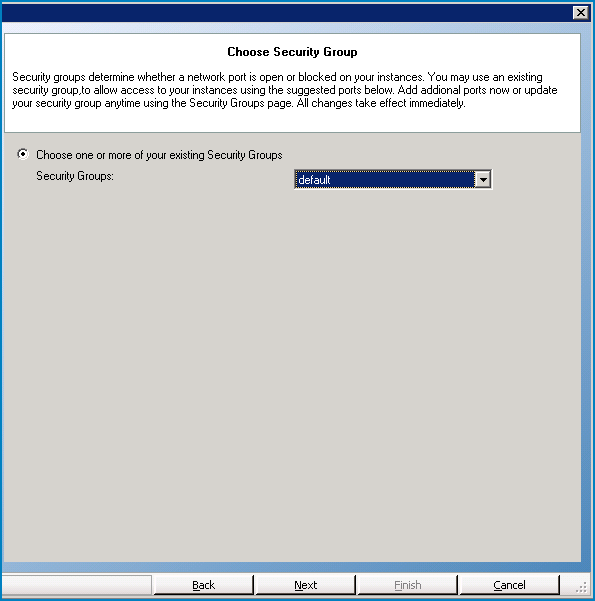
- Select a security group and click Next.
The list shows a list of existing security groups.
The Review screen opens.
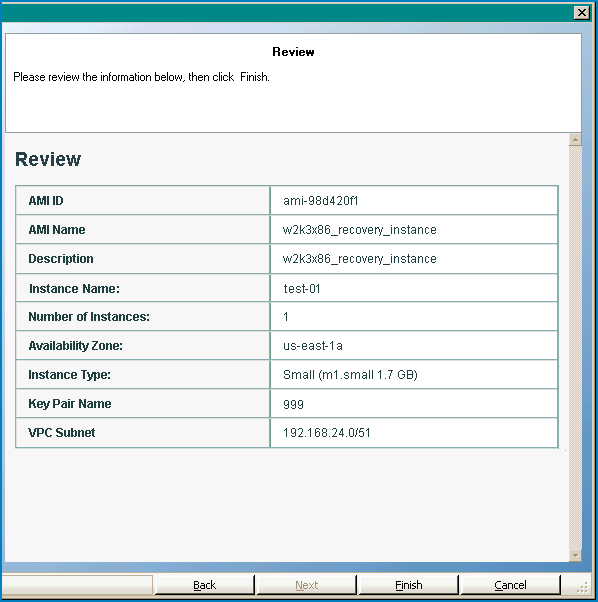
- Review the information you have specified and click Finish.
The instance is created and you will receive a default password.
Notes:
- The Cloud View panel only allows creation of VPC-based instances. You cannot allocate an instance outside VPC, so VPC configuration is mandatory.
- You can create non-VPC instances (public instances) using the AWS management tools (in the AWS Management Console). These public instances will be displayed in the Cloud View panel. However, those instances will not be available in the Scenario Creation Wizard because the wizard only supports “private to private” scenarios, or replication from a private on-premises network to VPC.
- You can filter resource browsing by selecting different regions. There are seven regions available to AWS users: EU West (Ireland), US East (Virginia), US West (N. California), US west (Oregon), South America (Sao Paulo), Asia Pacific (Tokyo), and Asia Pacific (Singapore). Currently AWS only allows creation of one VPC per AWS account. Every VPC may have several subnetworks associated with it (you select the subnetwork ID when the instance is allocated). The subnetwork may reside in one of the four regions. If you want to allocate an instance in a specific subnetwork, then you should first select the corresponding region in the Change Default Region drop-down, however, note that RHA only supports five regions: US East (Virginia), EU West (Ireland), Asia Pacific (Tokyo), Asia Pacific (Sydney), and South America (Sao Paulo).
Copyright © 2014 Arcserve.
All rights reserved.
 
|
|


![]() on the toolbar to specify a different default region.
on the toolbar to specify a different default region.


