

After you prepare the bare metal machine, create a recovery scenario. While creating the recovery scenario, you specify the details of the bare metal machine and the replica volumes to restore. When you run the scenario, the applications and the data is restored to the bare metal machine.
Follow these steps:
Select the full system scenario and click Restore Data to open the Restore Data Wizard.
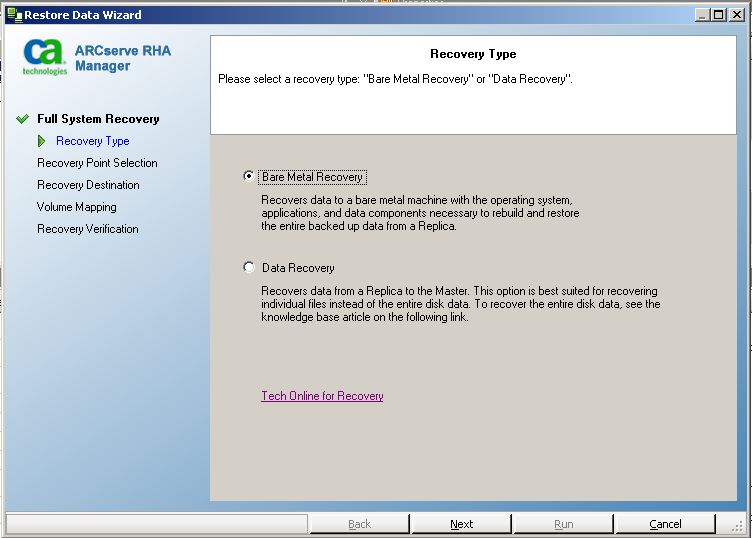
The Recovery Point Selection screen opens and all the recovery points created by the forward scenario is listed.
The Recovery Destination screen opens.
Note: The source IP address is automatically populated.
RHA verifies both the machines and displays the verification result in the Status section.
The Volume Mapping screen opens.
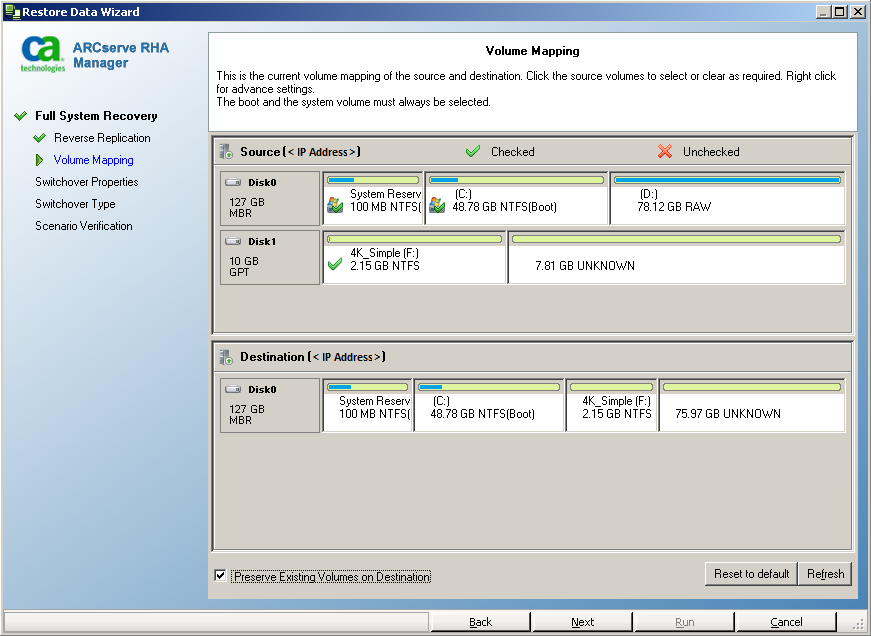
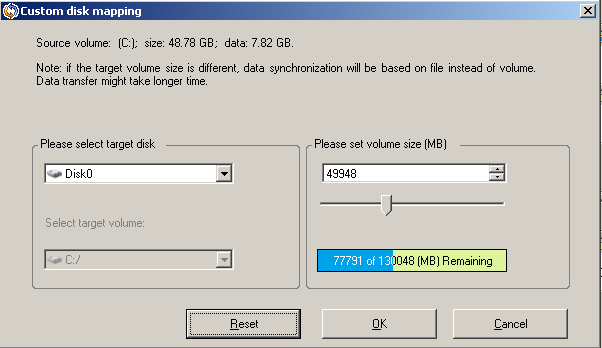
Custom disk mapping: Right-click source volumes to open the Custom disk mapping dialog. The Custom disk mapping lets you manually map the source volumes to destination volumes.
Preserve Existing Volumes on Destination: This option lets you keep the current volume on the bare metal machine (destination machine). All check boxes are cleared from the source and you have to manually map the disk using the Custom disk mapping dialog.
In some cases you want to change the existing disk and volume layout of the destination, for example, you want to create dynamic disks on the source. To create new disk and volume layout on the destination machine, you can use the DiskPart command. For more information about the DiskPart command, see Creating Dynamic Disks Using the DiskPart Command.
After you create the disk and volumes, click Refresh to see new disks and volumes.
Be aware of the following considerations:
The Recovery Verification screen opens. RHA verifies all scenario settings to help ensure successful recovery. Any errors must be resolved before continuing. Also, verify any warnings and resolve if necessary.
The Run dialog opens.
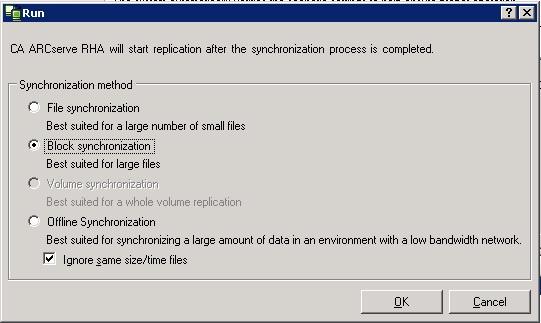
Specifies that synchronization happens at the file level.
Specifies that synchronization happens at the block level.
Specifies that synchronization happens manually, data is replicated to an external device and then from the device to the Replica server. This method is effective for transferring huge data volumes with low network bandwidth.

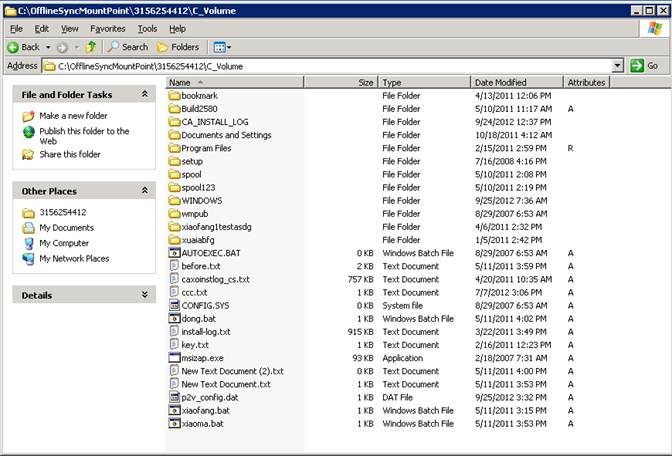
Physically transport the external media to the BMR server. During transport, the production dataset caches any changes in the source data in the Replica spool.
xcopy [Source] [Destination] /E /C /H /R
Data copy starts.
The Block synchronization starts.
After the synchronization process is completed, all applications and data are restored to the bare metal machine.
|
Copyright © 2014 Arcserve.
All rights reserved.
|
|