

|
|
|
Bare Metal Recovery (BMR) is the process of restoring a computer system from "bare metal" including reinstalling the operating system and software applications, and then restoring the data and settings. The BMR process lets you restore a full machine with minimal effort, even to different hardware. BMR is possible because during the block-level backup process, CA ARCserve D2D On Demand not only captures the data, but also all information related to the operating system, installed applications, configuration settings, necessary drivers, and so on. All relevant information that is necessary to perform a complete rebuild of the computer system from "bare metal" is backed up into a series of blocks and stored on the backup location.
|
|
|
|
CA Support: |
|
|
YouTube: |
|
Before you can perform BMR, you must have:
Note: If you are using a USB stick you can add additional drivers to it, which you cannot do with the Windows PE image.
Dynamic disks are restored at the disk level only. If your data is backed up to a local volume on a dynamic disk, you cannot to restore this dynamic disk during BMR. In this scenario, to restore during BMR you must either back up to a volume on another drive, back up to a remote share, or copy a recovery point to another location and then perform BMR from the copied Recovery Point.
Note: If you perform BMR to a dynamic disk, do not perform any pre-BMR disk operations (such as cleaning or deleting volume) or else the presence of the disk may not be recognized.
Regardless of which method you used to create the Boot Kit image, the BMR process is basically the same.
To restore data using bare metal recovery
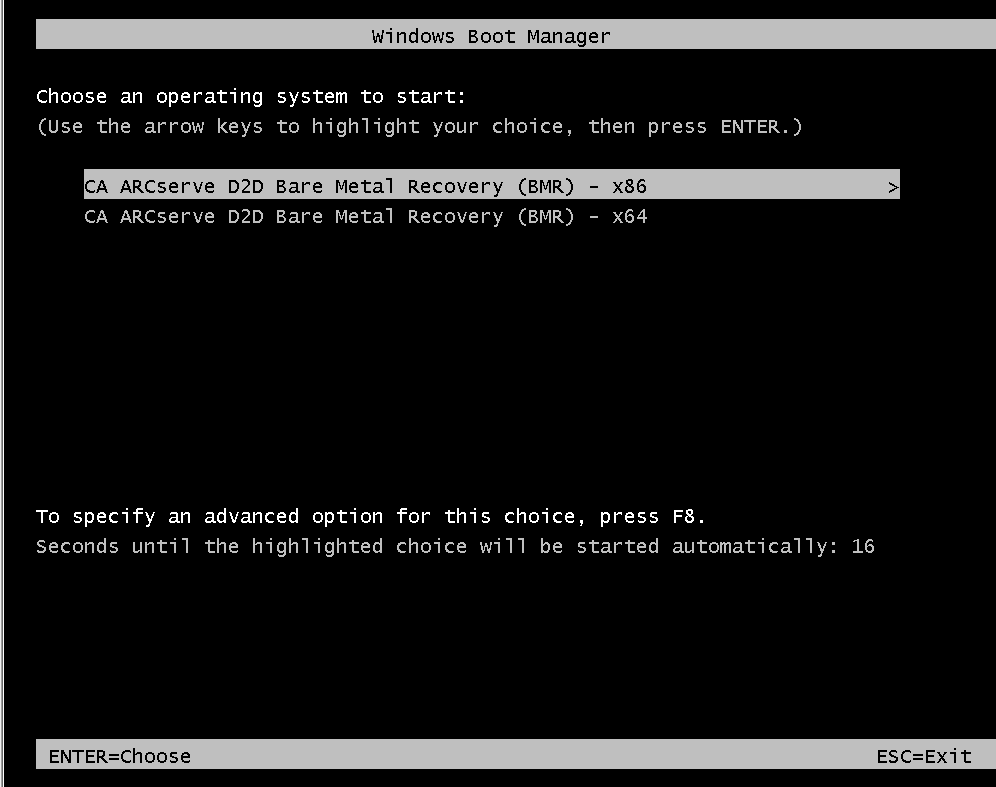
The BIOS Setup Utility screen is displayed.
Note: If you are using Windows PE image to perform BMR you must also select an architecture (x86/x64) and press Enter to continue.
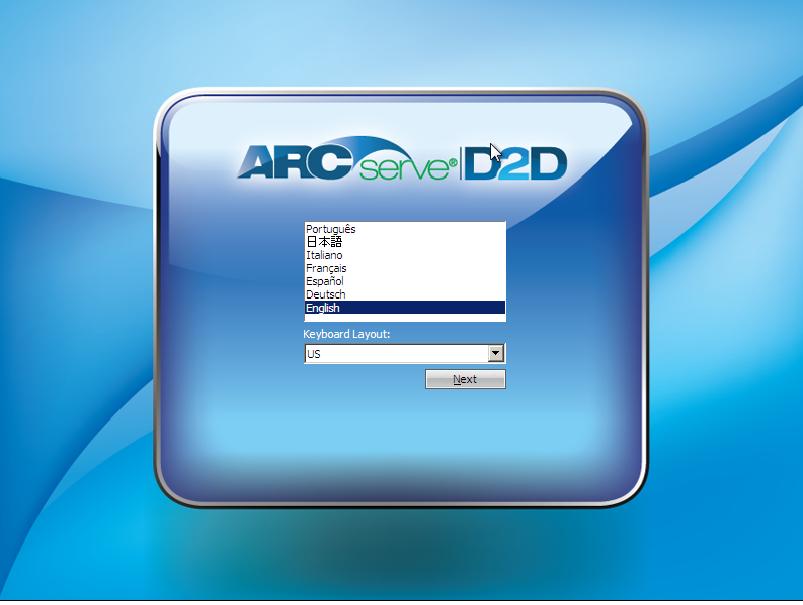
Note: If you are performing BMR with a BMR USB stick and a Windows 7/Windows Vista/Windows 2008/Windows 2008 R2 installation media (CD/DVD) which does not support a Multilingual User Interface (MUI), it will not display this language select screen.
The Select a Recovery Point wizard screen is displayed.

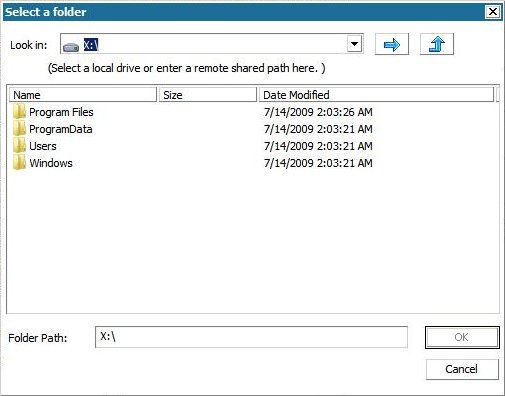
CA ARCserve D2D On Demand lets you recover from any local drive or from a network share.
You may also need access information (User Name and Password) for the remote machine.
Note: The network must be up and running to browse to remote recovery points. If necessary you can check/refresh your network configuration information or load any missing drivers from the Utilities menu.
The BMR wizard screen now displays the machine name (in the upper left pane), with the related backup information (in the upper right pane) and all the corresponding recovery points (in the lower left pane).
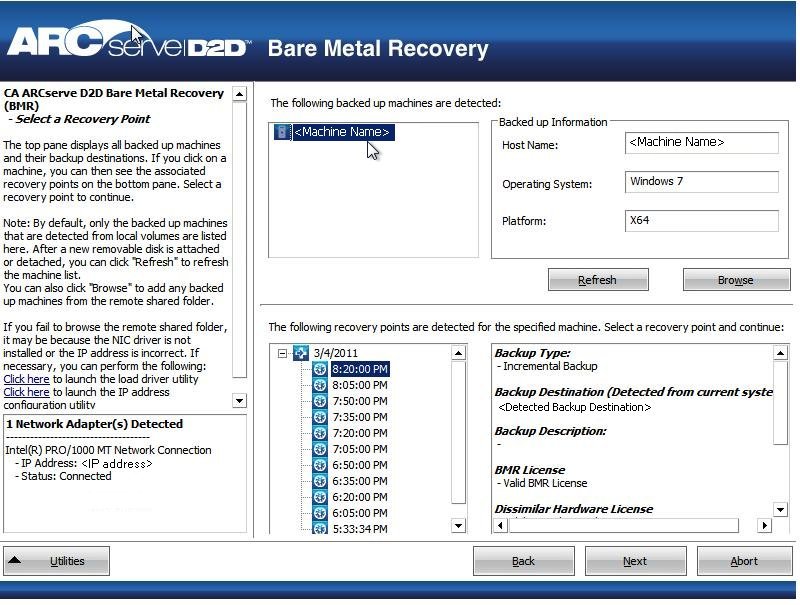
The related information for the selected recovery point is displayed (in the lower right pane). This display includes such information as the type of backup that was performed (and saved), the backup destination, and the volumes that were backed up.
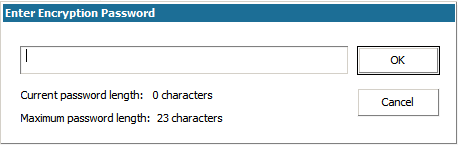
If the recovery point contains encrypted sessions (the recovery point clock icon includes a lock), a password required screen appears. Enter the session password and click OK.
Note: If your machine is a Domain Controller, CA ARCserve D2D On Demand supports a non-authoritative restore of the active directory (AD) database file during BMR. (CA ARCserve D2D On Demand does not support restoring MSCS clusters.)
A BMR wizard screen is displayed with the available recovery mode options.
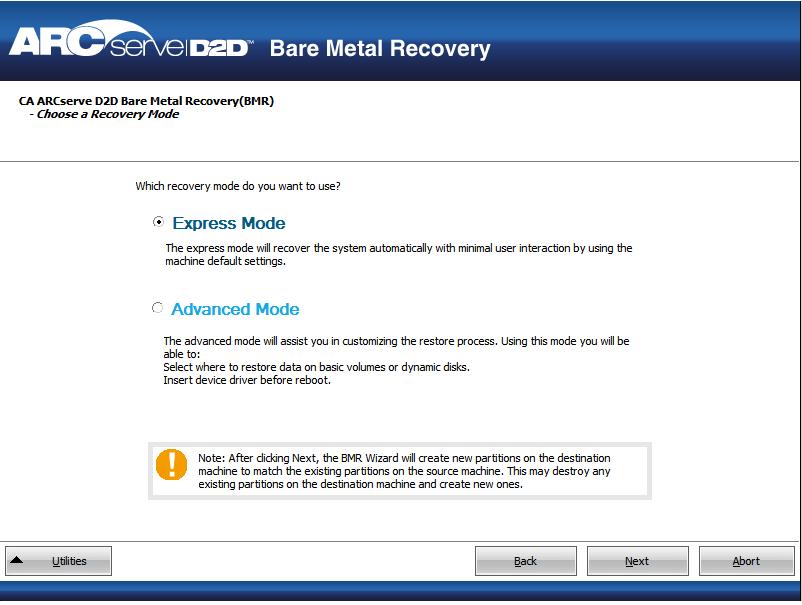
The available options are Advanced Mode and Express Mode.
(This is the default mode).
Note: The remainder of this procedure is applicable only if you selected the Advanced Mode and provides information to guide you through the BMR process.
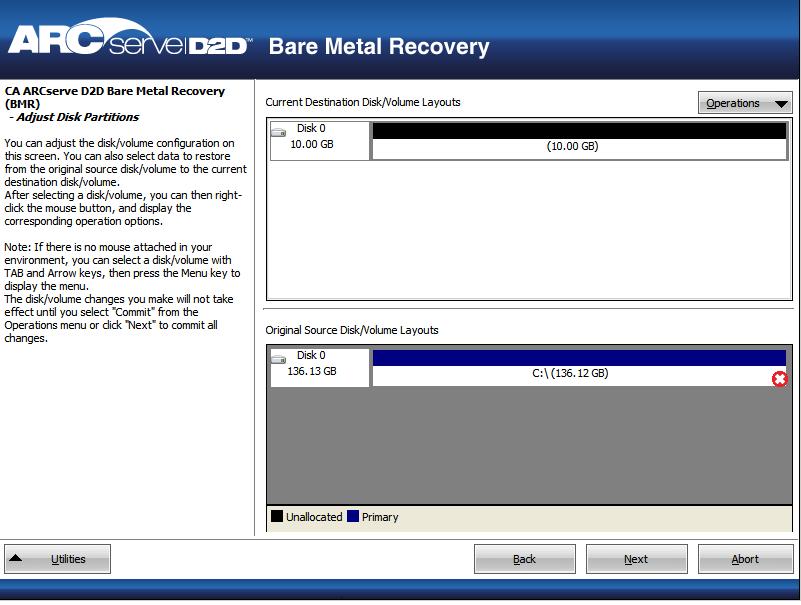
The BMR utility starts locating the machine to be recovered and displays the corresponding disk partition information.
The upper pane shows the disk configuration that you have on the current (target) machine and the lower pane shows the disk partition information that you had on the original (source) machine.
Important! In the lower pane, if a red X icon is displayed for a source volume, it indicates that this volume contains system information and has not been assigned (mapped) to the target volume. This system information volume from the source disk must be assigned to the target disk and restored during BMR or the reboot will fail.
Note: If you perform BMR and restore the system volume to a disk which is not configured as the boot disk, it will fail to boot the machine after BMR is completed. Please ensure that you are restoring the system volume to a properly configured boot disk.
Note: When restoring to another disk/volume, the capacity of new disk/volume must be the same size or larger than original disk/volume. In addition, disk resizing is for basic disks only, and not for dynamic disks.
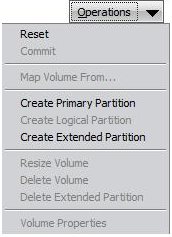
From this menu, you can reset any existing partitions or create new partitions to correspond to the disk partitions on the source volume. (Reset means to reload the source and target disk layout information from the configure file and current OS, and discard any user changed disk layout information).
Note: When mapping to another disk, the capacity of each mapped target volume must be the same size or larger than the corresponding source volume.
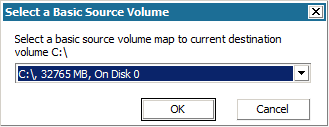
The Select a Basic Source Volume dialog opens.
The Submit Disk Changes screen opens, displaying a summary of the selected operations. For each new volume being created, the corresponding information is displayed.
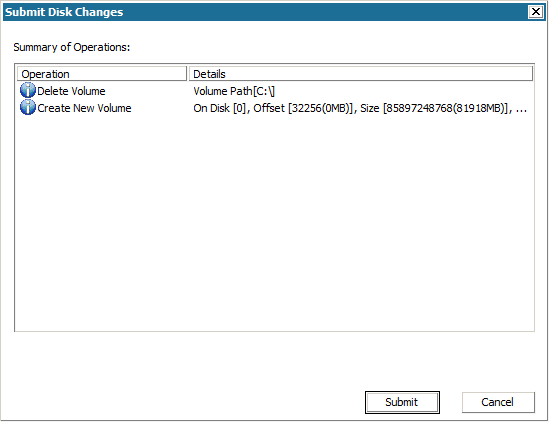
Note: All operations to the hard drive will not take effect until you submit it.
On the target machine, the new volumes are created and mapped to the corresponding source machine.
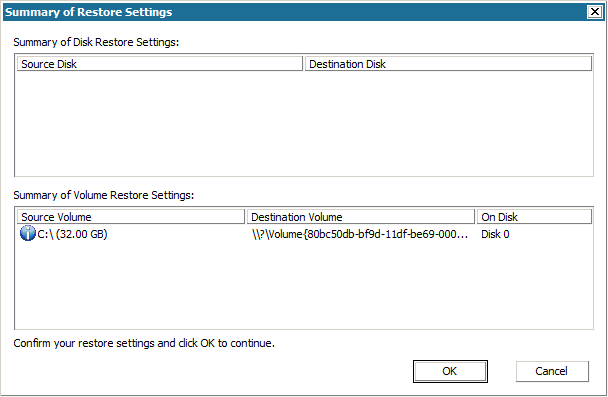
The Summary of Restore Settings screen opens, displaying a summary of the volumes to be restored.
Note: On the bottom of restore summary window, the drive letters listed in "Destination Volume" column are automatically generated from the Windows Preinstallation Environment (WinPE). They may be different from the drive letters listed in "Source Volume" column. However, the data is still restored to proper volume even if drive letters are different.
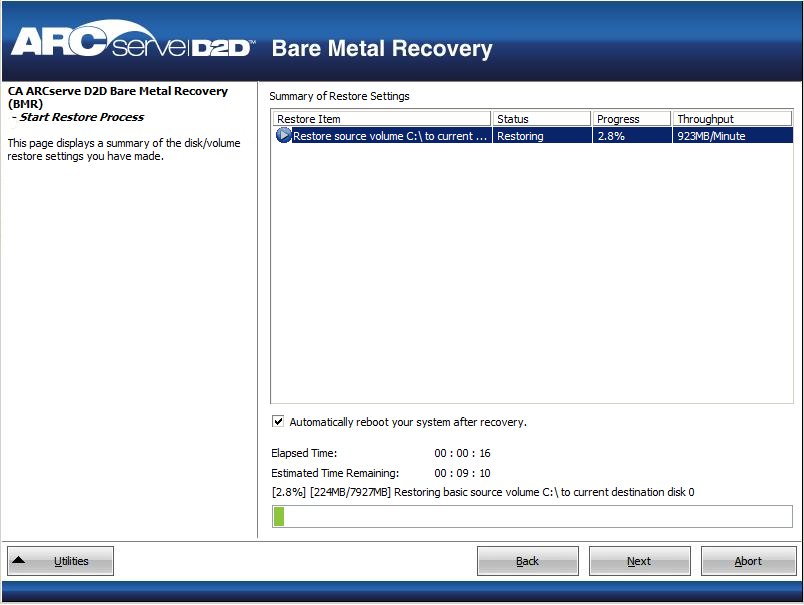
The restore process starts. The BMR wizard screen displays the restore status for each volume.
By default, the Activity Log is saved to the following location:
X:\windows\system32\dr\log.
Note: To avoid getting a Windows-generated error, you should not save the Activity Log on your desktop or create a new folder on your desktop using the "Save As" option from the BMR Activity Log window.
You can browse and select drivers to inject to the recovered system so that even if you recovering to a machine with dissimilar hardware, you can still bring back the machine after BMR.
Notes: After completion of BMR:
| Copyright © 2012 CA. All rights reserved. | Tell Technical Publications how we can improve this information |