

You can email an object view report in PDF, HTML or Excel format using the Windows Client Mail Report icon (![]() ) from the toolbar of the object view.
) from the toolbar of the object view.
Note: The Customize Reports Wizard in the Web Client provides an email output report option. For more information, see the CAVantage SRM Web Client Guide.
When using the Windows Client Output Report wizard to email a report, the output includes all the information from your object view as it appears in your object view at the time you generate the report. Before you generate the report, you can use other object view options (such as filter, sort, color code, and so on) to design how the information appears in your object view and subsequently how the report appears. The number of records in the report depends on the Record Range settings. You also have the option of using the View and Output Definition feature to customize reports with the appearance and information you want.
To quickly mail an object view using the Mail option in the Windows Client
The object view appears.
The Record Range page of the Output Report wizard opens.
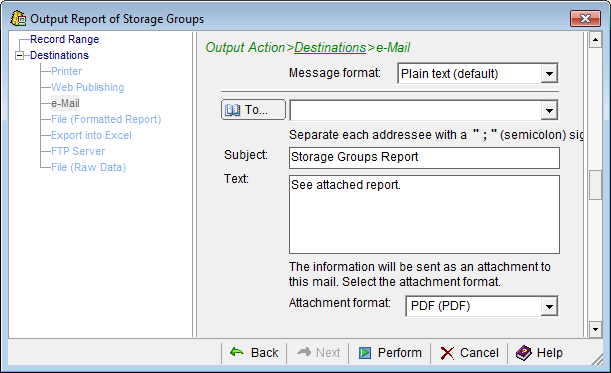
Note: If you have defined a Mail to Address in the (global) Windows Client Options feature then that defined email address is displayed in the e-Mail Destination page.
The e-Mail Destination page closes. An email is created and sent with the object view report attached.
Note: For more information about the Output Report dialogs, click the Help icon in the Output Reports wizard.
|
Copyright © 2011 CA Technologies.
All rights reserved.
|
|