

The Source page lets you specify the source nodes that you want to protect. You can select more than one node in a plan. If you have not added any nodes to the Console, you can add nodes when you create or modify a plan from the Source page. You can save a plan without adding any source nodes. The plan gets deployed only after you add source nodes.
Follow these steps:
The Backup Proxy dialog opens.
The proxy server is a node where you install the Arcserve UDP Agent (Windows). If the Agent is not installed on this proxy server, then, when you save the plan, the agent is deployed to the proxy server. The agent deployment setting is in the Agent Installation task in the plan.
Note: Plan deployment will fail for the node which is a VM on ESXi 5.5 but you set an x86 OS as proxy server of the plan. The reason is that, VMware VDDK 5.5.x is required to interact with ESXi 5.5 but, if proxy server is an x86 OS, VDDK 5.1.2 is used by Arcserve UDP Agent (Windows) because VDDK 5.5.x is not supported on x86 OS.
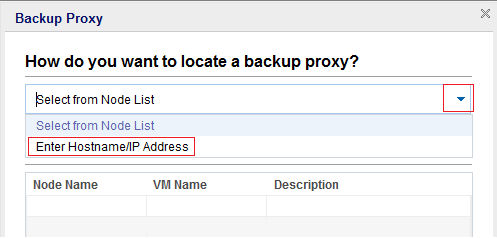
Lets you select the node from the displayed list to assign it as a proxy server. The nodes that you have already added are displayed on the list.
Lets you add a node as a proxy server using the node name or IP address, username, and password. You do not have to add the port number and protocol. The port number and protocol are configured at the configuration tab.
The backup proxy is selected and the dialog closes.
Opens the Select Nodes to Protect dialog and you can select the nodes from the displayed list. Select this option if you have already added the nodes to the Console.
Opens the Add Nodes to Arcserve UDP Console dialog. Select this option if you have not added the nodes and you want to import the nodes from a Hyper-V server.
Opens the Add Nodes to Arcserve UDP Console dialog. Select this option if you have not added the nodes and you want to import the nodes from a vCenter/ESX server.
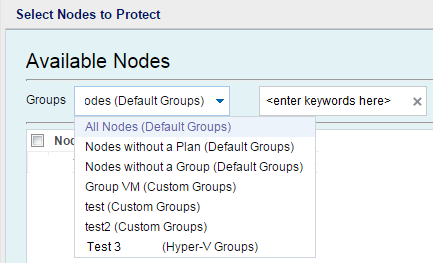
The nodes are displayed on the Available Nodes area.
The selected nodes are displayed on the Selected Nodes area.
Indicates that VMware selects the data transfer option. You do not have to manually set any data transfer option.
Indicates that you can select the data transfer option and set the priority for each option. Use the arrow button to prioritize the transport mode.
Note: If you have specified the transport mode in both the Console and registry key, then the priority set from the Console overrides the priority set in the registry key. For more information on setting the priority using the registry key, see Define a Transport Mode for Host-Based Agentless Backup and Restore.
The source is specified.
|
Copyright © 2014 Arcserve.
All rights reserved.
|
|