

|
|
|
The dialogs described in this step and the next four steps relate to the installation of the CA XCOM Gateway Server, which is typically the second component for which the installer requests detailed information. The first dialog, Choose Install Folder, prompts you to specify a destination folder for the installation.
To specify a destination folder for the installation of CA XCOM Gateway
Note: The default folder is C:\Program Files\CA\XCOMGW. If the folder does not exist, the installer creates the folder during installation.
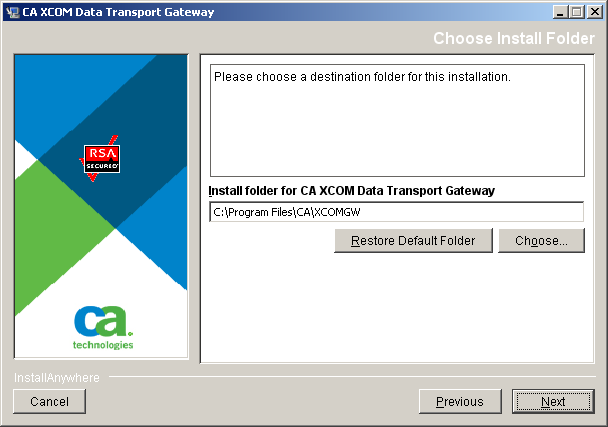
The folder information is saved, and the first of two Database Information dialogs opens.
| Copyright © 2011 CA. All rights reserved. | Tell Technical Publications how we can improve this information |