

Administration Guide › Action Alerts › Example: Create an Action Alert for Low Disk Space
Example: Create an Action Alert for Low Disk Space
Low Available Disk Space is one of the predefined queries with the tag, Action Alerts. Queries with the Action Alerts tag are specifically designed to be used as alerts, but do not become alerts until you schedule them.
The following example shows how to create an action alert from the predefined Low Disk Space query.
- Click the Queries and Reports tab and the Queries subtab.
The Query Tag and Query List panes appear.
- Click the Action Alerts tag.
The Query List displays the queries tagged with Action Alerts.
- Click the Low Available Disk Space query in the query list.
The Low Available Disk Space query appears in the main pane.
- Click Options and select Schedule Action Alerts.
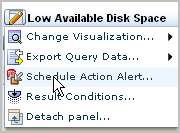
The Schedule Action Alerts wizard appears with the Alert Selection step selected. Low Available Disk Space is preselected under Selected Queries.

- Enter a job name, such as Low Disk Space. Clear the Enabled checkbox for now. This lets you save and close the action alert schedule before it is complete without risking an attempt to run it.

- You can enter or skip Alert Filters. Filters are additive, that is, when a series of filters are evaluated, they are joined with logical ANDs.
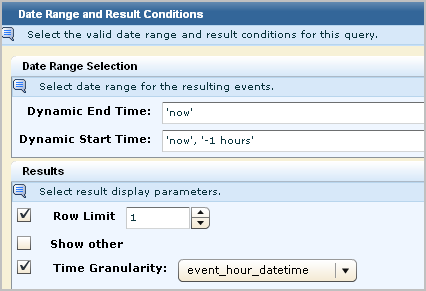
- Click Result Conditions to override the ones set in the query definition.
- To specify the alert should evaluate the disk space for the past hour, enter the date range as 'now' for Dynamic End Time and 'now' '-1 hours' for Dynamic start time.
- To specify that you only want to be notified if the query returns a result; and you want to see only the first result returned, select Row Limit and select the value 1. Since the dynamic time range is in hours, select event_hour_datetime as the Time Granularity.
- Leave Grouped Events blank since that does not apply to this query.
- Click Schedule Jobs to define the schedule. The default is to start the job immediately with no end date. Set the recurrence interval. For example, set the interval to run the query every hour.

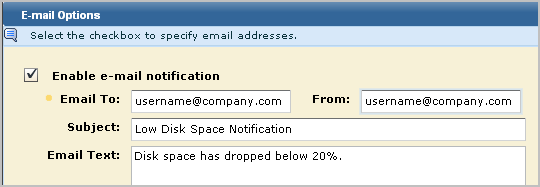
- Click the Destination step. Select enable-email notification; enter your email address in the Email To field. Optionally, enter a subject and email text. Or, email it to the desired recipients and enter your email address in the From field. If you enter multiple email addresses, separate them with a comma (not a semicolon).
- Click Server Selection. By default, the query will run on the current CA User Activity Reporting Module server. Select Federated to run the query on this server and all eligible federated queries.
- Click Alert Selection. Select Enabled.
- Click Save and Close.
The action alert job is displayed on the Alert Scheduling subtab.

- Click the Alert Management tab, Action Alerts to view the results of this action alert.
You will receive email notification as requested. An example follows:
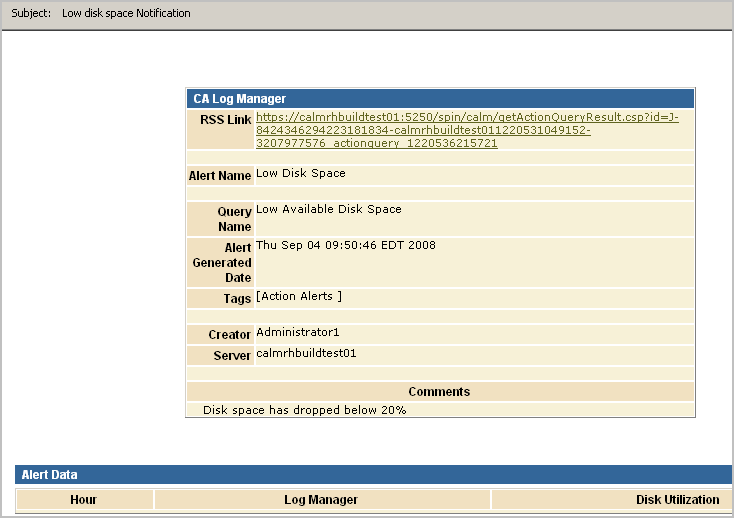
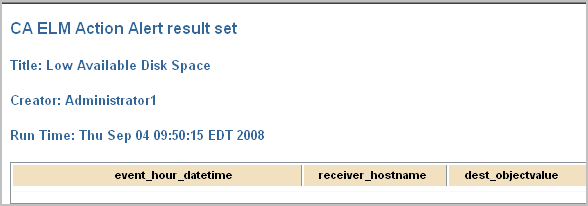
If you click the RSS Link, a page similar to the following appears:
Copyright © 2013 CA.
All rights reserved.
|
|