

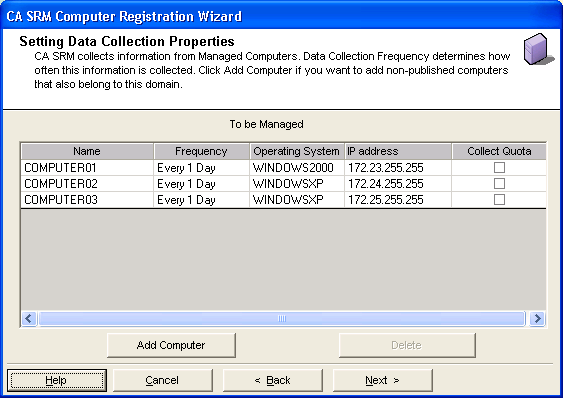
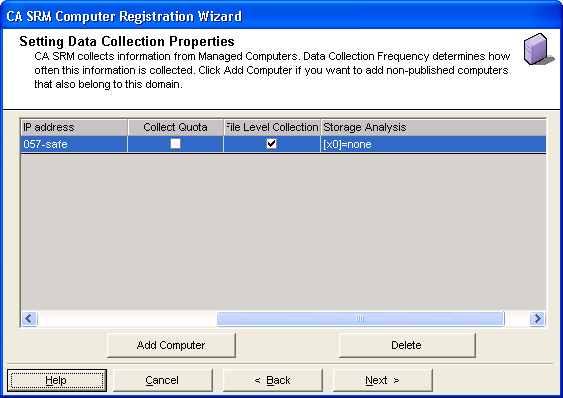
The Computer Registration wizard lets you specify the computers from which to collect information and define properties for the data collected.
Follow these steps:
The Computer Registration Wizard dialog appears.
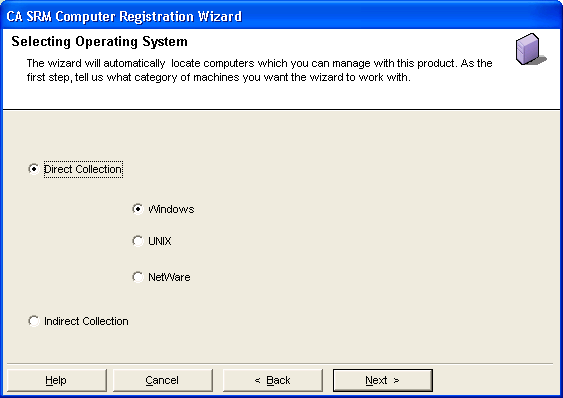
Tip: As you progress through the Computer Registration wizard, notice that the text at the top of each window provides brief usage instructions.
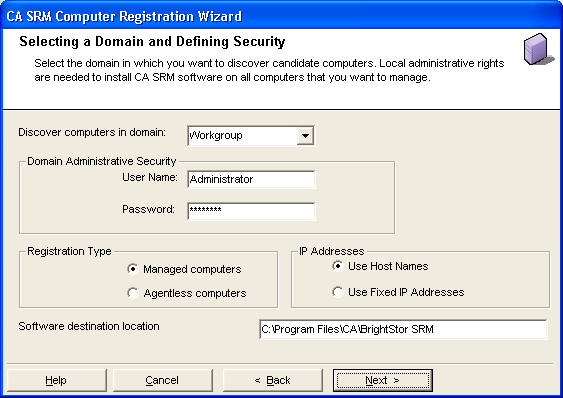
Select the registration type. Select Agentless computers if you want to collect data remotely without installing the agent on the specific machine.
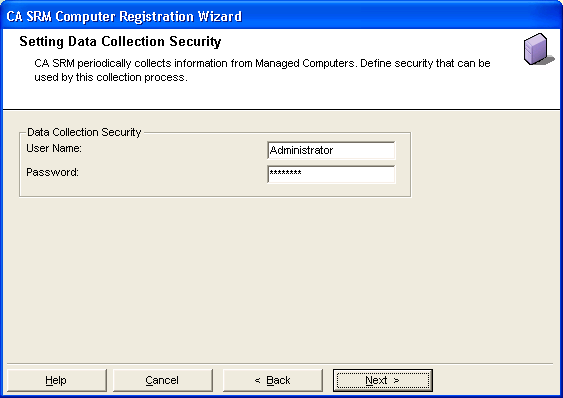
Agentless registration requires administrative access rights to the remote computers. Prior to registering an agentless computer, you need to register its domain and belong to the domain's administrator security group.
If you select the agentless mode but CA SRM discovers an existing agent, then the computer is registered as a managed computer with an agent.
Note: For purposes of this guide, the registration procedure for the Managed computers registration type is provided.
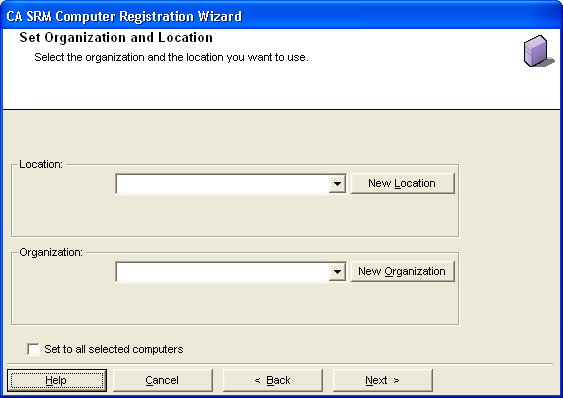
To attach a geographic location to the computer or server, select one from the drop-down list. You can manually add a location by clicking New Location. Type the location information and select a contact in the Create New Location dialog.You can add a contact by clicking New Contact. This opens the Create New Contact dialog. Enter the name, phone number and email address of the new contact person. Clicking OK returns you to the New Organization dialog.
To attach an organization to the computer or server, select one from the drop-down list. You can manually add an organization by clicking New Organization. Type the organization name and select a contact in the Create New Organization dialog. You can add a contact by clicking New Contact. This opens the Create New Contact dialog. Enter the name, phone number and email address of the new contact person. Clicking OK returns you to the New Organization dialog.
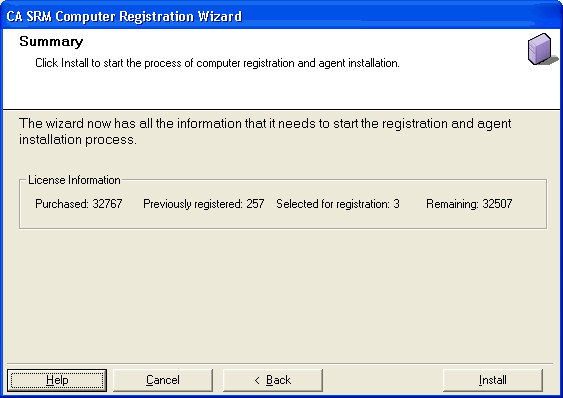
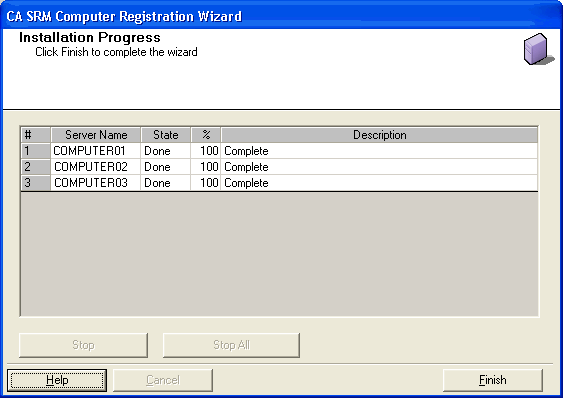
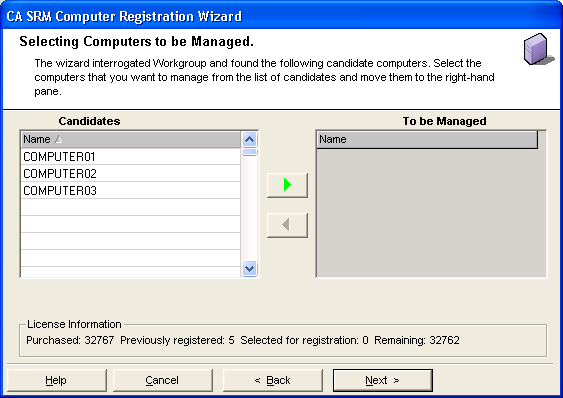
When the registration process completes, click Finish and the final dialog tells you how many computers were successfully registered.
|
Copyright © 2016 CA Technologies.
All rights reserved.
|
|