

CA SiteMinder® Administrator accounts can be configured with fine-grained privileges that determine the administrative capabilities available to that administrator.
CA SiteMinder® Administrators are assigned rights to one or more security categories that define their administrative authority in the Administrative UI, such as managing authentication schemes. By default an administrator has access to every CA SiteMinder® object related to an assigned security category.
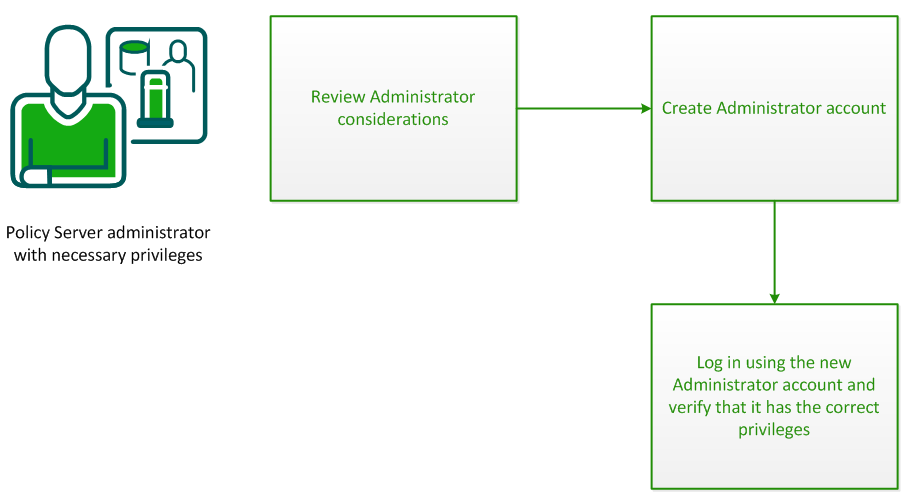
Before you configure an Administrator, review the following considerations:
Important! An Administrator can only create another Administrator with the same or lesser privileges. For example, if an Administrator has GUI and reports privileges, the Administrator can create another Administrator with GUI and reports privileges, but not with local API privileges. Similarly, an Administrator can only create another Administrator with the same or lesser scope (as defined by an assigned workspace).
Create an Administrator by creating an Administrator account.
Follow these steps:
The Administrators page appears.
The Create Administrator page appears.
Note: Click Help for descriptions of settings and controls, including their respective requirements and limits.
The Select a User page appears.
Users matching the specified criteria appear.
The full name of the user appears in the Name field. The URL to the user in the external store appears in the User Path field.
Example: If an administrator is going to use the XPSImport and XPSExport tools, select Import Allowed and Export Allowed.
The Create Permission: Select Security Categories page appears.
Note: Security categories comprise one or more tasks that correspond to specific CA SiteMinder® objects. For more information, see the Administrative UI online help system.
The Create Administrator page reappears; added security categories populate the Rights table.
Note: Only permissions applicable for security categories in the table are available. For more information about permissions, see the Administrative UI online help system.
The Administrator is created.
After creating an Administrator account, verify that it has the correct privileges.
Follow these steps:
You have completed the required tasks to create an Administrator account.
|
Copyright © 2013 CA.
All rights reserved.
|
|