
For IIS 7.x (Windows only) and Apache-based web servers, you can link a client certificate with a CA SiteMinder® session. This feature verifies that the following identities match:
If these items do not match, the product blocks transactions.
To use this feature, do the following tasks:
Use an X.509 Certificate authentication scheme (other authentication schemes are not supported).
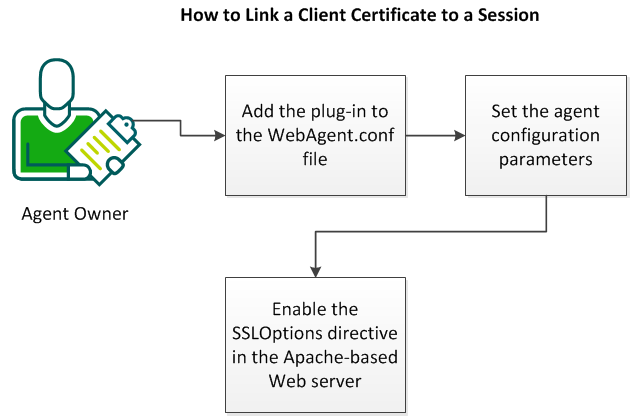
The following graphic describes how link a client certificate to a session:

Follow these steps:
Adding the plug-in is the first step linking client certificates to sessions.
Follow these steps:
WebAgent.conf
LoadPlugin="web_agent_home/bin/libHttpPlugin.so"
LoadPlugin="web_agent_home/bin/libCertSessionLinkerPlugin.so"
Note: The libCertSessionLinkerPlugin must follow the libHttpPlugin.
The plug-in is added. Continue by adding your configuration parameters.
Set the agent configuration parameters after adding the plug-in.
Follow these steps:
Change the values of the following parameters:
Lists the attributes of the certificate by which it is uniquely identified. The following certificate attributes are available:
Note: The sequence of the values in in this parameter does not matter.
Default: Disabled (only the serialnumber and the issuerdn attributes are matched).
Specifies the maximum number of entries that the agent cache contains.
Note: For any Apache-based servers operating on UNIX, we recommend setting the value of the singleprocessmode parameter to no. This setting creates a multi‑process cache which shares information across multiple requests. This setting improves performance when the Apache-based server runs in pre‑fork mode.
Default: 1000
Specifies if the CSL cache is only available to a single process on an Apache-based server (worker mode). To make the cache available to a single process only, set this value to yes. On UNIX operating environments, Apache-based servers operate in pre‑fork mode, where a separate process handles each request. We recommend setting this value to no on UNIX operating environments so that the CSL cache is shared among multiple requests.
Default: No (pre‑fork mode, multi‑process cache).
Options: Yes (worker mode, single-process cache).
Continue by enabling the SSLOptions directive.
The next step is enabling the SSLOptions directive of your Apache‑based server. Enabling this directive makes the certificate attributes available as environment variables.
Add the following entry into the http.conf file of your Apache-based server.
SSLOptions +StdEnvVars
|
Copyright © 2014 CA.
All rights reserved.
|
|