Putting It All Together › Modifying the Project Manager’s Panel
Modifying the Project Manager’s Panel
In this section, you modify the Project Manager panel by adding three buttons:
- The first button enables end users to add a project by starting your wizard.
- The second button enables end users to maintain project data by opening your property sheet with the Projects and Tasks tab showing.
- The third button enables end users to maintain employee data by opening your property sheet with the Employees tab showing.
To modify the Project Manager’s panel:
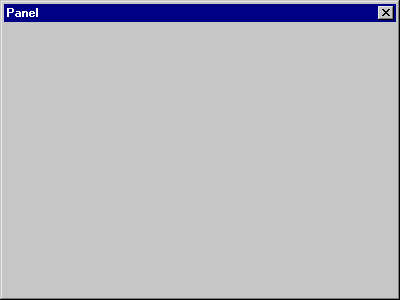
- Open Project Manager.Panel. Notice that, unlike the other panels you have worked with, this one does not come with any regions, buttons, or grids.
- Right‑click the top left corner of the panel and choose Create Push Button.
A button is added to your panel, with the button text selected.
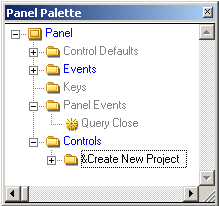
- Enter &Create New Project to change the text, and press Enter.
The & in the text indicates that the letter that follows appears as an underlined access key on the screen.
The new button you created shows up in the Panel Palette under the Controls folder:
- On the panel, click below the Create New Project button to clear it.
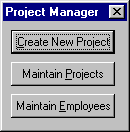
- Repeat Steps 2-4 to create two more buttons below the Create New Project button, with the captions Maintain &Projects and Maintain &Employees.
- Resize and arrange the panel and its buttons so that it looks like this:
- Save your changes, but keep the Panel Designer open.

