

You can specify a different time period for Interface reports by using one of the built-in options. The built-in time periods let you quickly expand or restrict the reporting time period relative to the current date and time. For example, you can extend the time period to find out if an observed event happens as part of a repeated pattern.
Follow these steps:
The Timeframe options expand.
Note: The time period link is on all top-level Interfaces report pages except Growth and Capacity Planning, which have other time options. In addition, if you drill down to a report page to investigate details, the drilldown report page does not include a time period link.
The time period is relative to the current date and time. A Daily time period produces a report about the 24 hours that precede the current date and time. A Weekly time period produces a report the week that precedes the current date and time.
The available time filters are set up by the Administrator for CA Network Flow Analysis. Time filters limit the time span for reported data, for example to include only regular business hours.
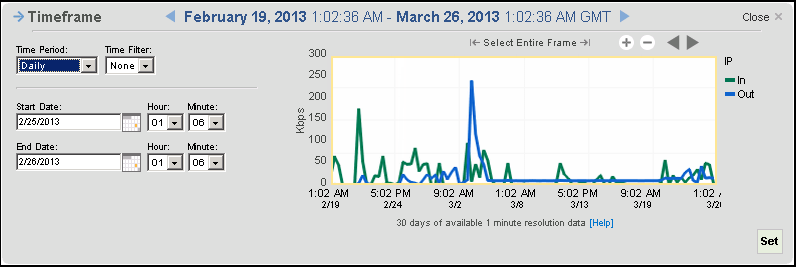
The active time period displayed in the Timeframe pane changes to give you a preview of the data that is included. The preview helps you verify that you are capturing any specific trends that are of interest.
The options are hidden.
|
Copyright © 2013 CA.
All rights reserved.
|
|