Interface Reports › Work with Interface Reports and Data Views › Set the Time Period for a Report › Specify a Custom Start and End Time
Specify a Custom Start and End Time
You can customize the time period for the current report. You can select a specific start date, end date, and time of day for collecting report data, such as the following times:
- Specific hour.
- Specific day.
- Unique week time period by specifying a day within the Saturday-to-Sunday 7-day time period that you want.
- Unique one-month time period by selecting the month start and end dates.
- Unique quarter-year time period by selecting the quarter start and end dates.
- Unique one-year time period by selecting the year start and end dates.
Follow these steps:
- Click the time period at the top of the report page.
The Timeframe pane expands to display the time period options.
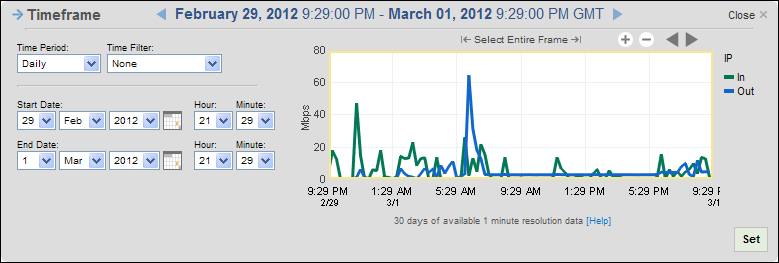
- Select Custom from the Time Period list. The end date and time are set to the current time by default.
- Select the start date from the Start Date day, month, and year lists, or click the calendar icon to locate and select a date.
- Select a start time from the Start Date Hour and Minute lists. The current time (hour:minutes) is selected by default. Hours are shown in 24-hour format.
- Select an end date from the End Date day, month, and year lists, or click the calendar icon to locate and select a date.
- Select an end time from the End Date Hour and Minute lists or click the calendar icon to locate and select a date. The current time (hour:minutes) is selected by default.
- Click Set.
The preview in the Timeframe pane updates to reflect your changes. This view helps you make sure you are capturing the needed data.
- Click Close at the top-right corner of the pane.
The options are hidden.

